Making a Private Monitor from an Old LCD Display
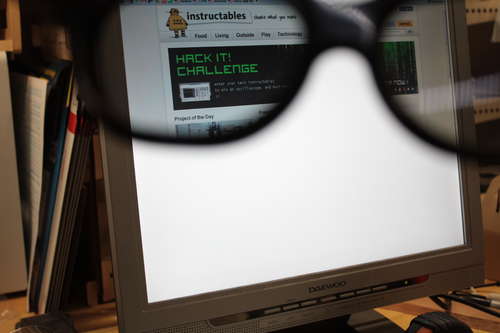
A step-by-step guide to converting an old LCD monitor into a "spy monitor" that appears as a blank white screen to bystanders, but displays content normally when viewed through special polarized glasses made from the monitor's own polarizing film.
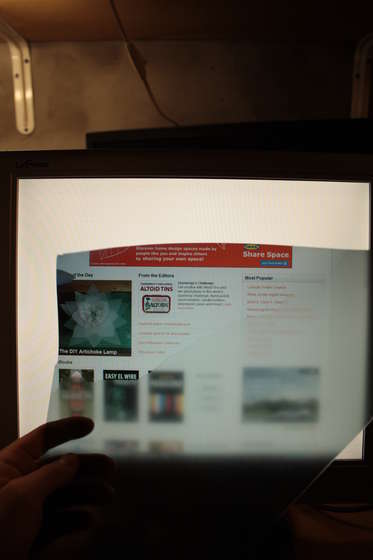
You can finally do something with your old LCD monitor gathering dust in the garage. Turn it into a spy monitor! To everyone else it will look like a plain white screen, but not to you — because you'll have special "magic" glasses.
All you need is a pair of old glasses, a utility knife, and paint thinner.
Here's what I used:
- An LCD monitor, of course
- Disposable 3D glasses from a movie theater (old sunglasses will also work)
- Paint thinner (or similar solvents)
- A utility knife
- A screwdriver
- Paper towels
- Super glue
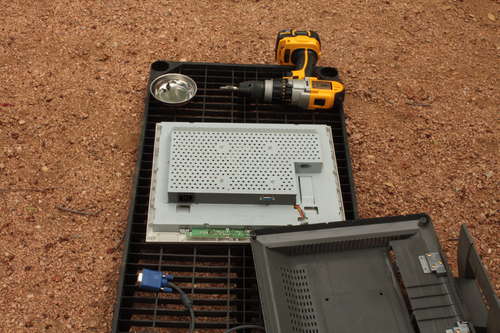
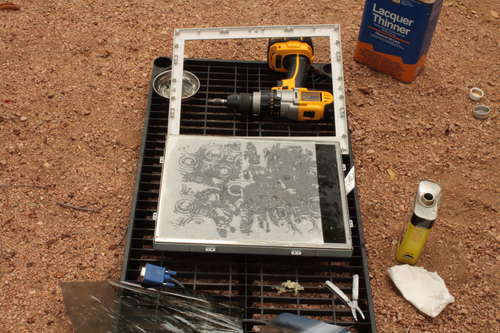
Step 1. Get the Monitor
Find an old monitor you're willing to sacrifice.

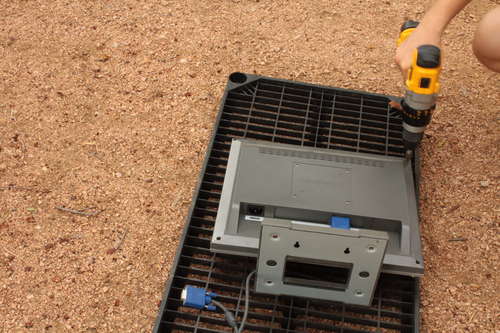
Remove the plastic frame by unscrewing all the bolts on the back.
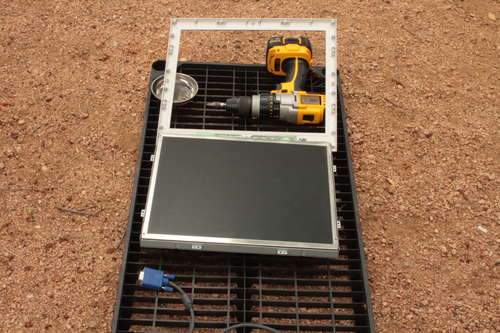
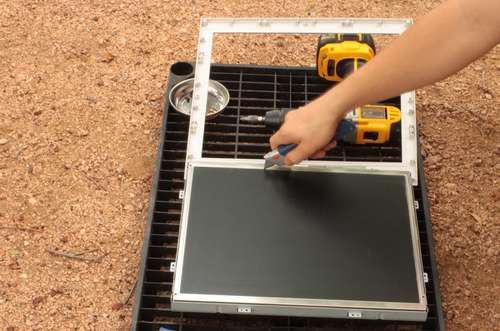
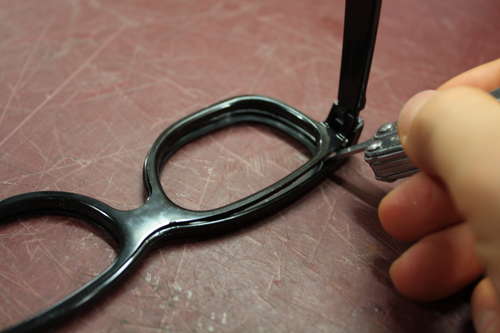
Step 2. Cut Out the Polarizing Film
Most LCD monitors have two film layers on the glass: a polarizing filter that blocks unwanted light, and a matte anti-glare film. We don't need the anti-glare layer, but we'll use the polarizing film for our glasses.
Now it's time to take your knife and cut the films along the very edge of the screen. Don't be afraid to press hard — metal won't scratch glass as long as there are no debris or dust particles on it.
* Tip from the comments: Not all monitors have the two films glued on. On some, they're simply layered, and if you remove the protective metal edges of the matrix, you can peel them off without cutting.
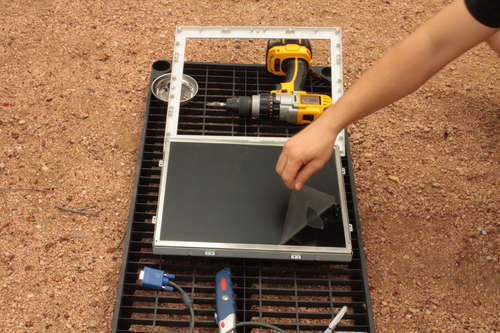
Then peel the film off the screen. Don't forget to save the polarizing film and remember its orientation.
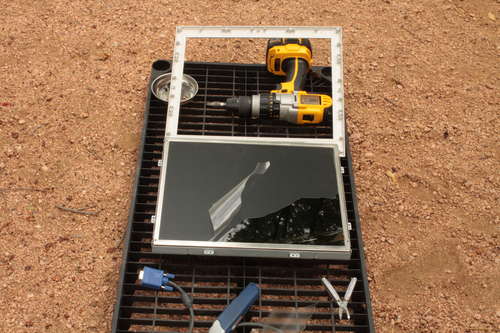

Step 3. Clean the Adhesive Residue Off the Screen
After you've removed the film, there will likely be adhesive residue left on the screen. Time for the messy part.
Scrape the adhesive off using thinner and paper towels.
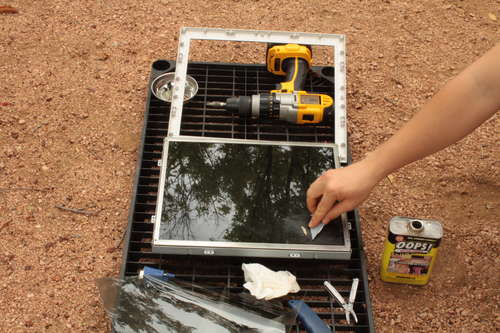
I found that covering the screen with paper towels soaked in thinner and letting them sit for a while makes it easier to remove the adhesive. You can also use a piece of plastic or wood to scrape the glue off the screen.
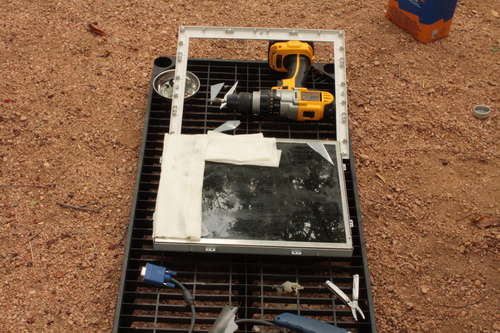
Be careful — make sure the thinner doesn't get on the plastic frame.
Step 4. The Monitor Work Is Done
After you've cleaned off all the adhesive, you can reassemble the monitor. Even before making the glasses, you can test the monitor using the polarizing film!
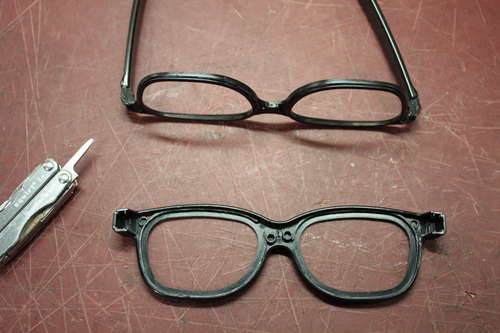
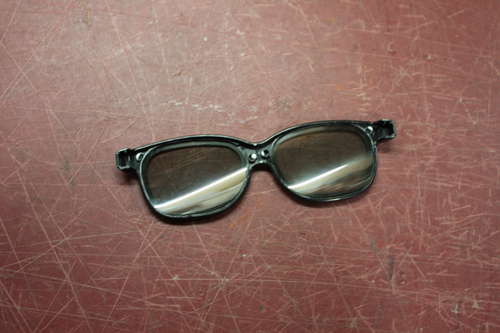
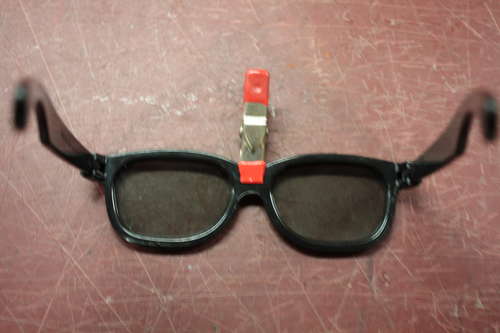
Step 5. Remove the Old Lenses
To make the glasses, I used disposable 3D glasses from a movie theater, but you can use any other frames.
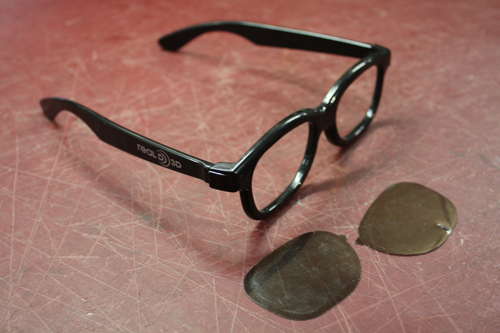
Pop out the lenses or disassemble the glasses if possible.
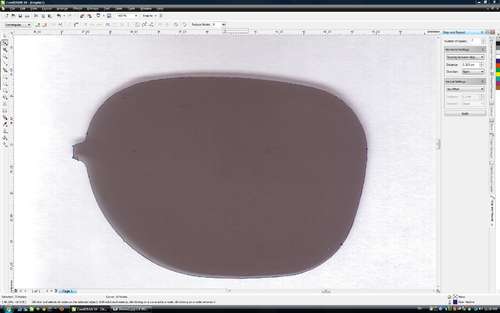
Step 6. Scan, Trace the Outlines, Cut
If you plan to use a CNC machine or laser cutter, scan and trace the lens outlines.
* The original author does this kind of work for hire, hence this somewhat unusual suggestion for most readers.
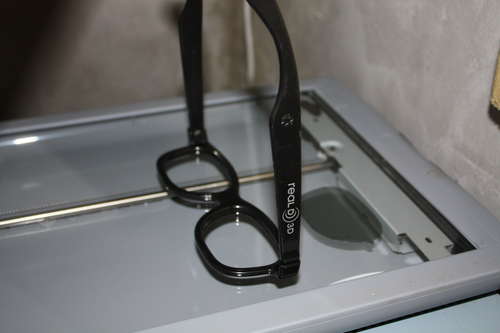
I scanned the lenses — you can use them as a template for positioning. Remember that the polarizing film's orientation matters. The sides (front/back) also matter.
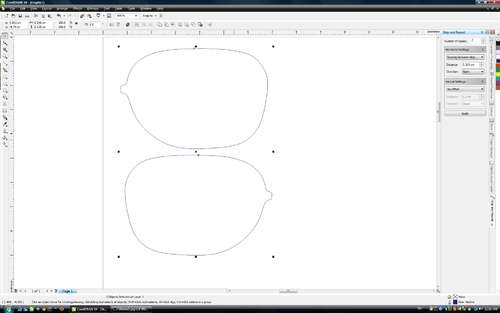
You can also use the same utility knife to cut the lenses.
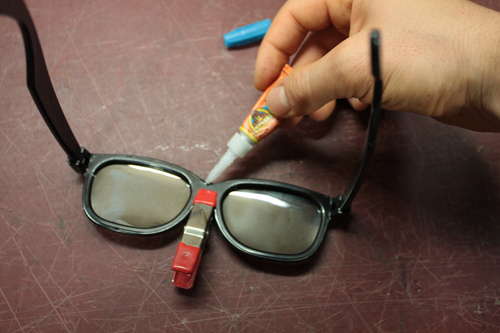
Step 7. Assemble the Glasses and Enjoy!
Assemble your glasses, and you're ready to have some fun!
People might think you've lost your mind, staring at a white monitor while wearing sunglasses!
But I think that makes this whole project even more amusing!