I Reverse-Engineered a CPU to Improve a Kids' Camera
The author bought a cheap children's camera for his 3-year-old, but the menu was too complex. He reverse-engineered the unknown HX3302B processor, identified it as a little-endian OpenRISC-1000, and patched the firmware to boot directly into camera mode.
Translation of an article published on Habr (RUVDS company blog)
Introduction
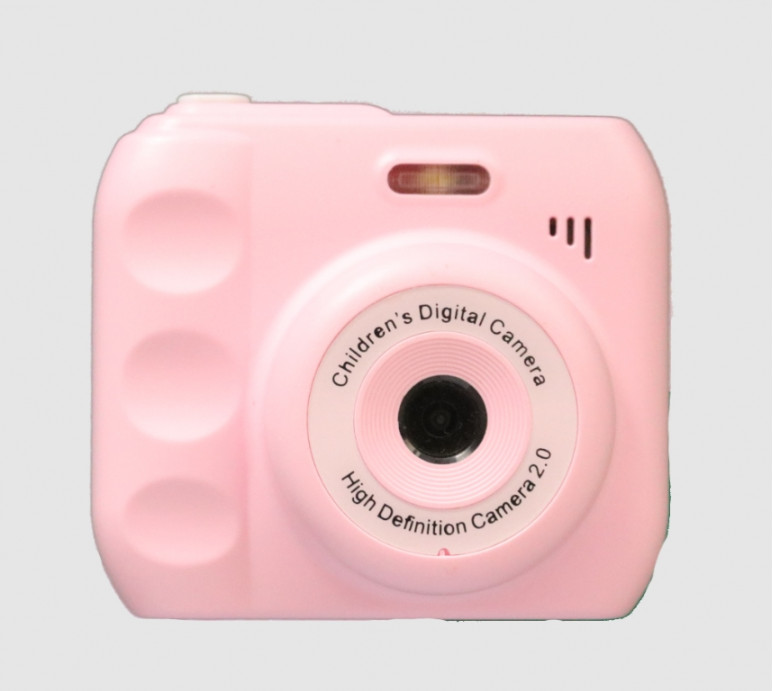
The author bought a cheap children's camera for his three-year-old son, but ran into a problem: after booting, a menu appeared where one of the options was camera mode. If the camera had a touchscreen like our phones, this wouldn't have been an issue — but navigating the menu required using arrow keys, which proved too difficult for a three-year-old.
Figuring Out the ISA
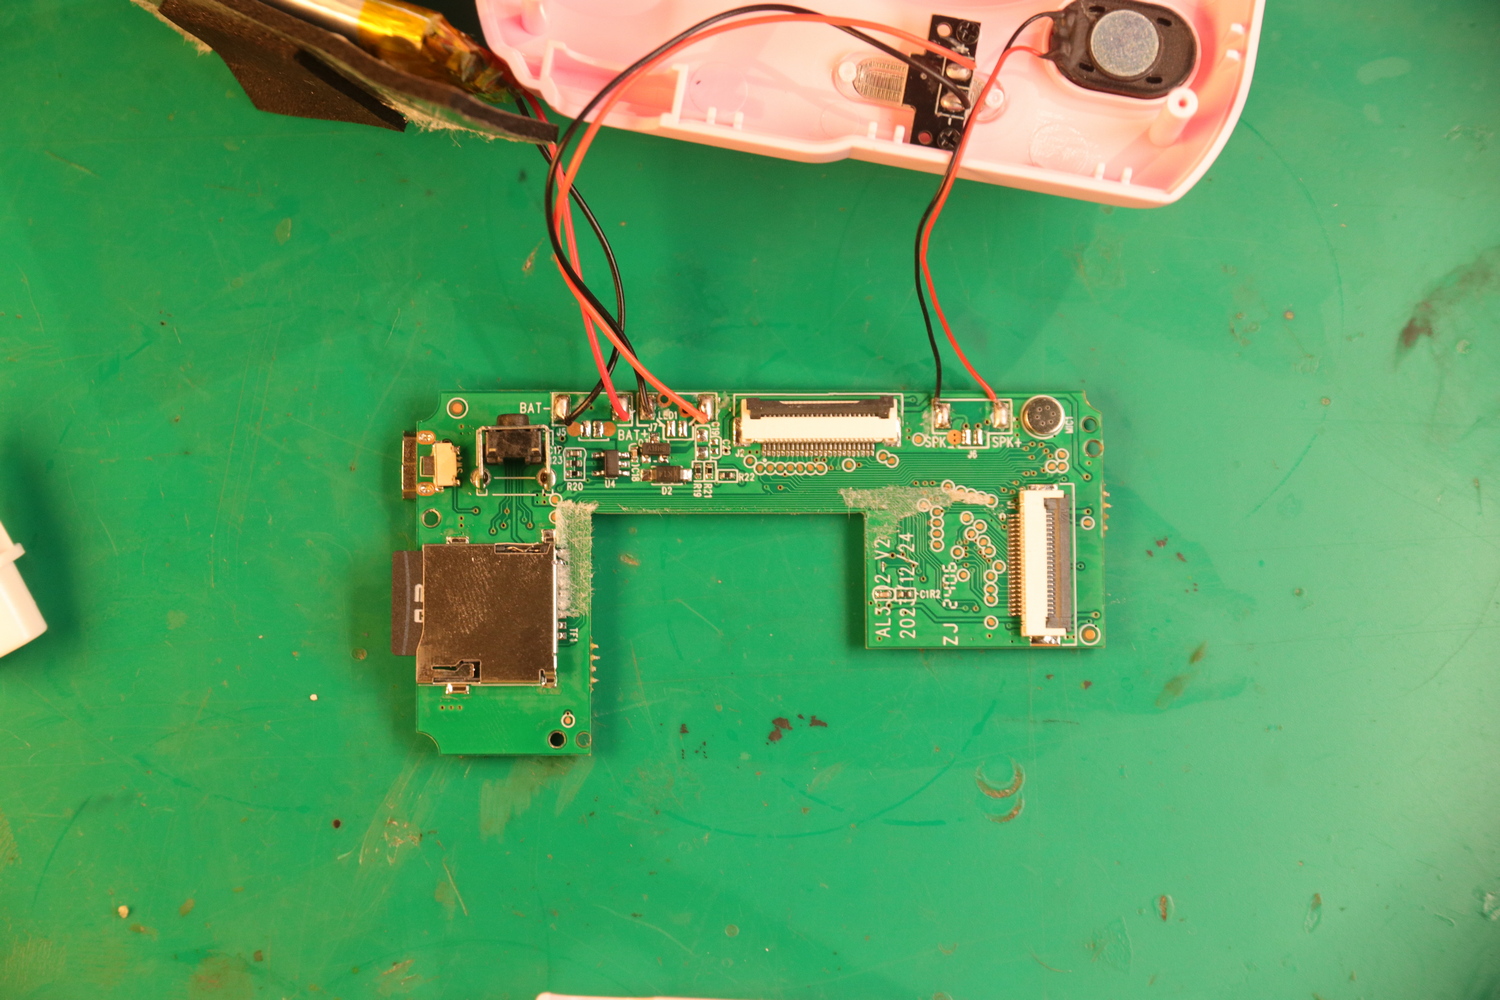
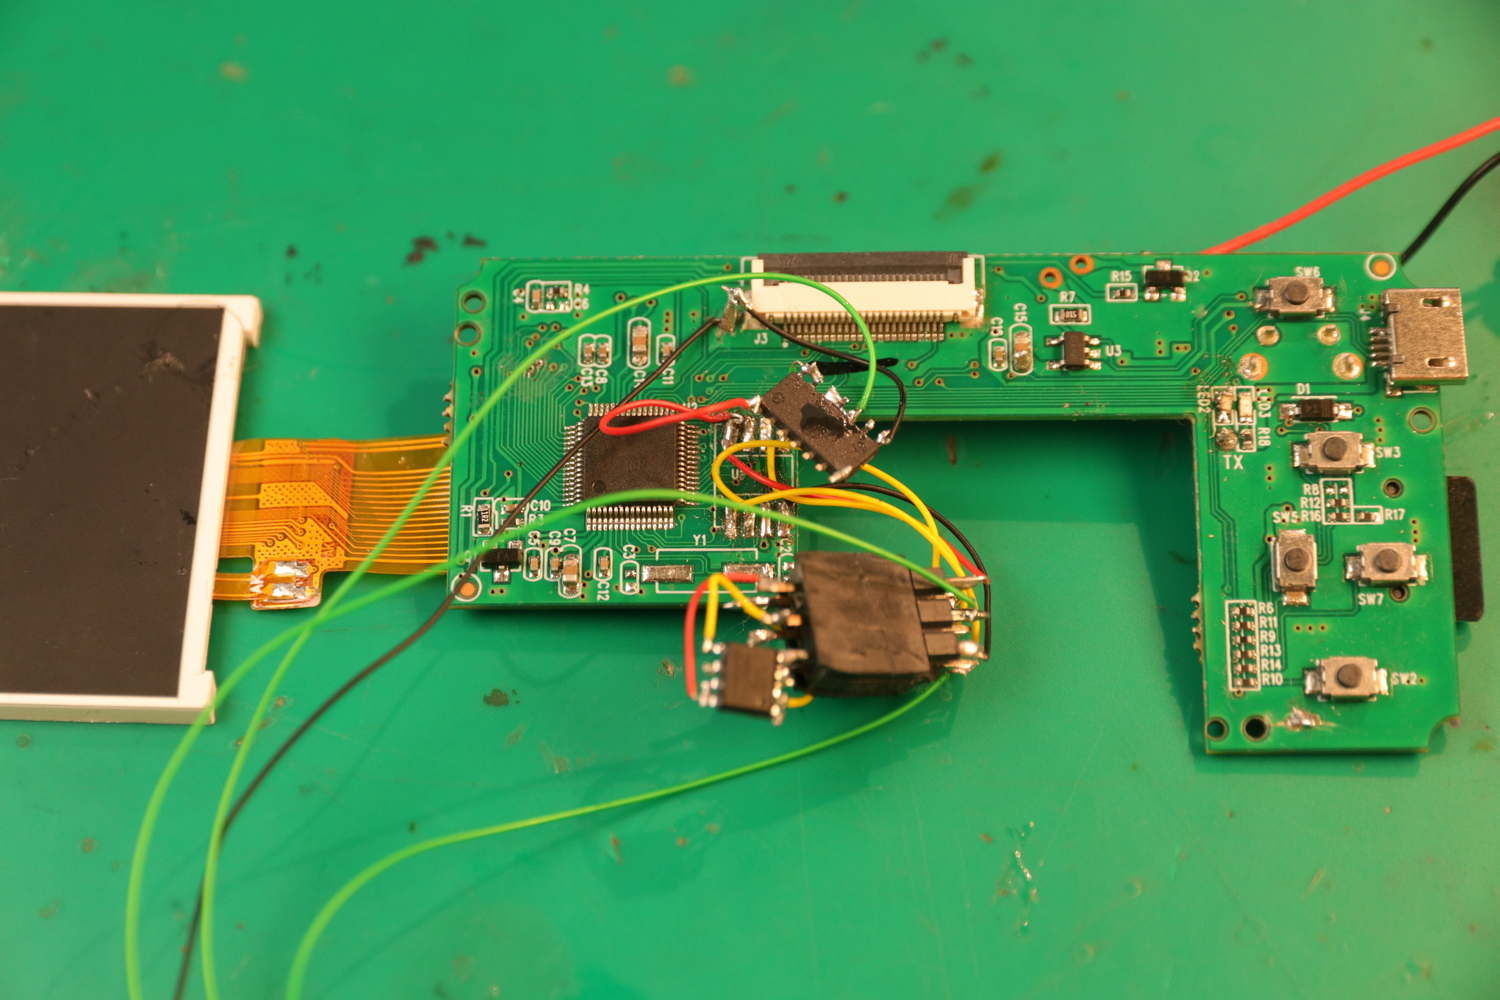
Device components:
- Main chip: HX-Tech HX3302B
- Flash memory: Spansion S25FL132K SPI (4 MiB)
- Voltage regulator: 3.3V in SOT23-5 package
- LCD screen, lithium-ion battery, camera modules
Problems during analysis:
- Unknown chip with no documentation online
- No visible debug UART
- Impossible to identify the ISA with automatic tools
- No cryptographic protection on the firmware

Solution with a Logic Analyzer
The author connected a logic analyzer to the SPI flash memory lines to monitor the boot process. A pattern emerged: reading a 512-byte header, then large code blocks, then 4-byte reads (indicating a 32-bit CPU), followed by cache initialization at 16 bytes.
The trick: "I got a 300 MiB file that described in detail the commands received by the CPU throughout the entire boot process."
Identifying the Architecture
It turned out that the CPU architecture OR1K really wants to be big-endian, which is the case for 99% of its implementations. However, if needed, you can add a data bus scrambler to the core to make it little-endian.
This was a little-endian version of OpenRISC-1000 (OR1K). After adding support in Ghidra: "Ghidra immediately became excellent at decoding the entire binary."
The Modification
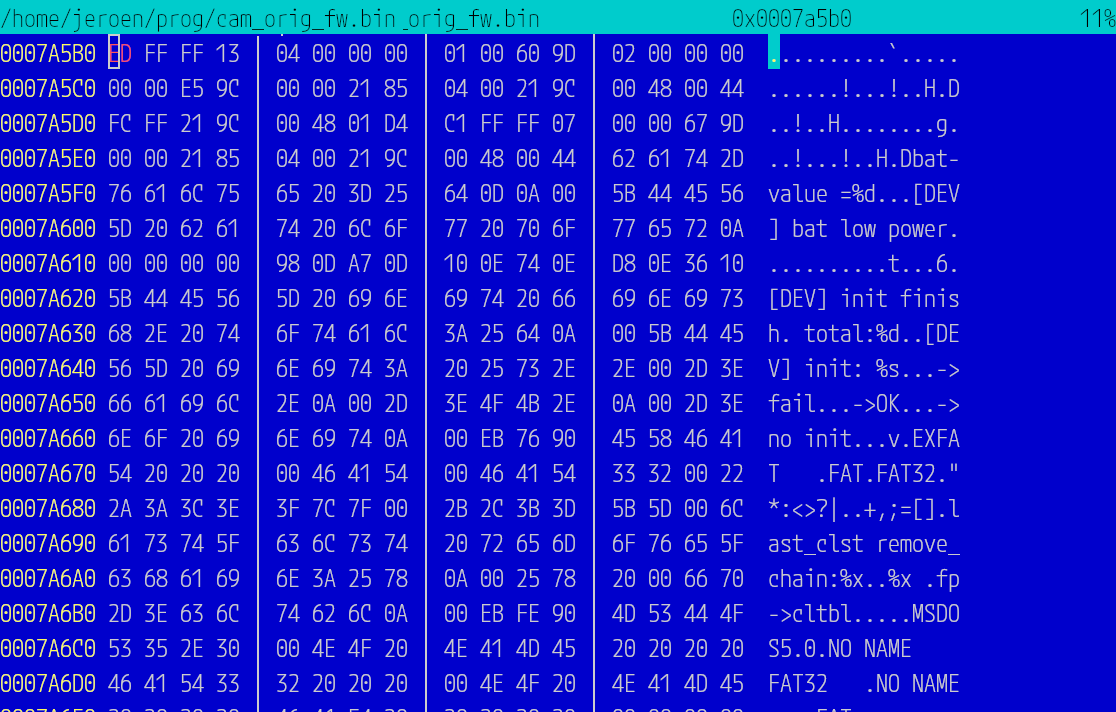
Memory dump method: The author modified the EXIF data writing function of JPEG files so that it would output arbitrary memory blocks into photographs.

The key variable found: The current mode is stored in a global variable in memory. At startup, this variable is initialized with the main menu mode value. If you change its value to the photo shooting mode, the firmware will boot in that mode.

Interesting Findings in the Code
1. Hidden menu — an image of an earlier version of the menu with items crossed out in Paint.

2. Unfinished Tetris game — "The code exists in the firmware, it's just not connected to anything; hooking it up reveals the game is only partially functional. This can be explained by it being intended for a different device (it seems to expect a 220x176 resolution, while my camera has 320x240)."

3. Inflated specs — "The device's marketing greatly exaggerates its technical capabilities. Even the most modest product listing claims a two-megapixel sensor. In reality, none of the firmware-supported modules have a resolution higher than 720p."

Firmware Update Format
"The logic looks for a file called hx330x_sdk.bin on the SD card, and if it exists, it checks several header fields for validity. Then it takes one field containing a timestamp, and if the timestamp in the file is newer than the one in flash memory, it simply copies the update file to flash memory."

Conclusion
"The question arises: was it worth it? From a time-spent perspective, probably not. If I had bought a cheap ESP-Cam and 3D-printed a case for it, I would have spent less time and the same amount of money."
However: "Reverse engineering is enjoyable: sometimes the puzzle is so absorbing that you enter a flow state. It's satisfying to know that this article contains more information about the chipset than anywhere else on the Internet."