How to Receive Meteorological Satellites Without Attracting the Attention of Orderlies
A comprehensive guide to receiving open radio transmissions from weather satellites like NOAA-15/18/19 and Meteor M2-3/M2-4 using affordable SDR equipment, simple antennas, and the open-source SatDump software.
Introduction
This article describes the hobby of receiving open radio transmissions from meteorological satellites. As the author emphasizes, "you shouldn't look for practical value in any hobby" — this is an activity done for pleasure, though it can have practical applications too.
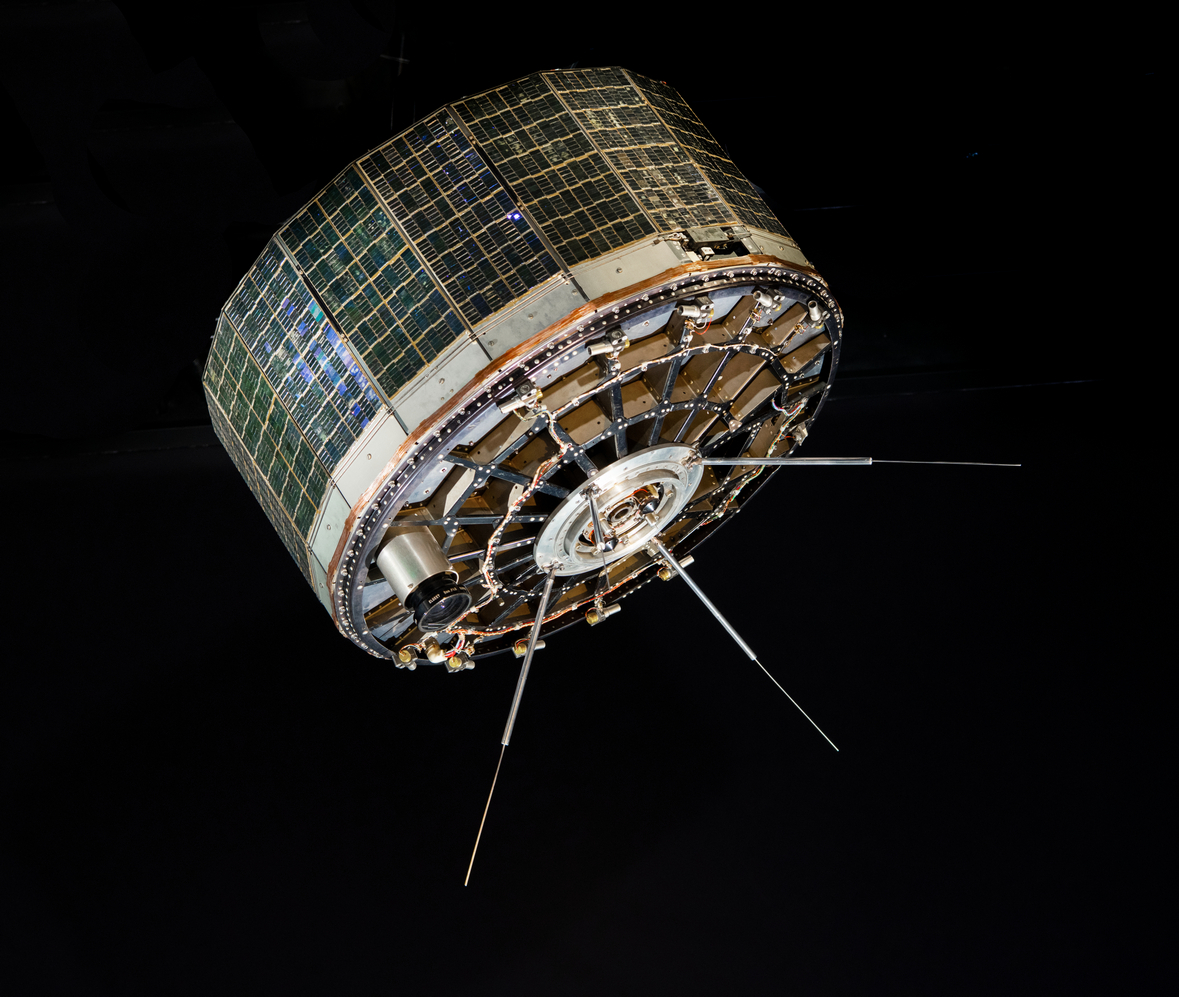
History of Satellite Meteorology
The first meteorological satellite, TIROS-1, was launched in 1960 with two infrared cameras. The Soviet "Meteor 1-1" appeared only in 1969. Today, five satellites are available for amateur reception: NOAA-15, NOAA-18, NOAA-19, Meteor M2-3, and Meteor M2-4.
Required Equipment
SDR Receiver (RTL-SDR)
The recommended starting point is "the cheapest SDR receiver — RTL-SDR." These are USB devices originally designed for receiving DVB-T, but repurposed by enthusiasts. Quality varies, so models from Nooelec or RTL-SDR Blog are preferred.
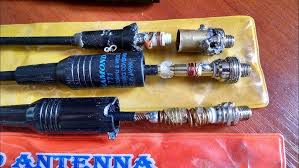
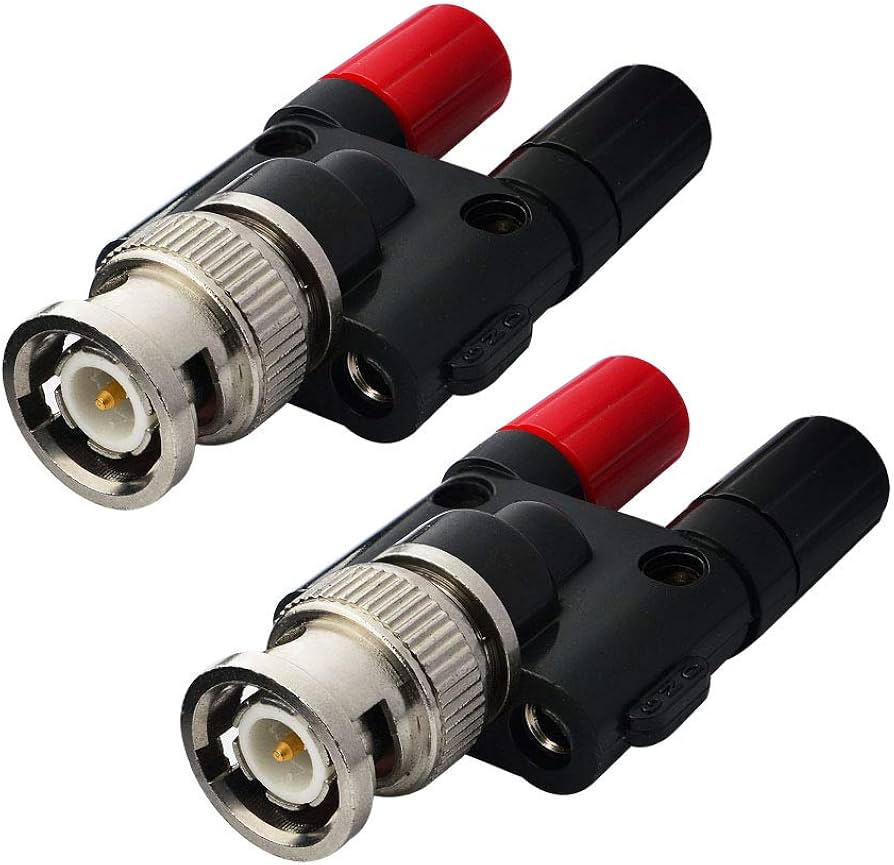
Antennas
Option 1 — V-Dipole (recommended for beginners)
- V-dipole at an angle of approximately 120 degrees
- Wires approximately 53 cm long each
- Simple construction from wires and an adapter
- Provides reliable reception even at low elevation angles
Option 2 — Specialized Circular Polarization Antennas
- Turnstile or QFH antennas
- Radiation pattern close to an ideal hemisphere
- For serious reception and automatic stations
Option 3 — Directional Antennas
- Can work below the horizon under favorable conditions
- For advanced enthusiasts
Software
SatDump is the primary open-source software for reception. Its features include:
- Real-time recording and decoding
- Support for RTL-SDR and other receivers
- Works on Windows, Linux, macOS, and Android
- Automatic and manual reception modes
Supporting Components
Filters: Bandpass and band-reject filters help when there are strong interferences from other radio sources.
LNA (Low-Noise Amplifier): Usually not required for 137 MHz reception, and may actually degrade reception quality in the presence of interference.
The Reception Process
Configuring SatDump
- Settings — set your coordinates and interface language
- Recorder — select the receiver, do not use AGC
- Processing — choose the satellite mode (NOAA APT or METEOR M2-x LRPT)
- Enable options: DC Blocking, SDR++ Noise Reduction, RS Check
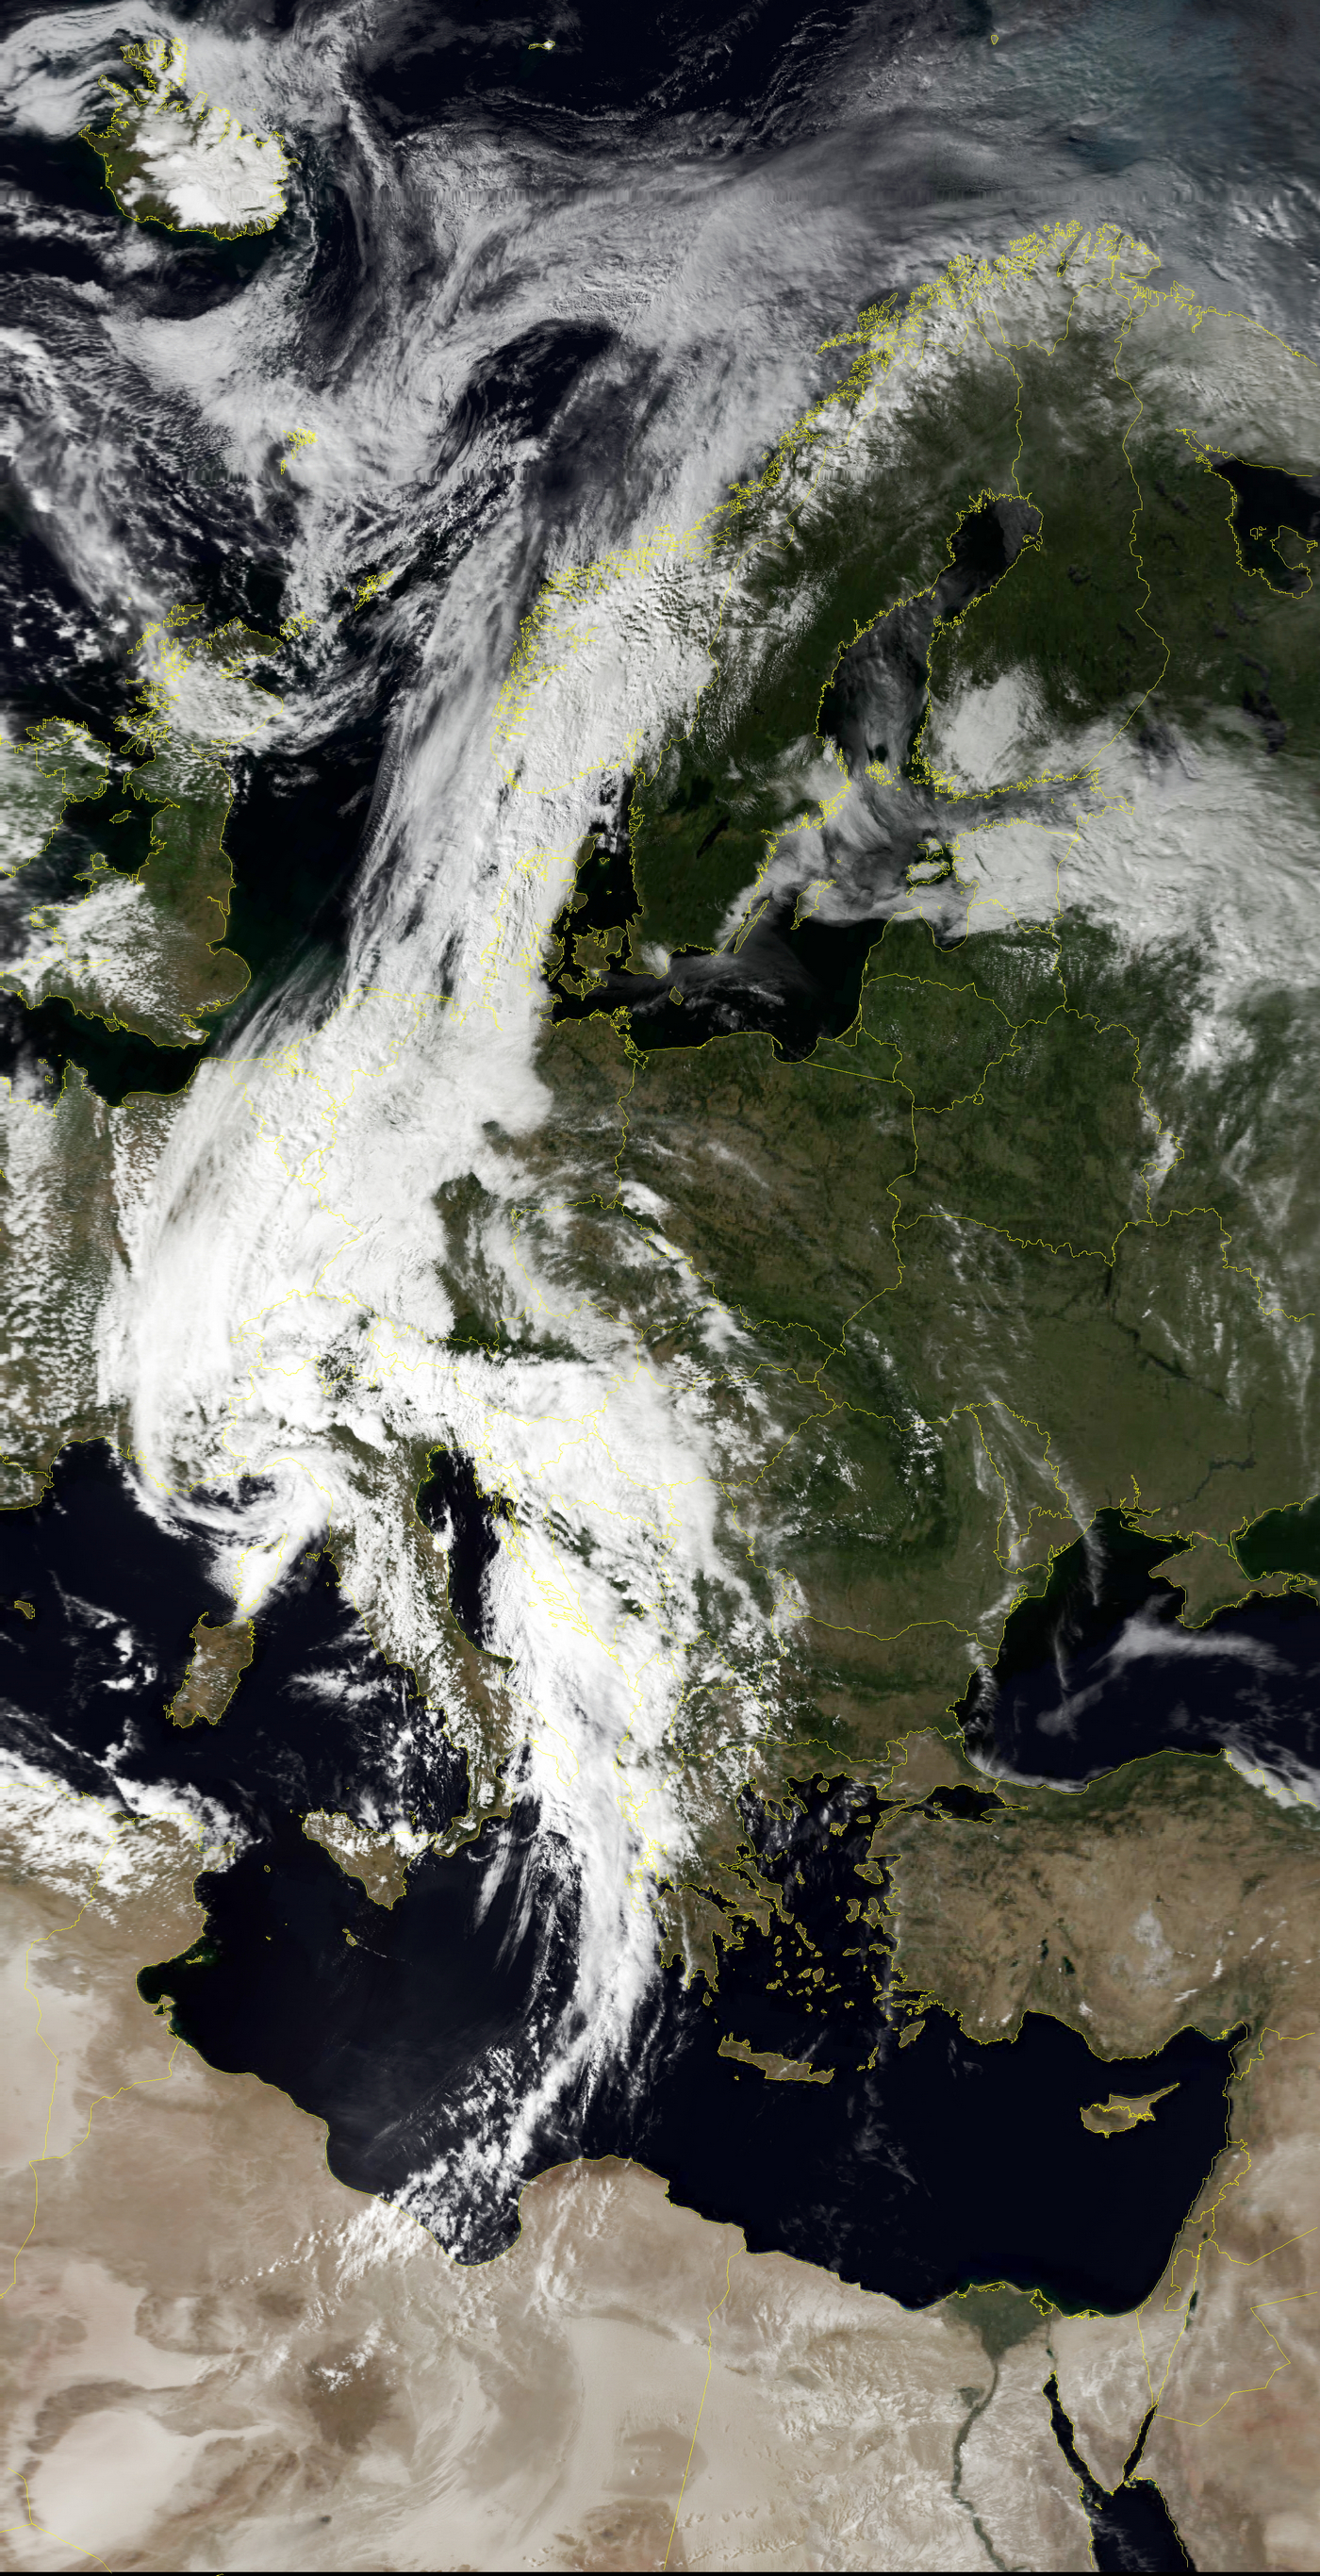
Receiving APT (NOAA)
An analog signal approximately 50 kHz wide. During reception, you'll hear a "characteristic rhythmic signal." The goal is to maximize quality by manipulating the antenna.
Receiving LRPT (Meteor)
A digital QPSK signal approximately 100 kHz wide. You need to monitor:
- SNR in the QPSK demodulator
- Viterbi and Deframer synchronization
- Reed-Solomon errors (green = good)
Troubleshooting
Typical causes of poor reception:
- Proximity to sources of radio interference
- Interference from the USB cable
- Outdated TLE (two-line orbital elements)
- Lack of direct line of sight to the satellite
- Obstacles (buildings, hills)
Processing the Results
After reception is complete (when the software displays "Done"), go to the Viewer section to:
- View different channels
- Create composite images
- Add geographic feature contours
- Create projections of the received data
FAQ
What is this article about in one sentence?
This article explains the core idea in practical terms and focuses on what you can apply in real work.
Who is this article for?
It is written for engineers, technical leaders, and curious readers who want a clear, implementation-focused explanation.
What should I read next?
Use the related articles below to continue with closely connected topics and concrete examples.