Hacking the Cheapest Console from Ozon
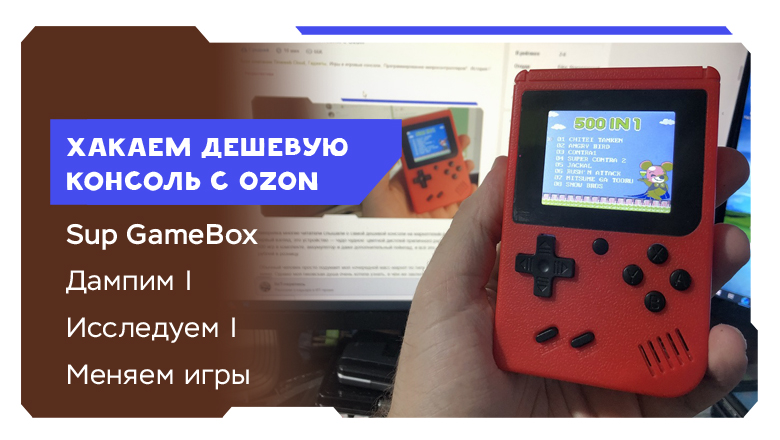
A deep dive into reverse-engineering the Sup GameBox — the cheapest gaming console on Ozon — revealing its NES-clone hardware, bit-scrambled flash protection, and how to replace built-in games with custom ROMs.
This follows a previous article about the Sup GameBox console. I discovered that rather than being an emulator, it's a full hardware clone of the original Famicom. Engineers at Taiwan's V.R.T company implemented complete Japanese console compatibility while substantially improving the NES architecture, transforming it into something resembling a microcontroller with advanced multimedia capabilities.
The chipset can work not only with original cartridges but also inexpensive SPI/NOR flash memory. With a programmer, one could theoretically replace existing games or add new ones to the device's 500-game collection.
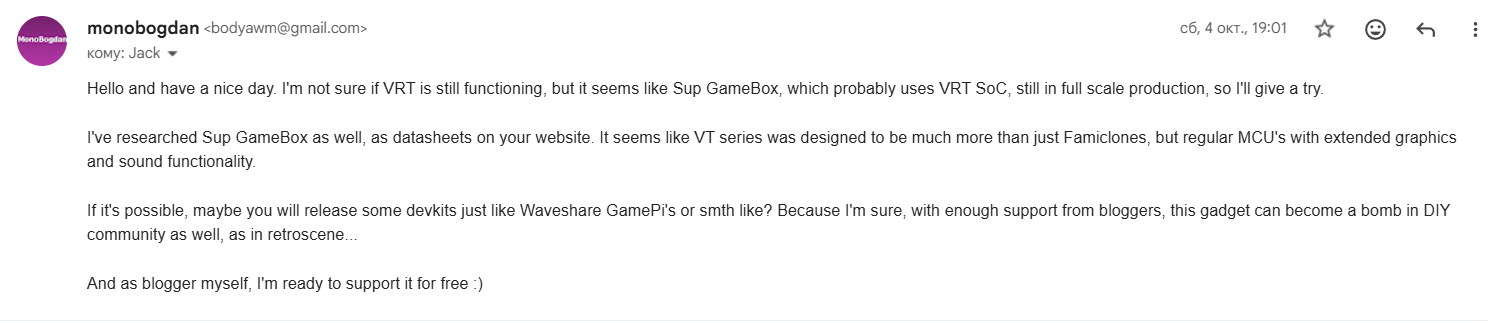
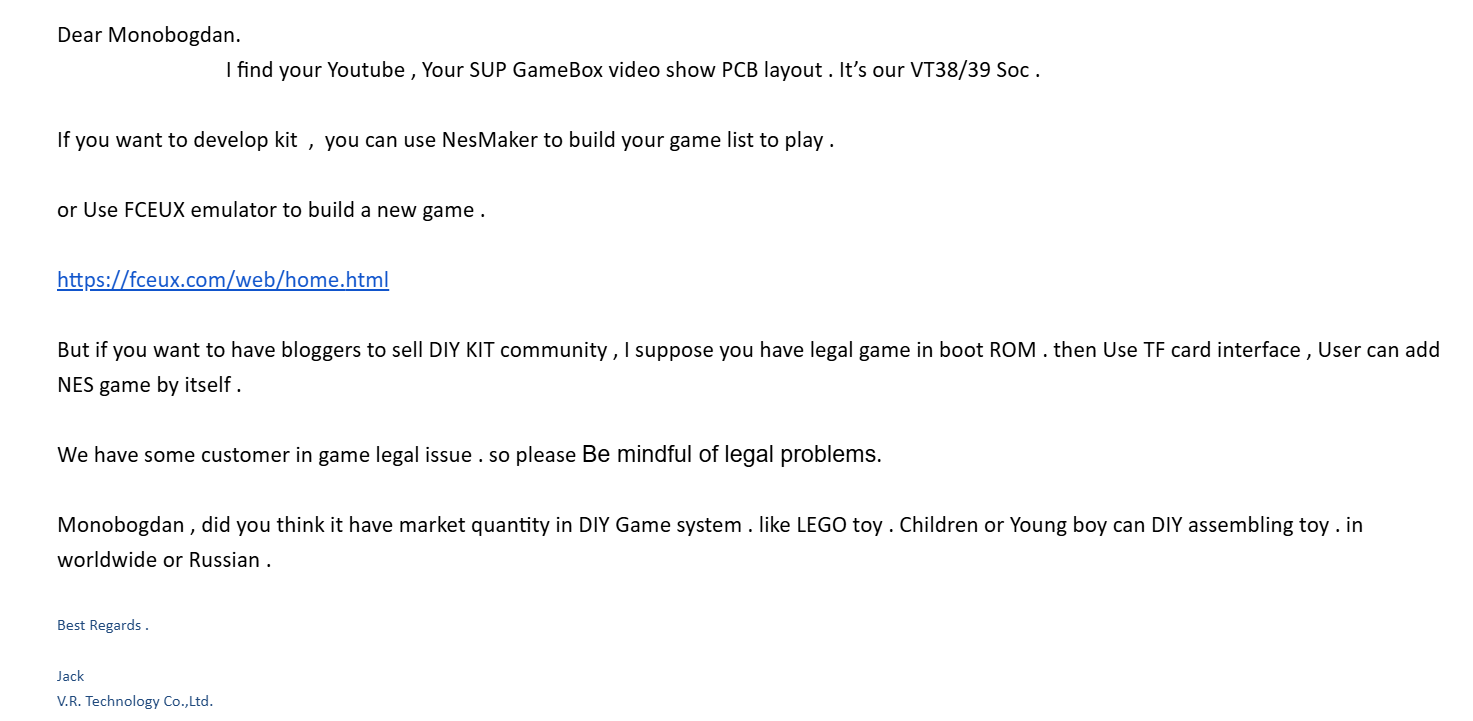
After the initial article, I contacted V.R.T's processor manufacturer. To my surprise, they responded! The company confirmed using VT38 or VT39 series chipsets and suggested using their NesMaker utility for building custom ROM sets. They explained that offering GameBox as a development kit is impossible due to piracy concerns, but the company appears interested in engaging the demoscene and DIY community.
Doing the Dump
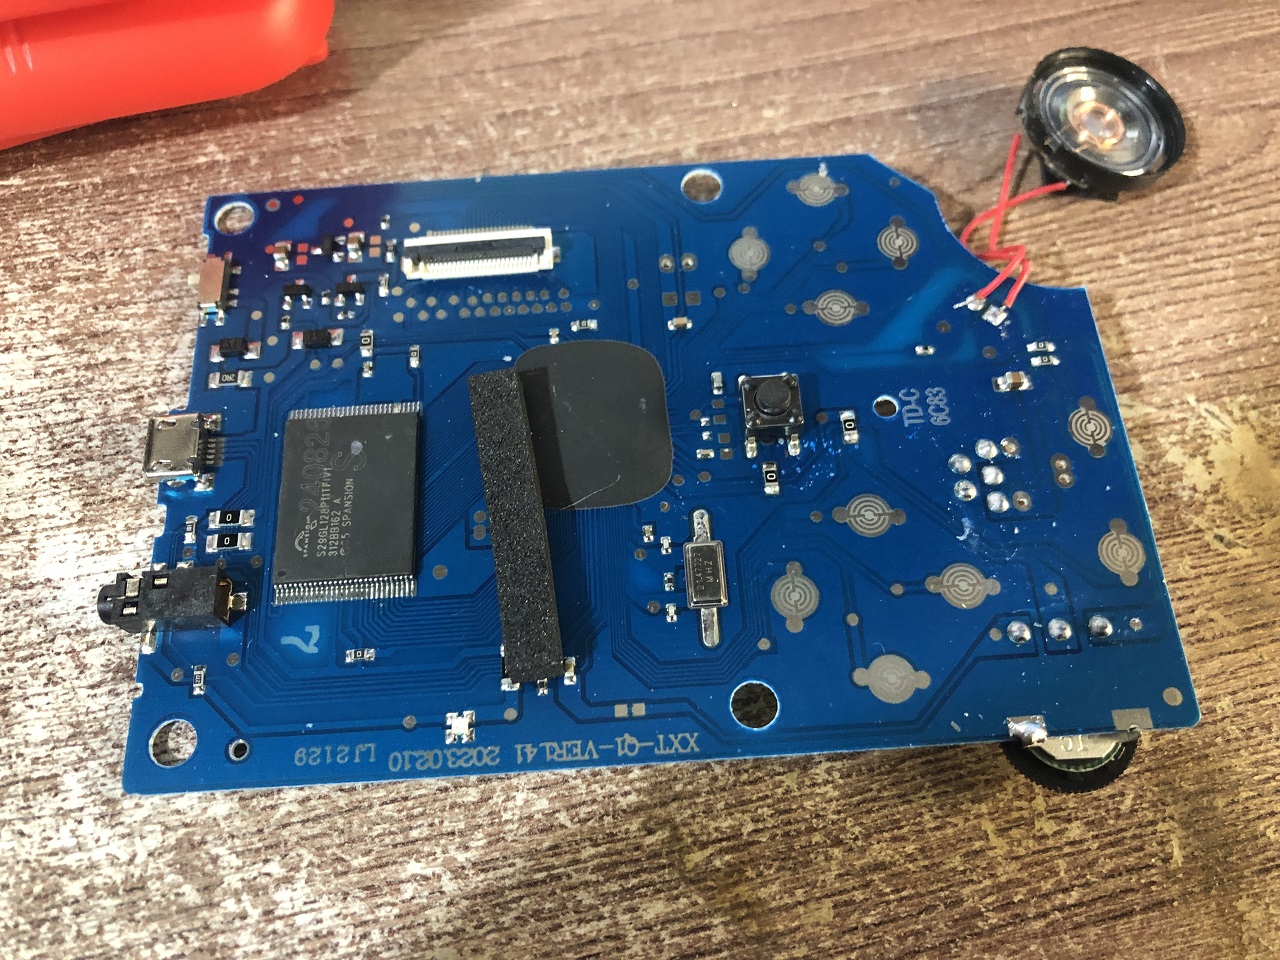
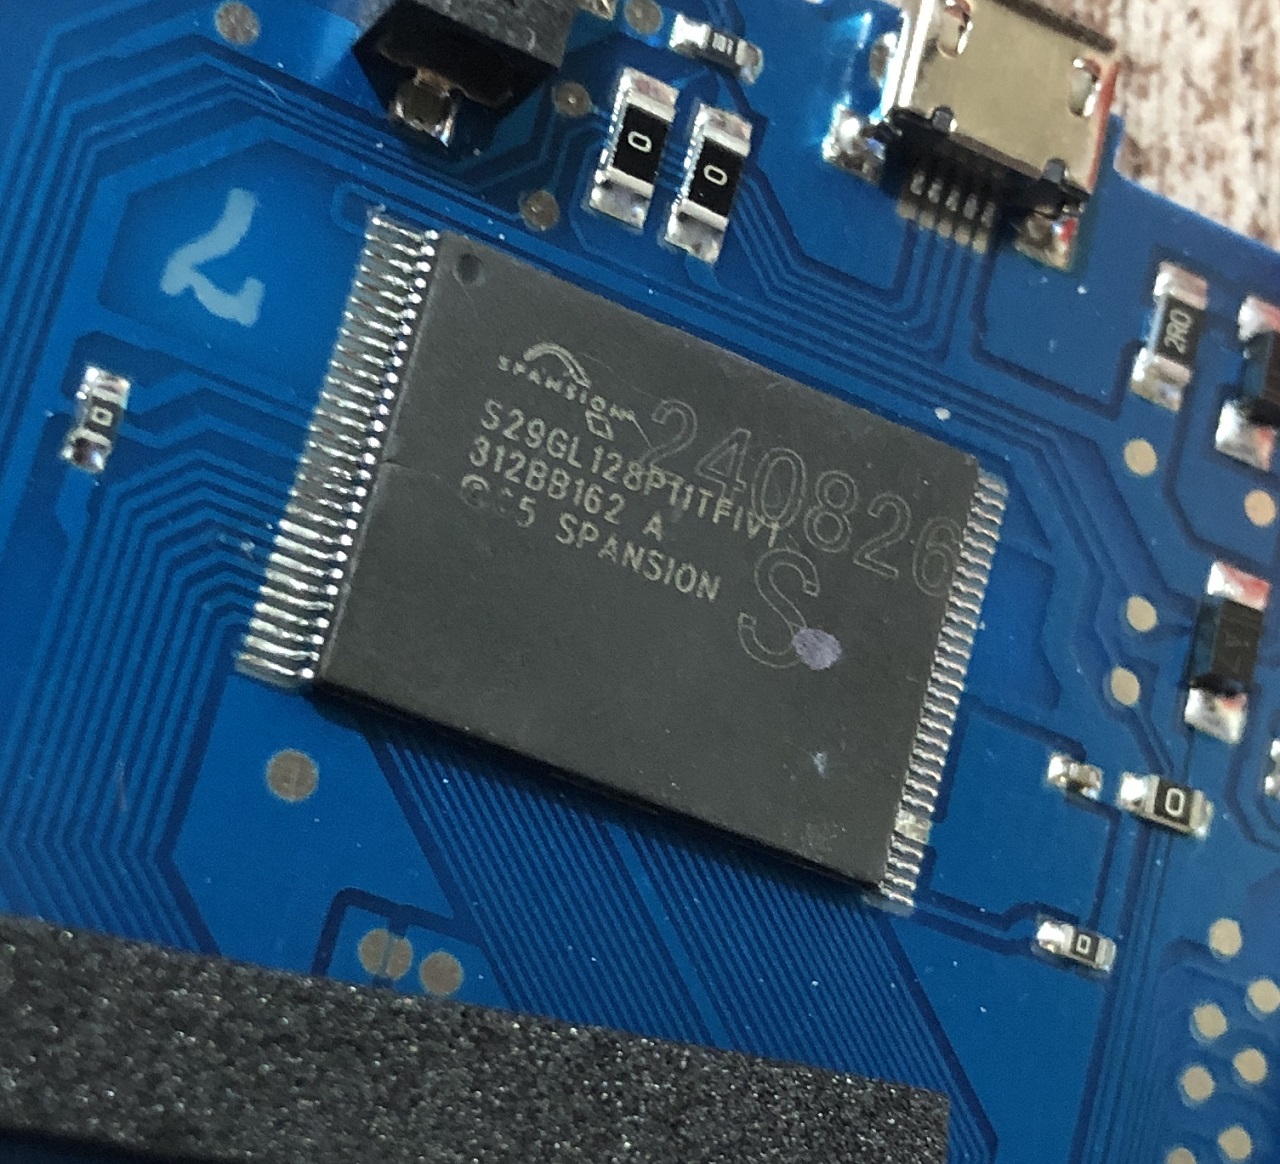
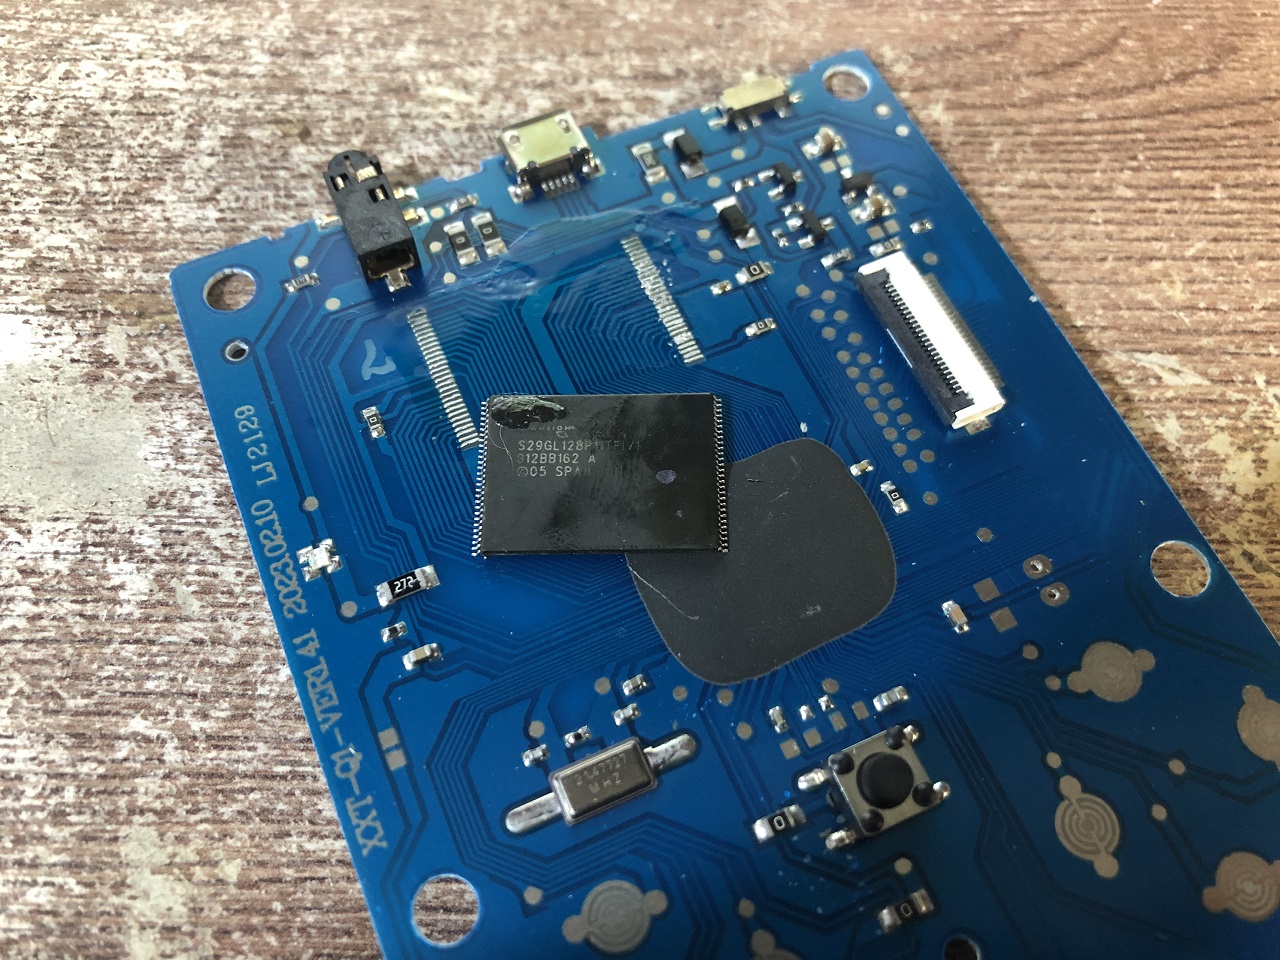
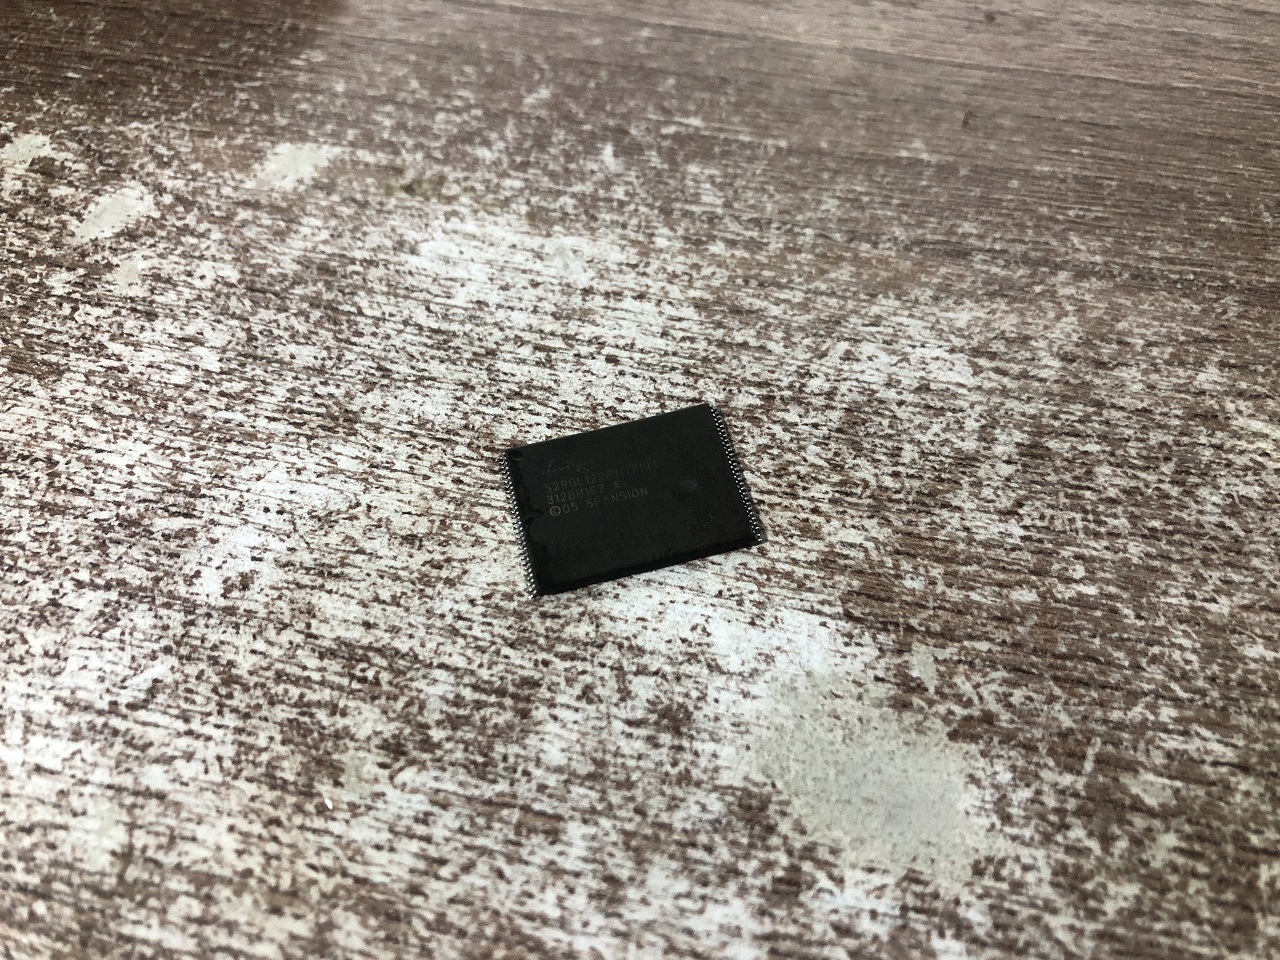
The console's motherboard shows signs of being assembled from available stock. The memory chip displays visible cracks, scratches, and questionable soldering that causes some units to fail within days.
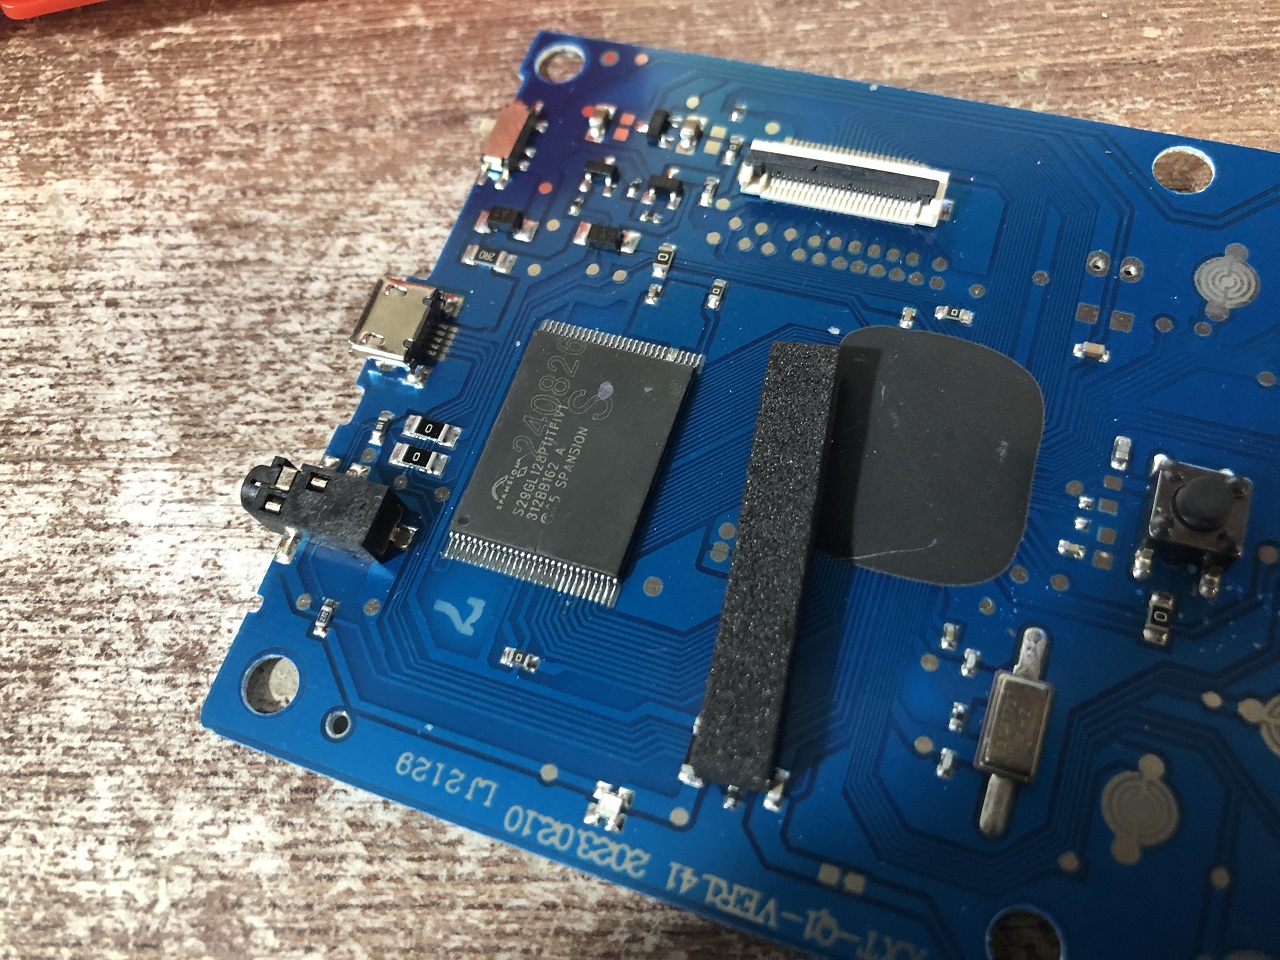
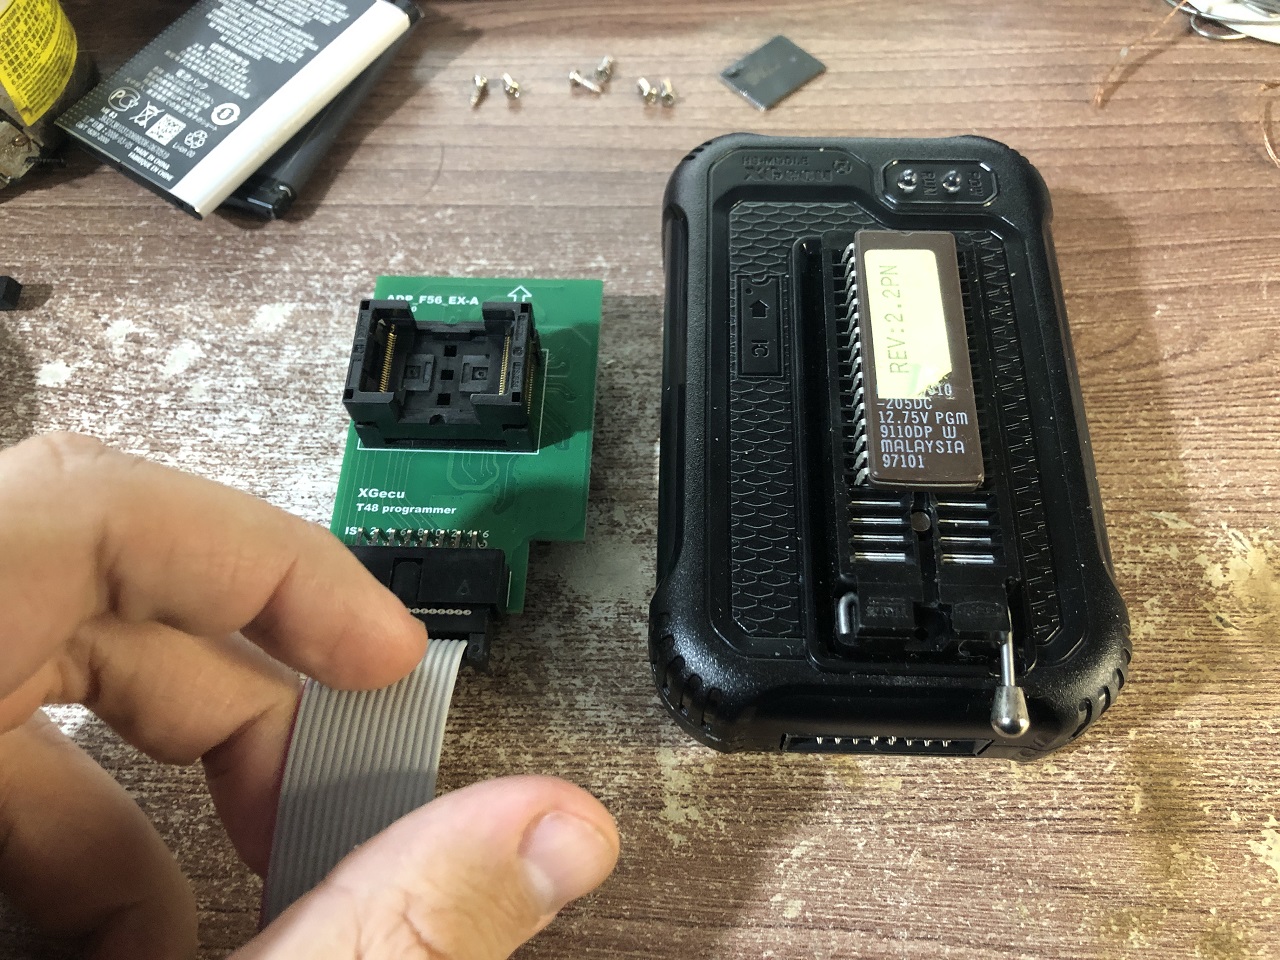
Rather than using traditional desoldering methods (Rose alloy or improvised SMD tweezers), I used a heat gun in conservative mode to avoid pad damage during multiple reinstallations.
The process:
- Clean the board and memory chip from flux
- Insert into socket
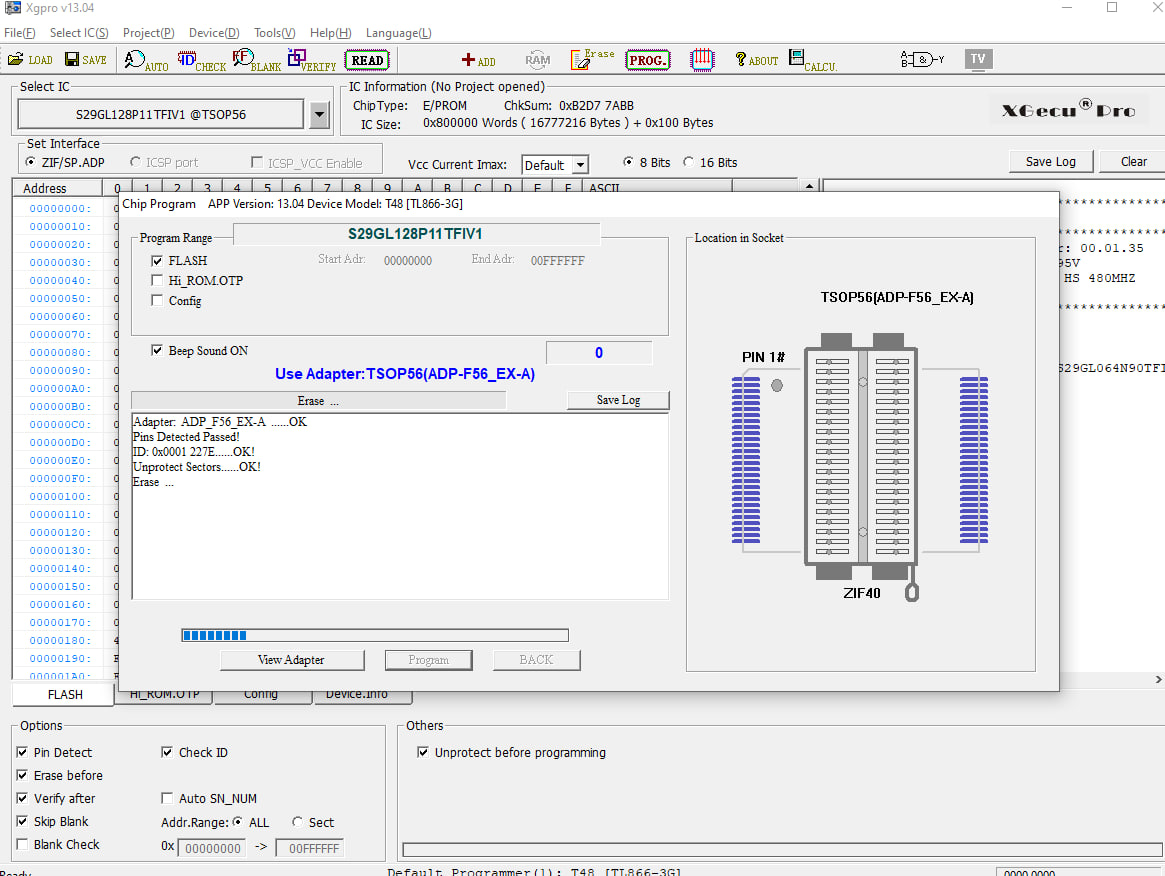
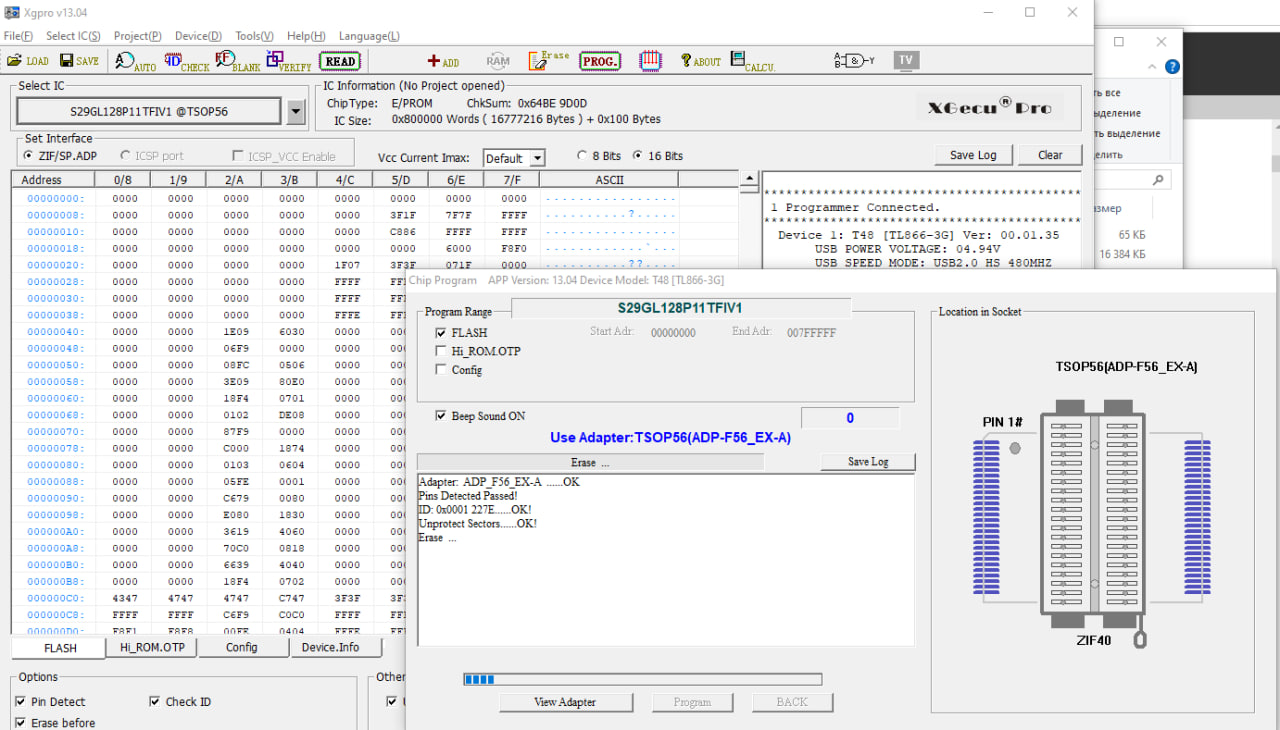
- Configure parameters in Xgpro software
- Run "Verify" to check controller ID
- Read the dump 3-4 times with reinstallation between attempts to ensure accuracy
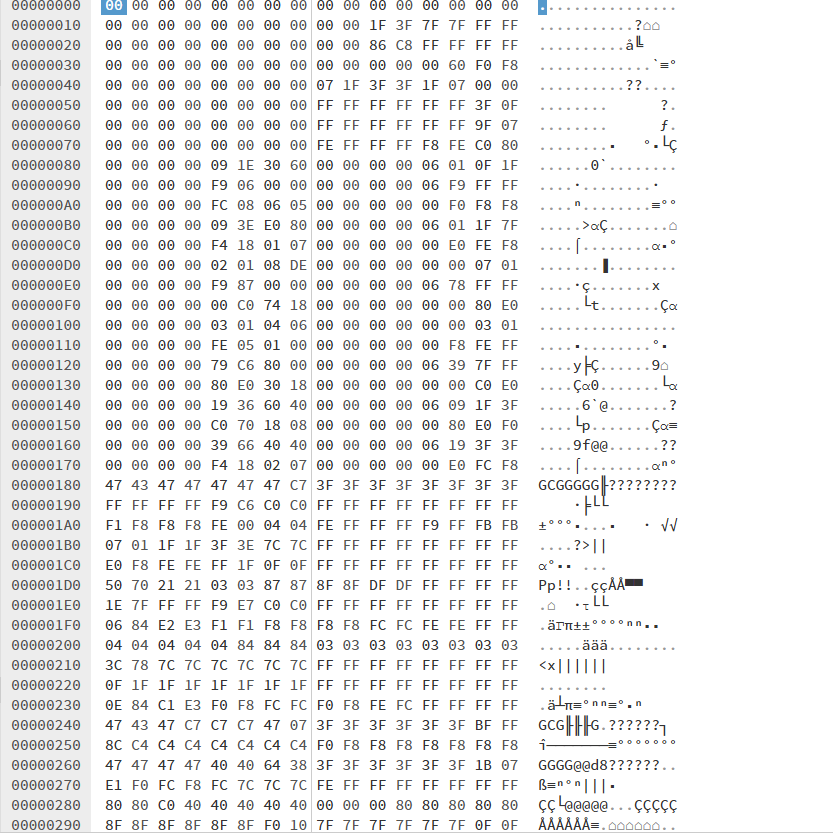
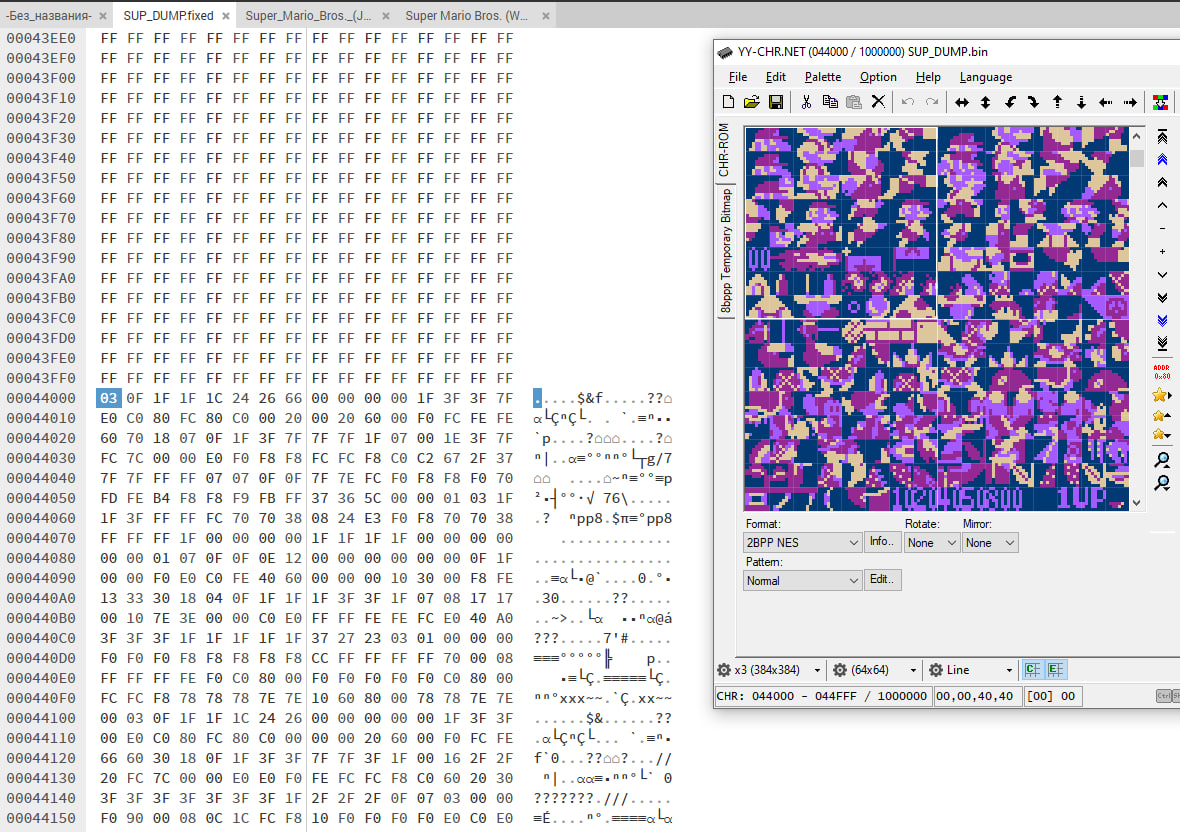
The dump revealed the flash memory is divided into CHR ROM and PRG ROM sections in an unusual arrangement, with CHR ROM appearing first. Text searches for game names yielded corrupted fragments instead of readable ASCII.
The Bit Scrambling Protection
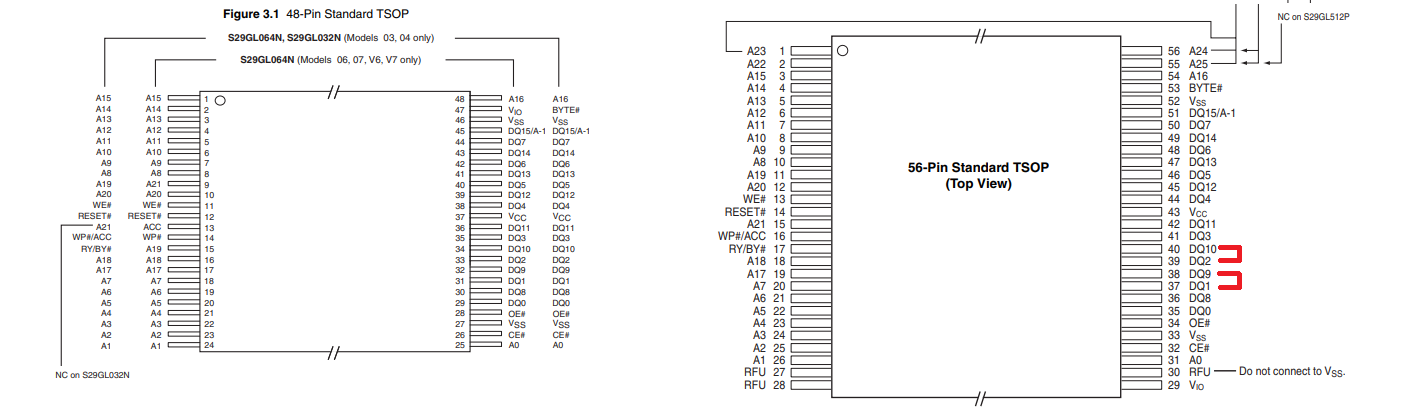
After studying other users' dumps, I discovered the protection mechanism: bit reordering on data lines. This ancient hardware protection method shuffles bits (signal lines) on the circuit board. Where DQ8 should logically appear, DQ10 might instead be routed, and DQ9 becomes DQ11, etc.
A preprocessing script reorganizes these bits so the processor sees them correctly, maintaining transparency for the system. In this console, bits DQ1 and DQ9 are swapped, as are DQ2 and DQ10.
I suspect this reflects circuit board routing constraints rather than intentional obscuration: with single-layer boards and nowhere to place zero-ohm resistors, engineers used this workaround.

Here's the solution code in C#:
private static bool GetBit(byte b, int bit)
{
    return ((b >> bit) & 0x01) == 1;
}

private static void SetBit(ref byte b, int bit, bool value)
{
    b = (byte)(value ? b | (1 << bit) : b & ~(1 << bit));
}

static void Main(string[] args)
{
    const int firstBit = 1;
    const int secondBit = 2;

    if(args.Length < 1)
    {
        Console.WriteLine("Usage VTFasoler ");
        return;
    }

    string fileName = args[0];
    string ext = Path.GetExtension(fileName);

    FileStream input = File.OpenRead(args[0]);
    FileStream output = File.Create(Path.GetFileNameWithoutExtension(args[0]) +
        (ext == ".bin" ? ".fixed" : ".bin"));

    byte[] data = new byte[input.Length];
    input.Read(data, 0, data.Length);

    // VT chipsets swap D1 with D9 and D2 with D10
    for(int i = 0; i < data.Length / 2; i++)
    {
        byte b1 = data[i * 2];
        byte b2 = data[i * 2 + 1];
        byte tmp = b1;

        SetBit(ref b1, firstBit, GetBit(b2, firstBit));
        SetBit(ref b1, secondBit, GetBit(b2, secondBit));

        SetBit(ref b2, firstBit, GetBit(tmp, firstBit));
        SetBit(ref b2, secondBit, GetBit(tmp, secondBit));

        data[i * 2] = b1;
        data[i * 2 + 1] = b2;
    }

    output.Write(data, 0, data.Length);
    output.Close();
    input.Close();
}
Reverse Engineering the ROM Structure
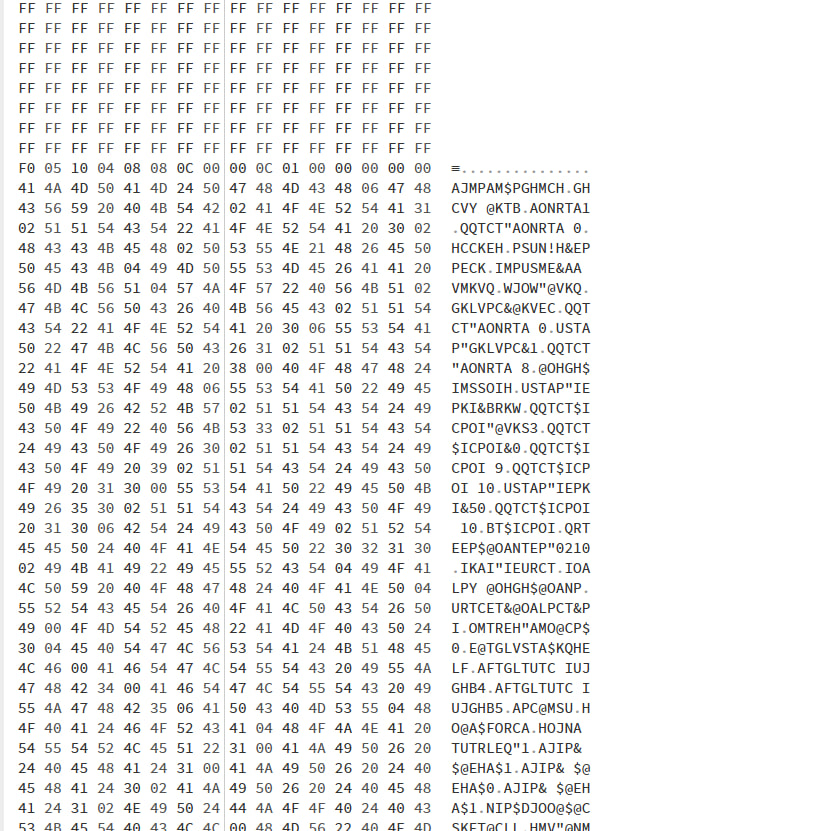
After fixing the bit scrambling, I searched for game name strings but found the text pool separate from game descriptions. The official NesMaker utility output confirmed games use a structure format without separate string pools.
NES ROM files have a fixed format with two sections:
- PRG ROM: Contains game code
- CHR ROM: Contains graphics
Since .nes files specify mapper type and section sizes, games can be replaced by finding existing game sections via byte patterns and swapping them. However, this only works for games with identical mappers and identical section sizes.
The Replacement Process
Here's the step-by-step replacement process:
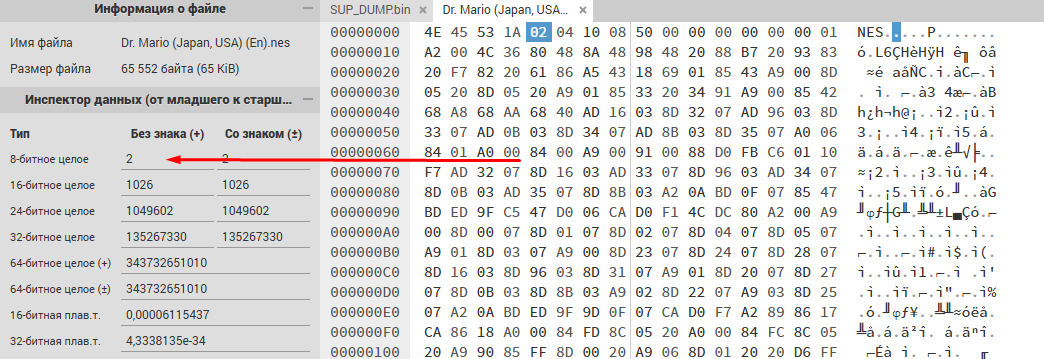
- Open the desired game in a hex editor, find byte 5: it displays PRG ROM size (blocks of 16,384 bytes)
- The next byte shows CHR ROM size (blocks of 8,192 bytes)
- Dr. Mario example: PRG = 2 blocks (32,768 bytes), CHR = 4 blocks (32,768 bytes)
- From byte 17 onward, select and copy PRG ROM data matching the calculated size
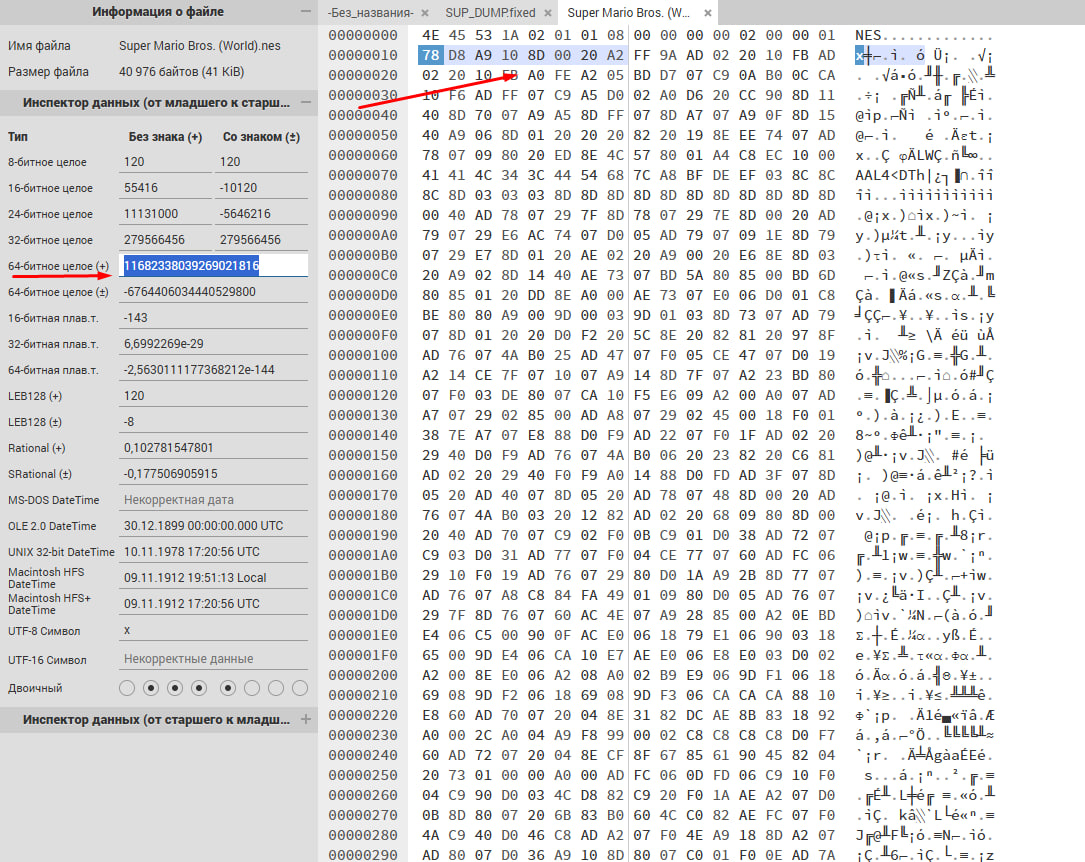
- Find the replacement game's PRG ROM by searching for an 8-byte pattern starting ~64-128 bytes into the section
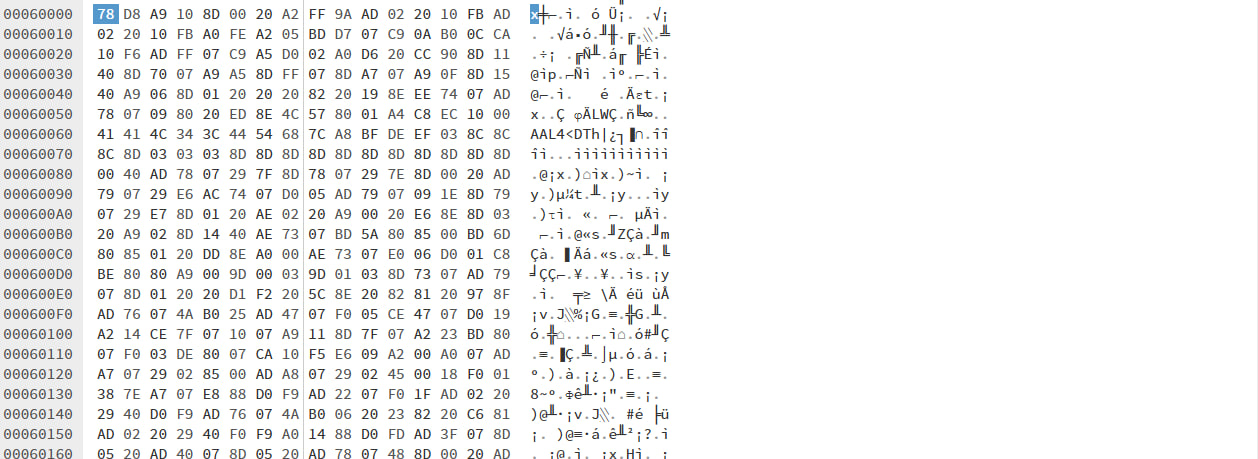
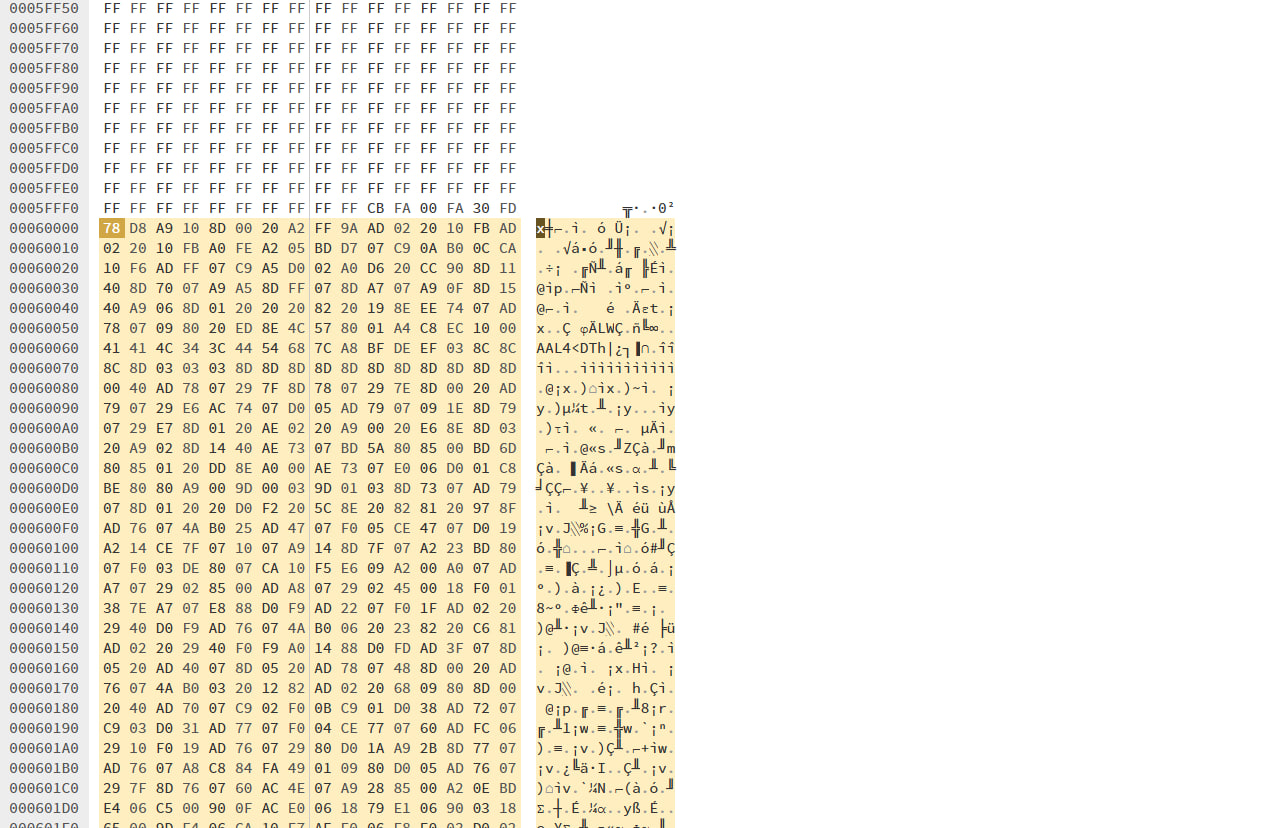
- Example pattern: "78 D8 A9 10 8D 00 20 A2"
- Locate the pattern in the dump, position cursor at PRG ROM section start
- Insert copied data, replacing existing content
- Repeat for CHR ROM (verify with YY-CHR sprite viewer)
- Update the game name in the string pool without exceeding the null terminator


Does It Actually Work?
After writing the modified dump back to flash, I reassembled the console. If it displays only a black screen without backlight, it means a signal line contact was broken, requiring re-soldering. The flash chip had a slightly bent casing, requiring 2-3 re-soldering cycles before stable operation.
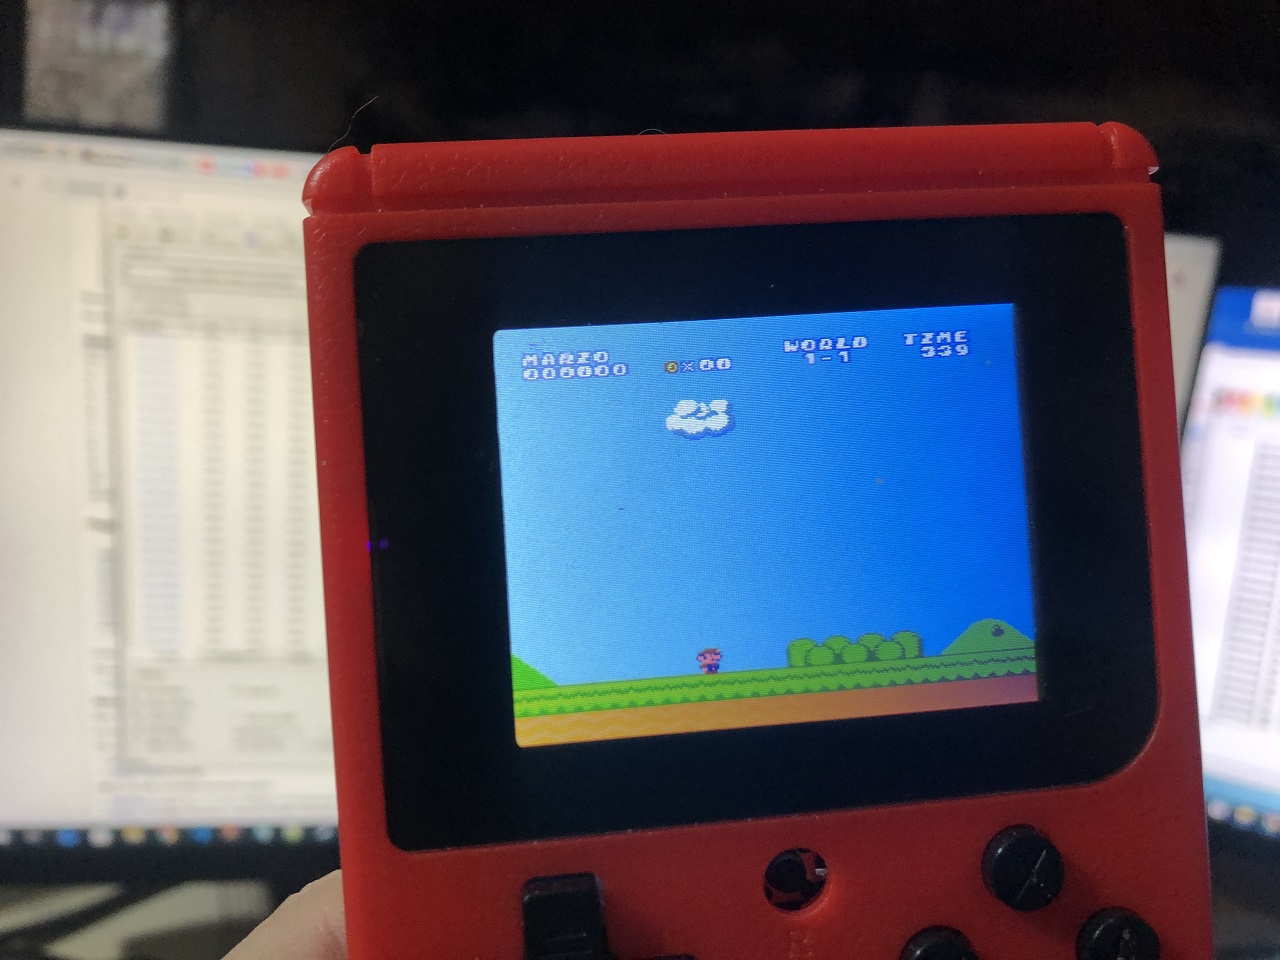
Result: The modified Mario hack ran perfectly on the console!
Conclusion
The Sup GameBox represents the most accessible device for writing homebrew for NES and testing on real hardware. While V.R.T hasn't released a development kit version due to piracy concerns, the company appears interested in engaging the demoscene and DIY communities during what I consider an ideal era for hobbyist hardware development.
I hope that custom games might eventually appear on these devices. If you're interested in following along, check out my Telegram channel "Клуб фанатов балдежа" and YouTube channel for updates.

FAQ
What is this article about in one sentence?
This article explains the core idea in practical terms and focuses on what you can apply in real work.
Who is this article for?
It is written for engineers, technical leaders, and curious readers who want a clear, implementation-focused explanation.
What should I read next?
Use the related articles below to continue with closely connected topics and concrete examples.