Digital Black and White Photography
A comprehensive guide to black-and-white photography with digital cameras, covering in-camera B&W modes, infrared photography, post-processing techniques including color filter simulation, vignetting, grain effects, and sfumato.
Hello! I want to share my experience of black-and-white photography with digital cameras and talk about some aspects of how monochrome photographs are perceived. I'll try not to focus on any specific program but rather explain the general principles.
I've been into photography for quite a long time; my interest was passed down from my father, who was an amateur photographer. He shot a lot for himself and on commission. He would spend entire nights printing stacks of prints that dried all over the house on clotheslines. We had several cameras, a photo enlarger, and many books about photography, plus a whole stack of the wonderful magazine "Sovetskoye Foto," which in the late eighties was truly on fire. I gazed enviously at the captivating landscapes with deep contrasty light and black skies with bright clouds.
Advantages of Black-and-White Photography
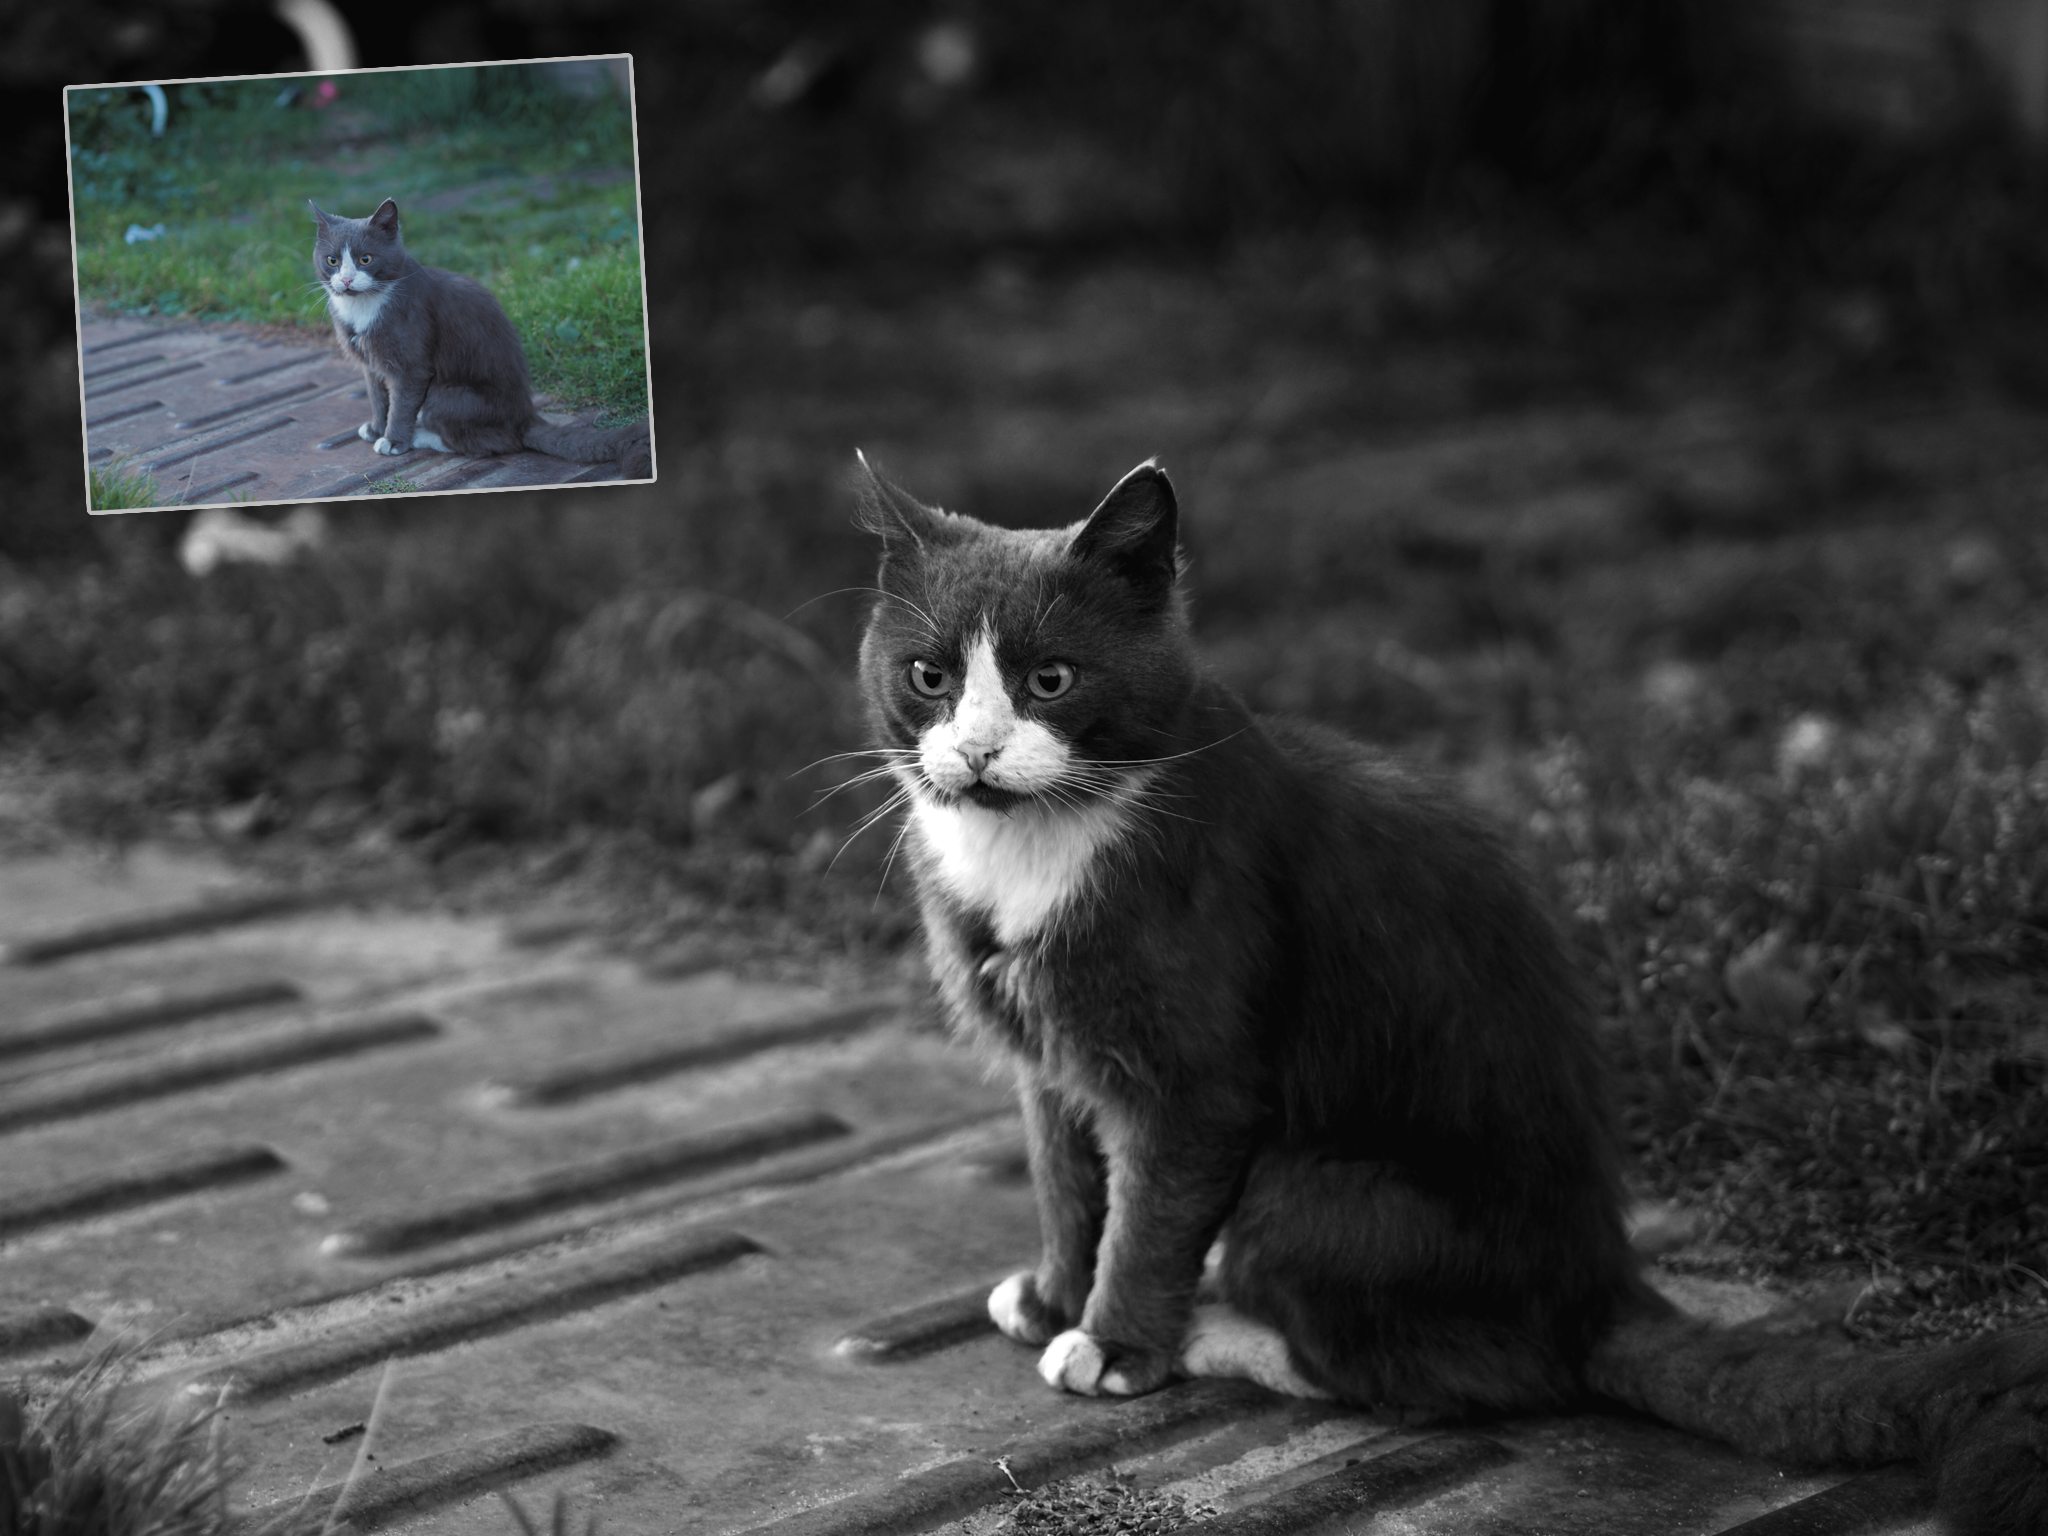
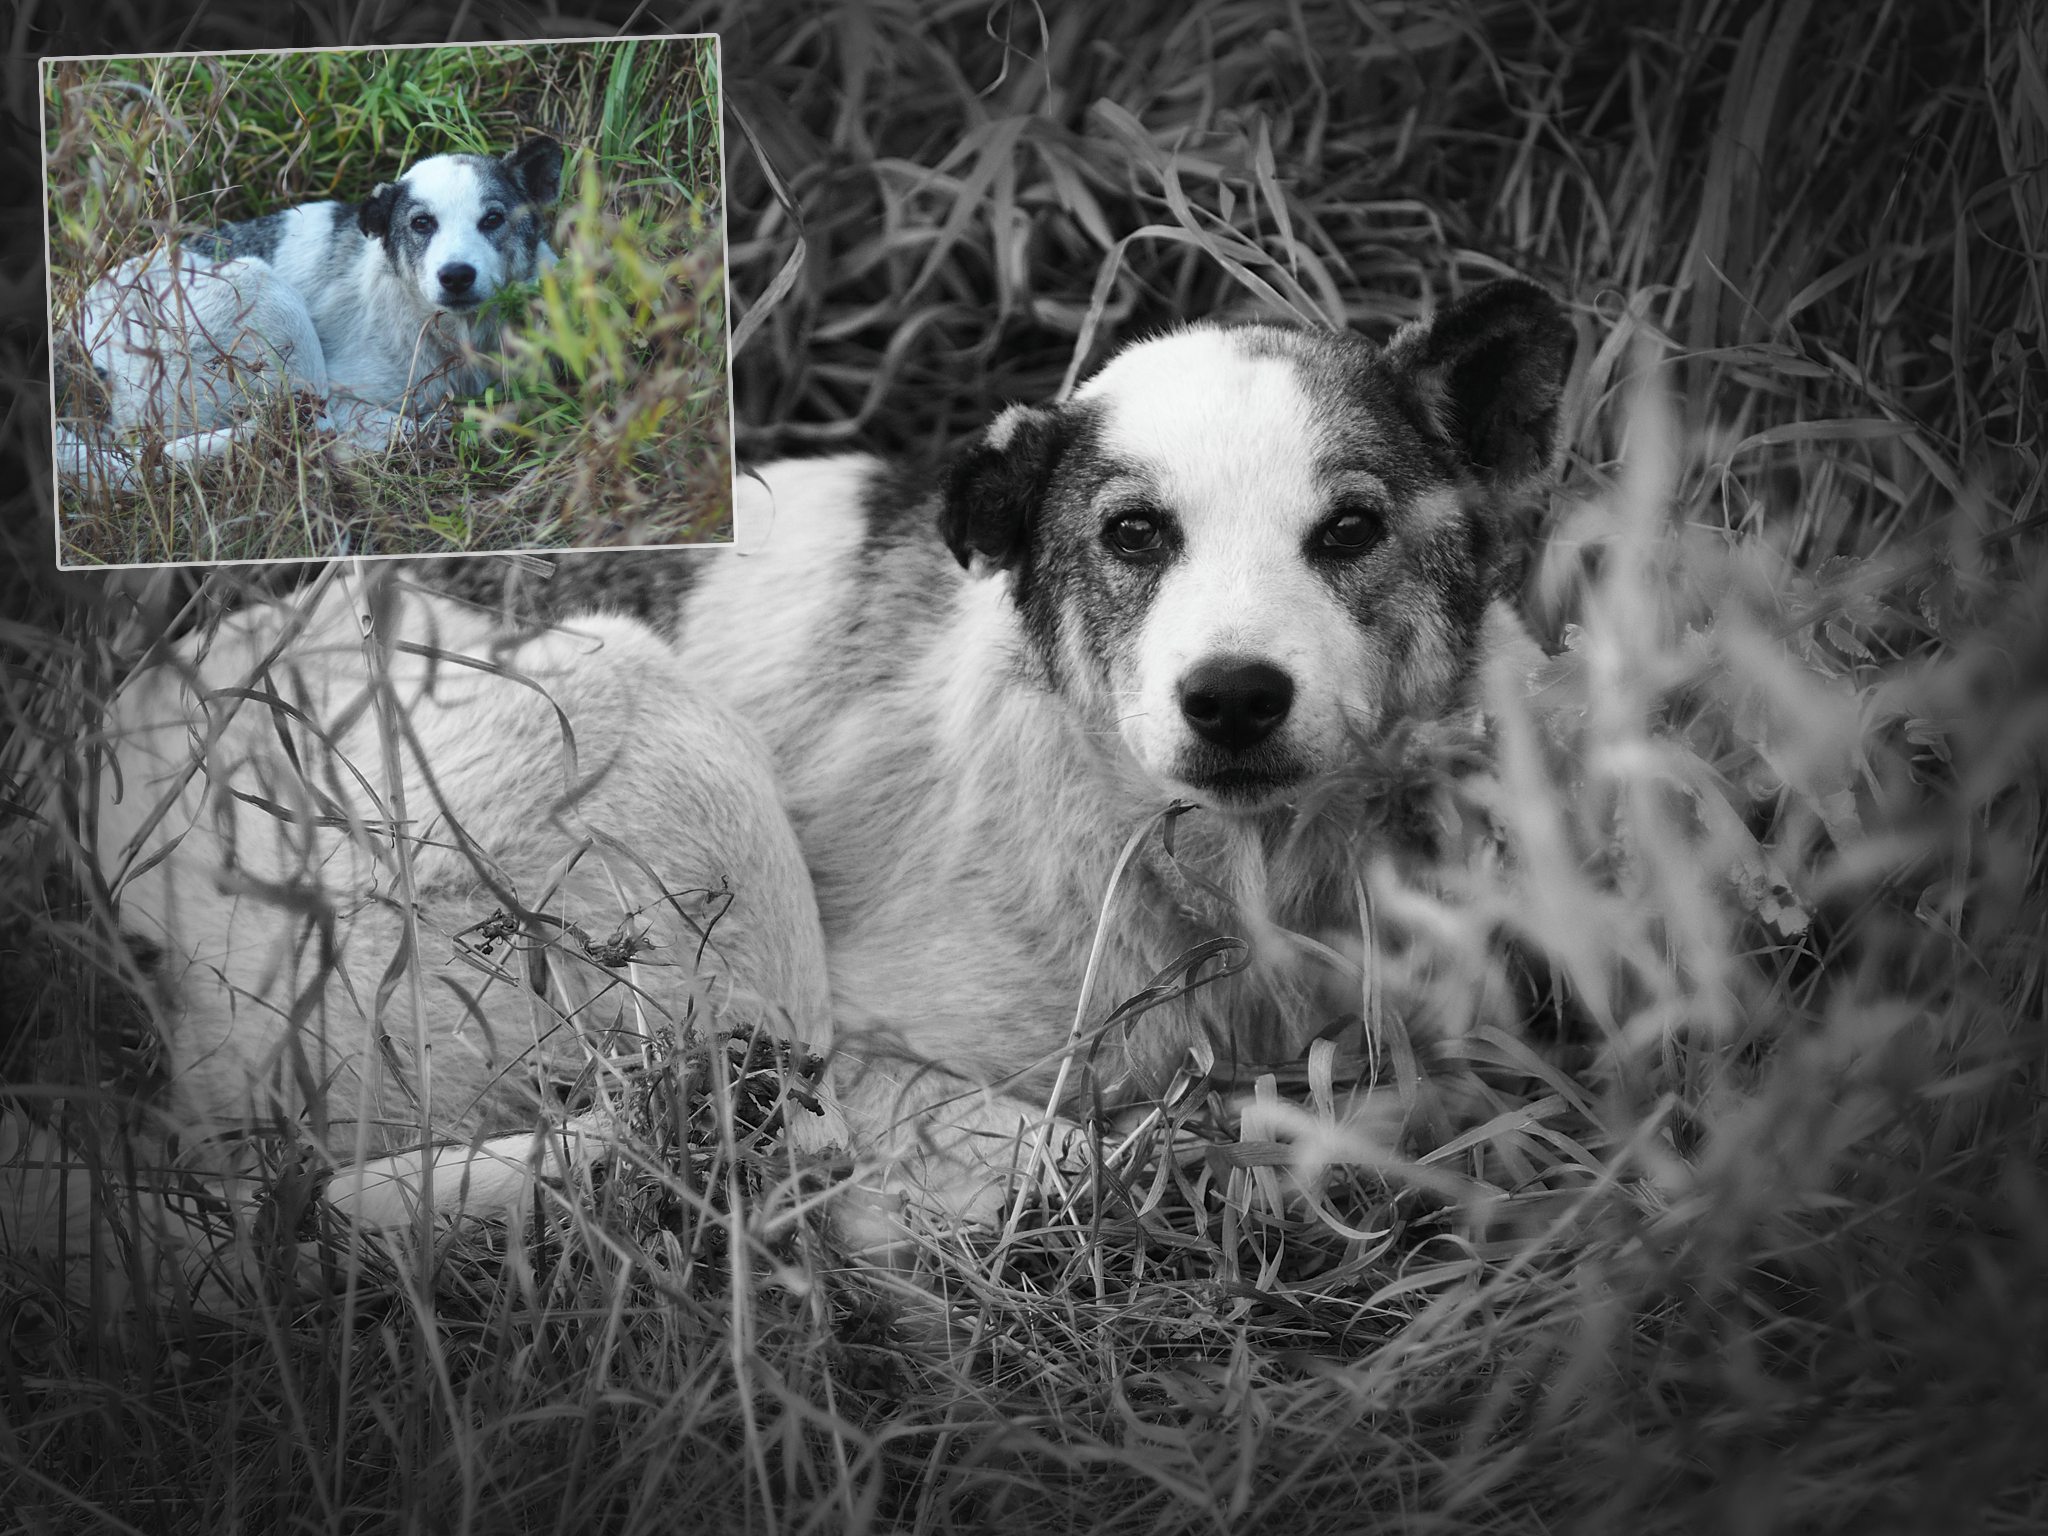
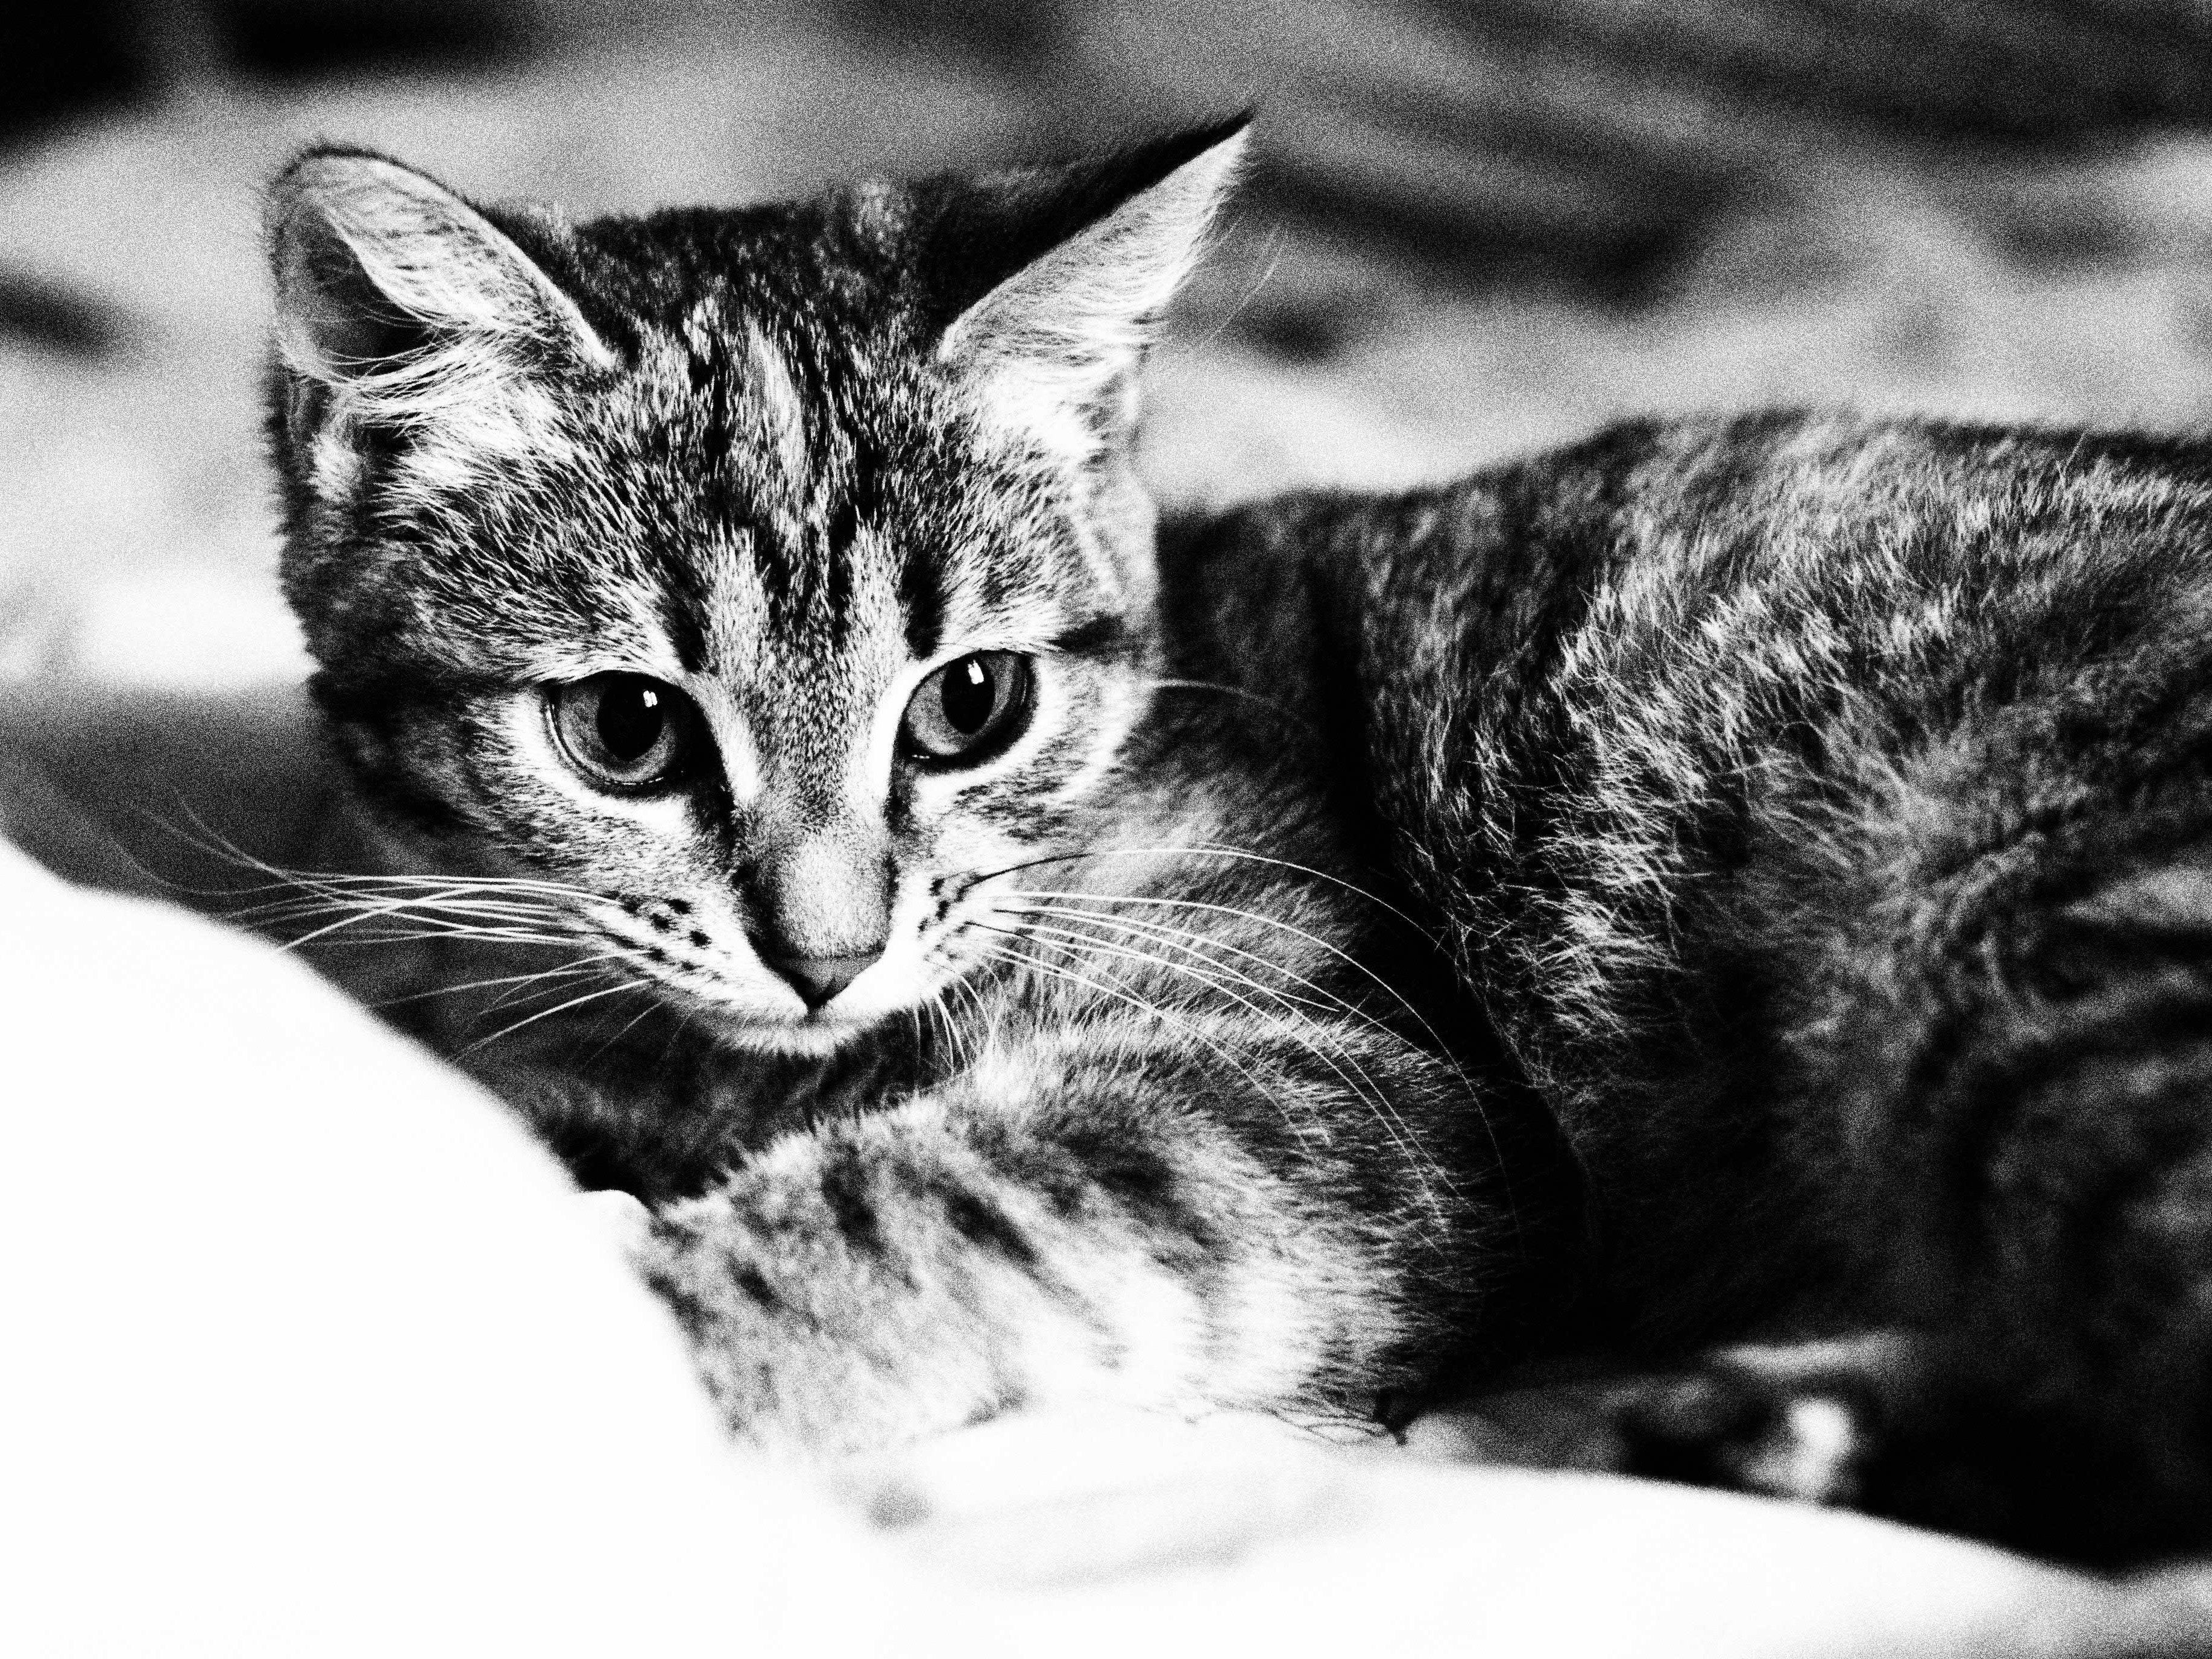
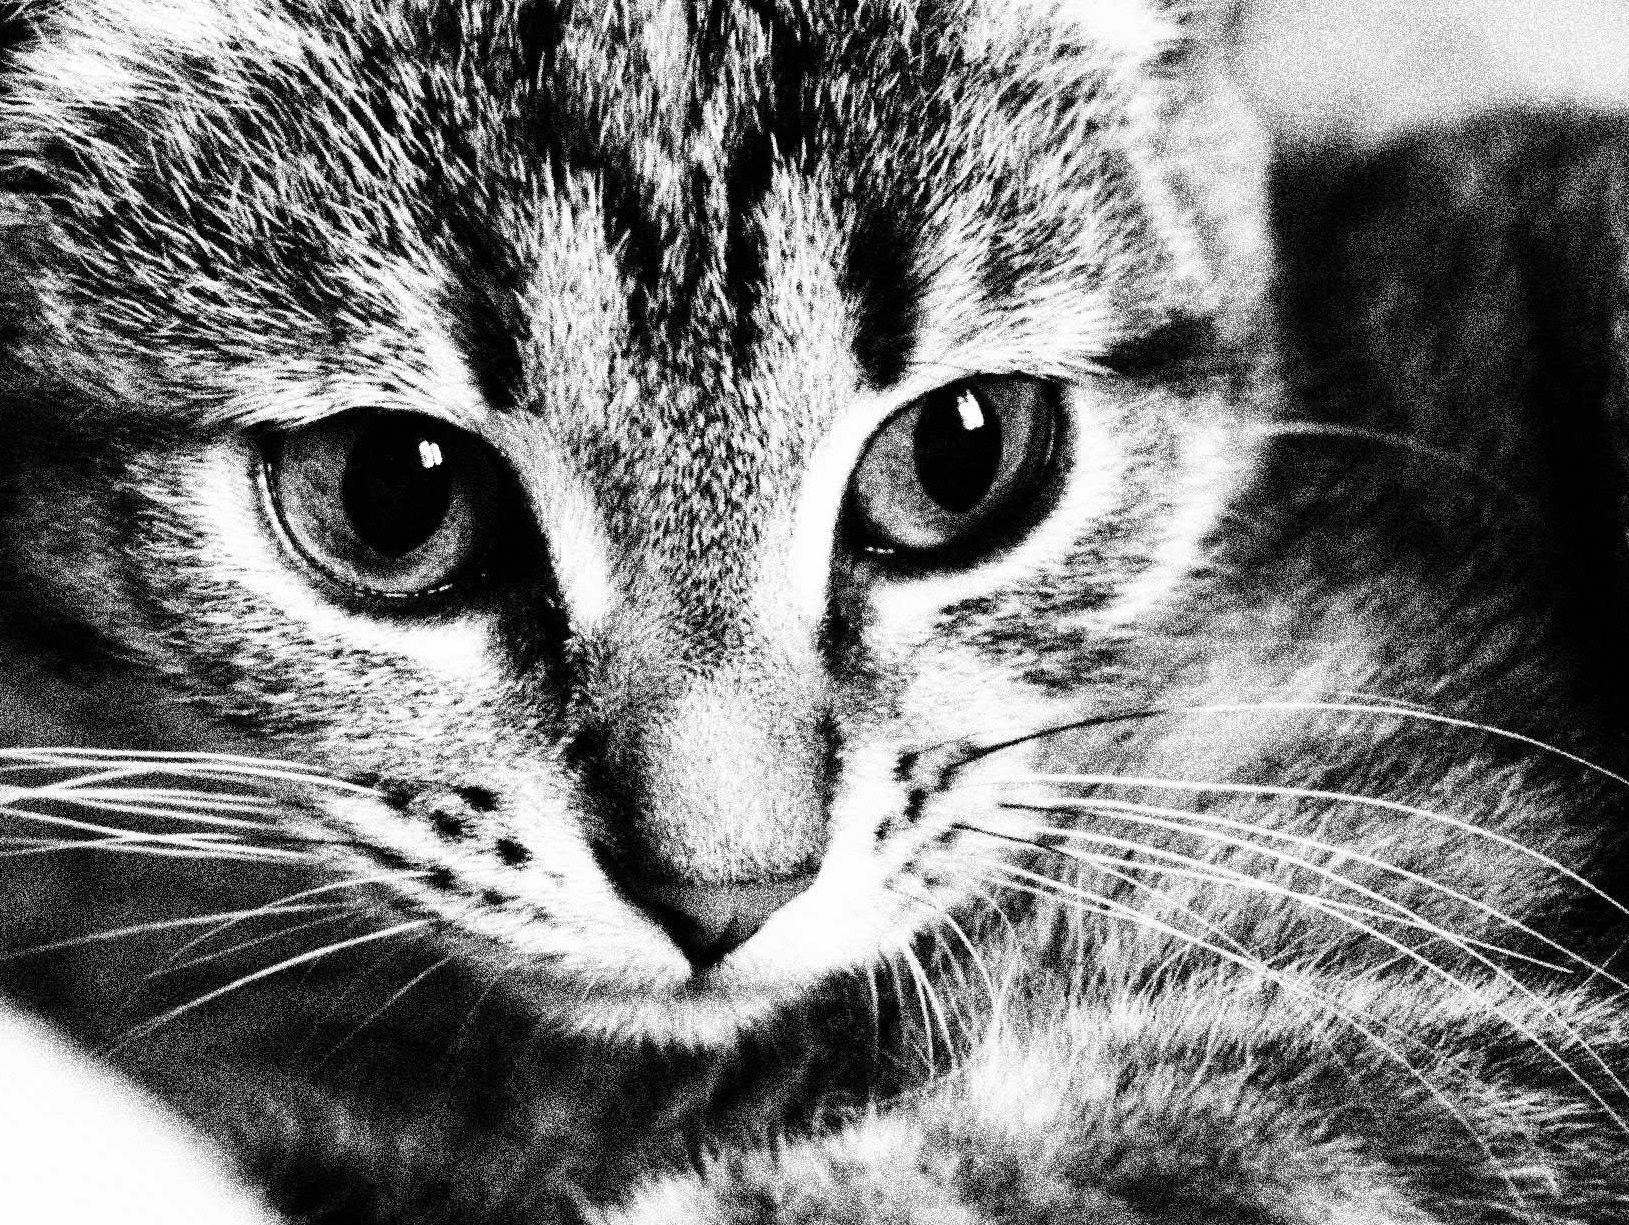
The absence of color information focuses attention on light and shadow, composition, and subject. Some shots are transformed in black and white.
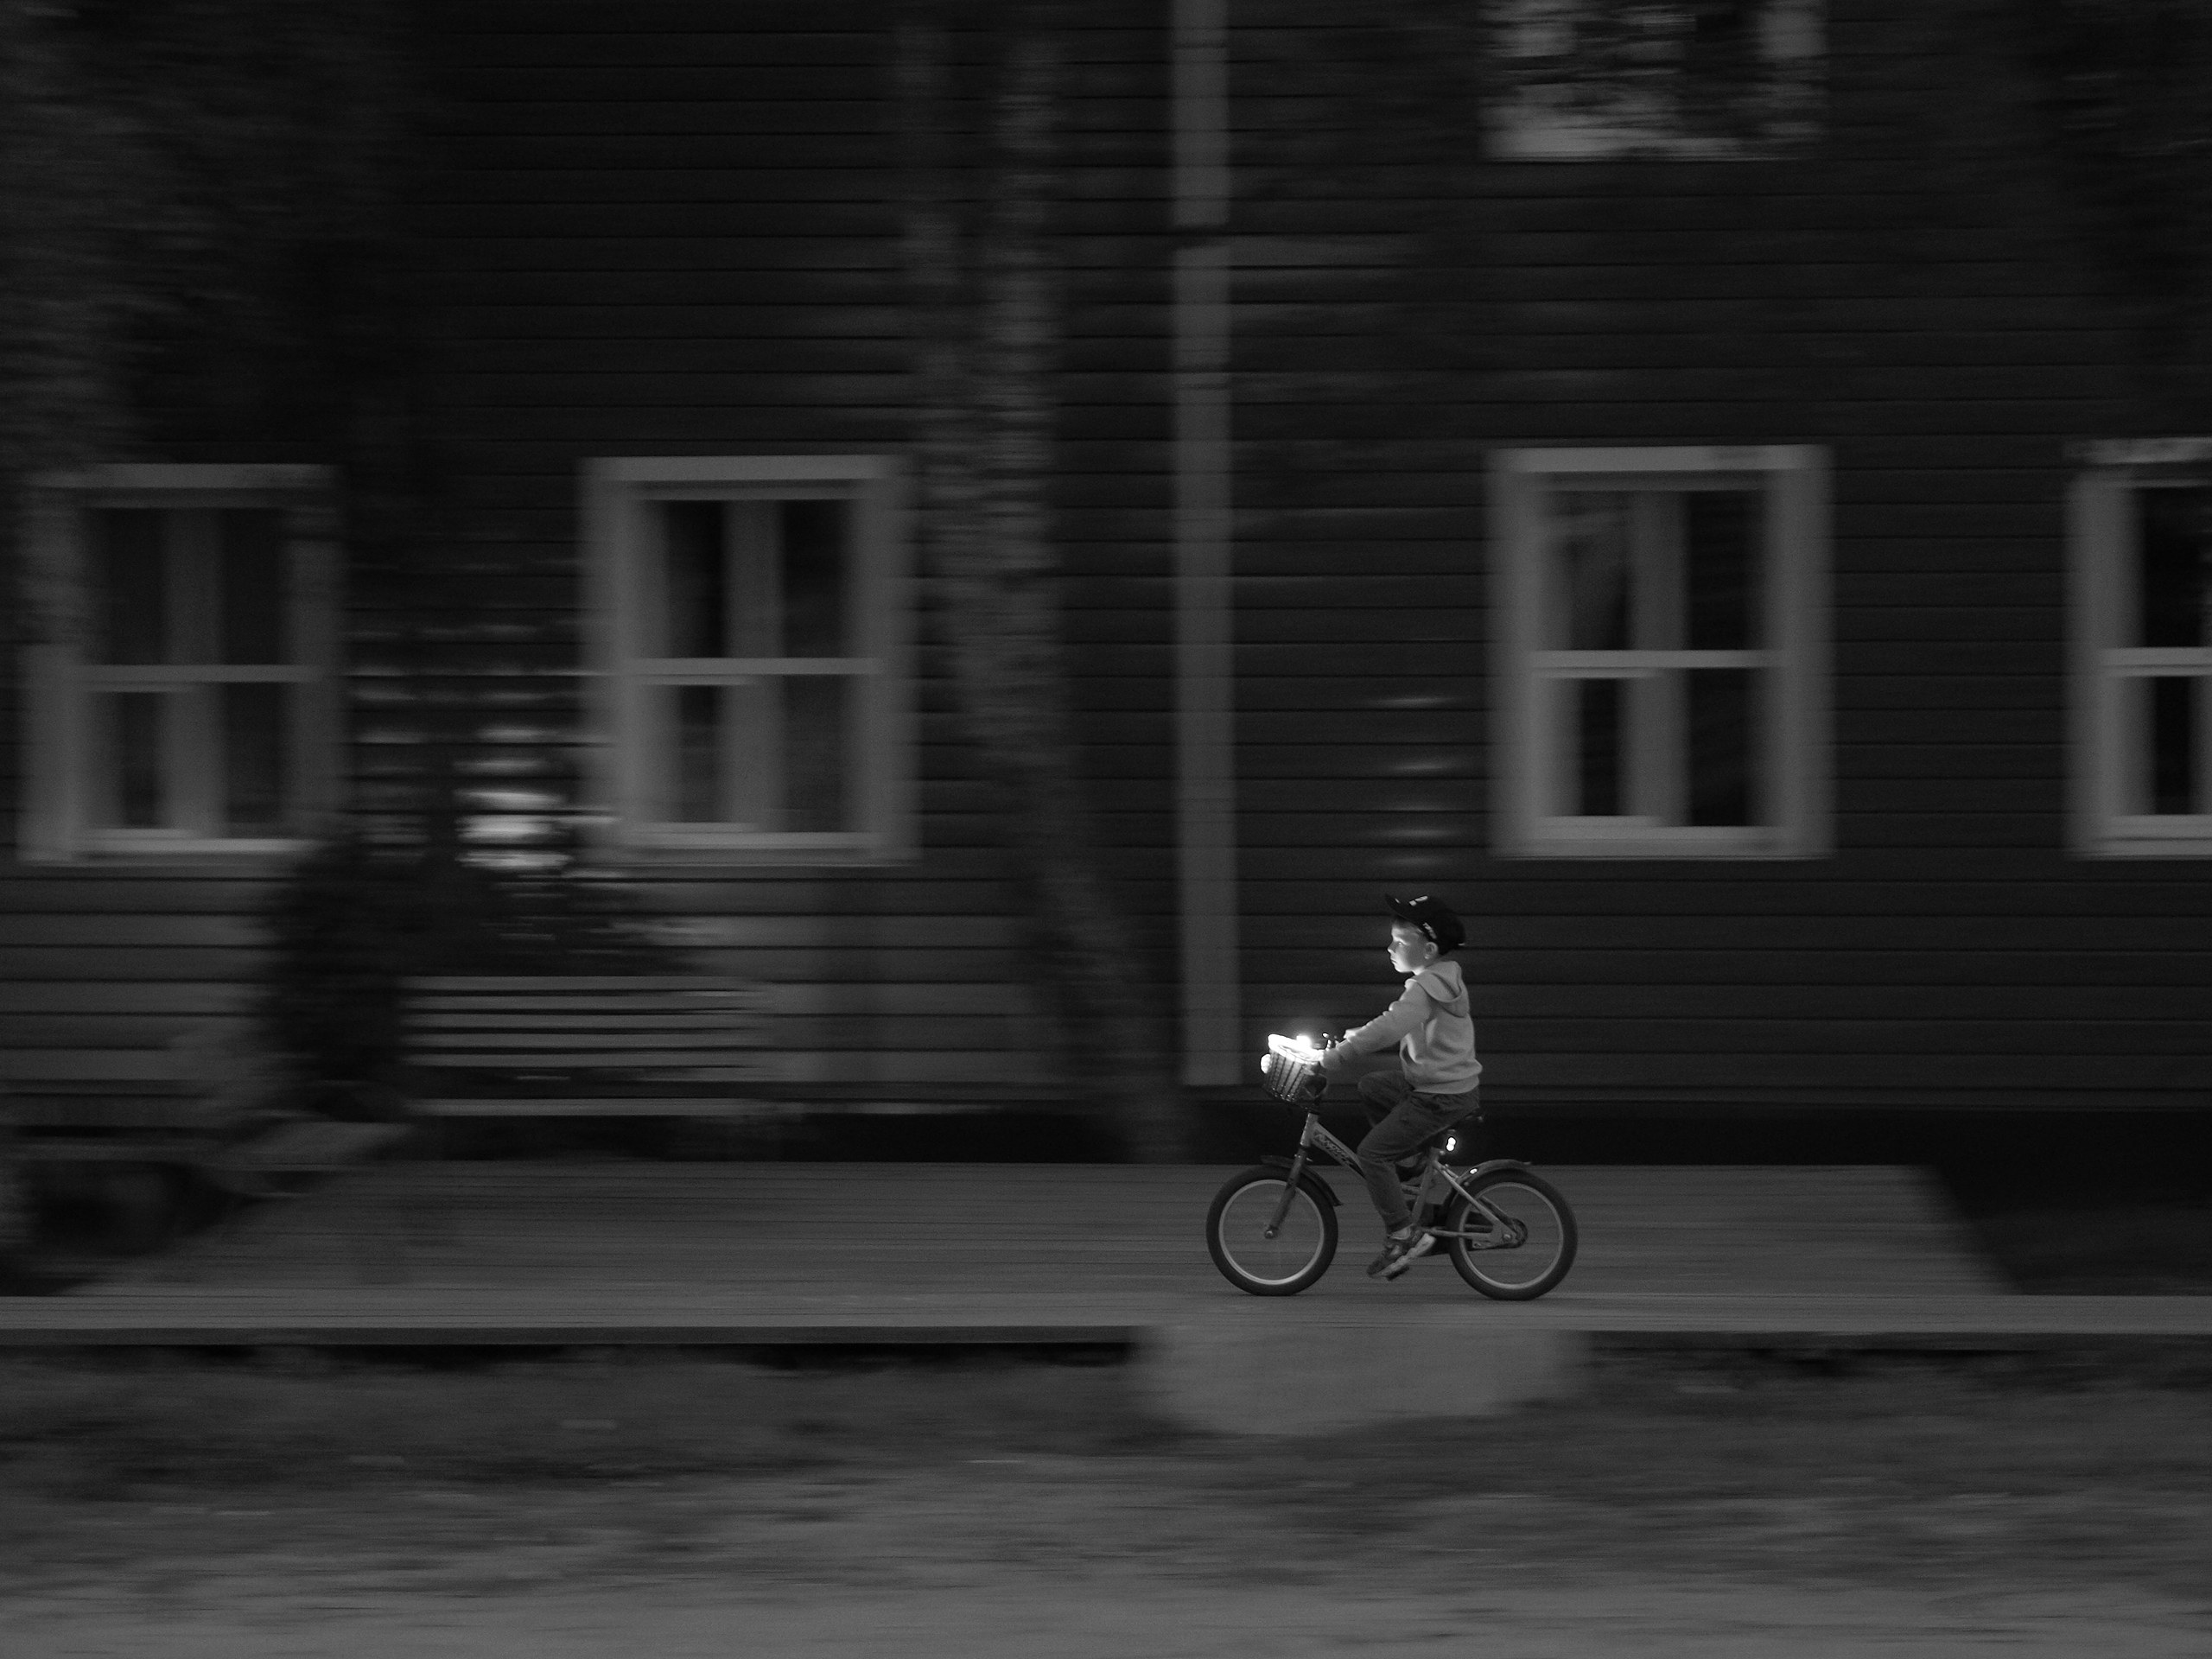
Boy on a bicycle. One of my favorite shots, taken directly in JPEG without a color duplicate. Behind him was a bright brown wall and there was dim, dreary light from a twilight sky with a pronounced blueness. Such an abundance of color would have worsened the image.
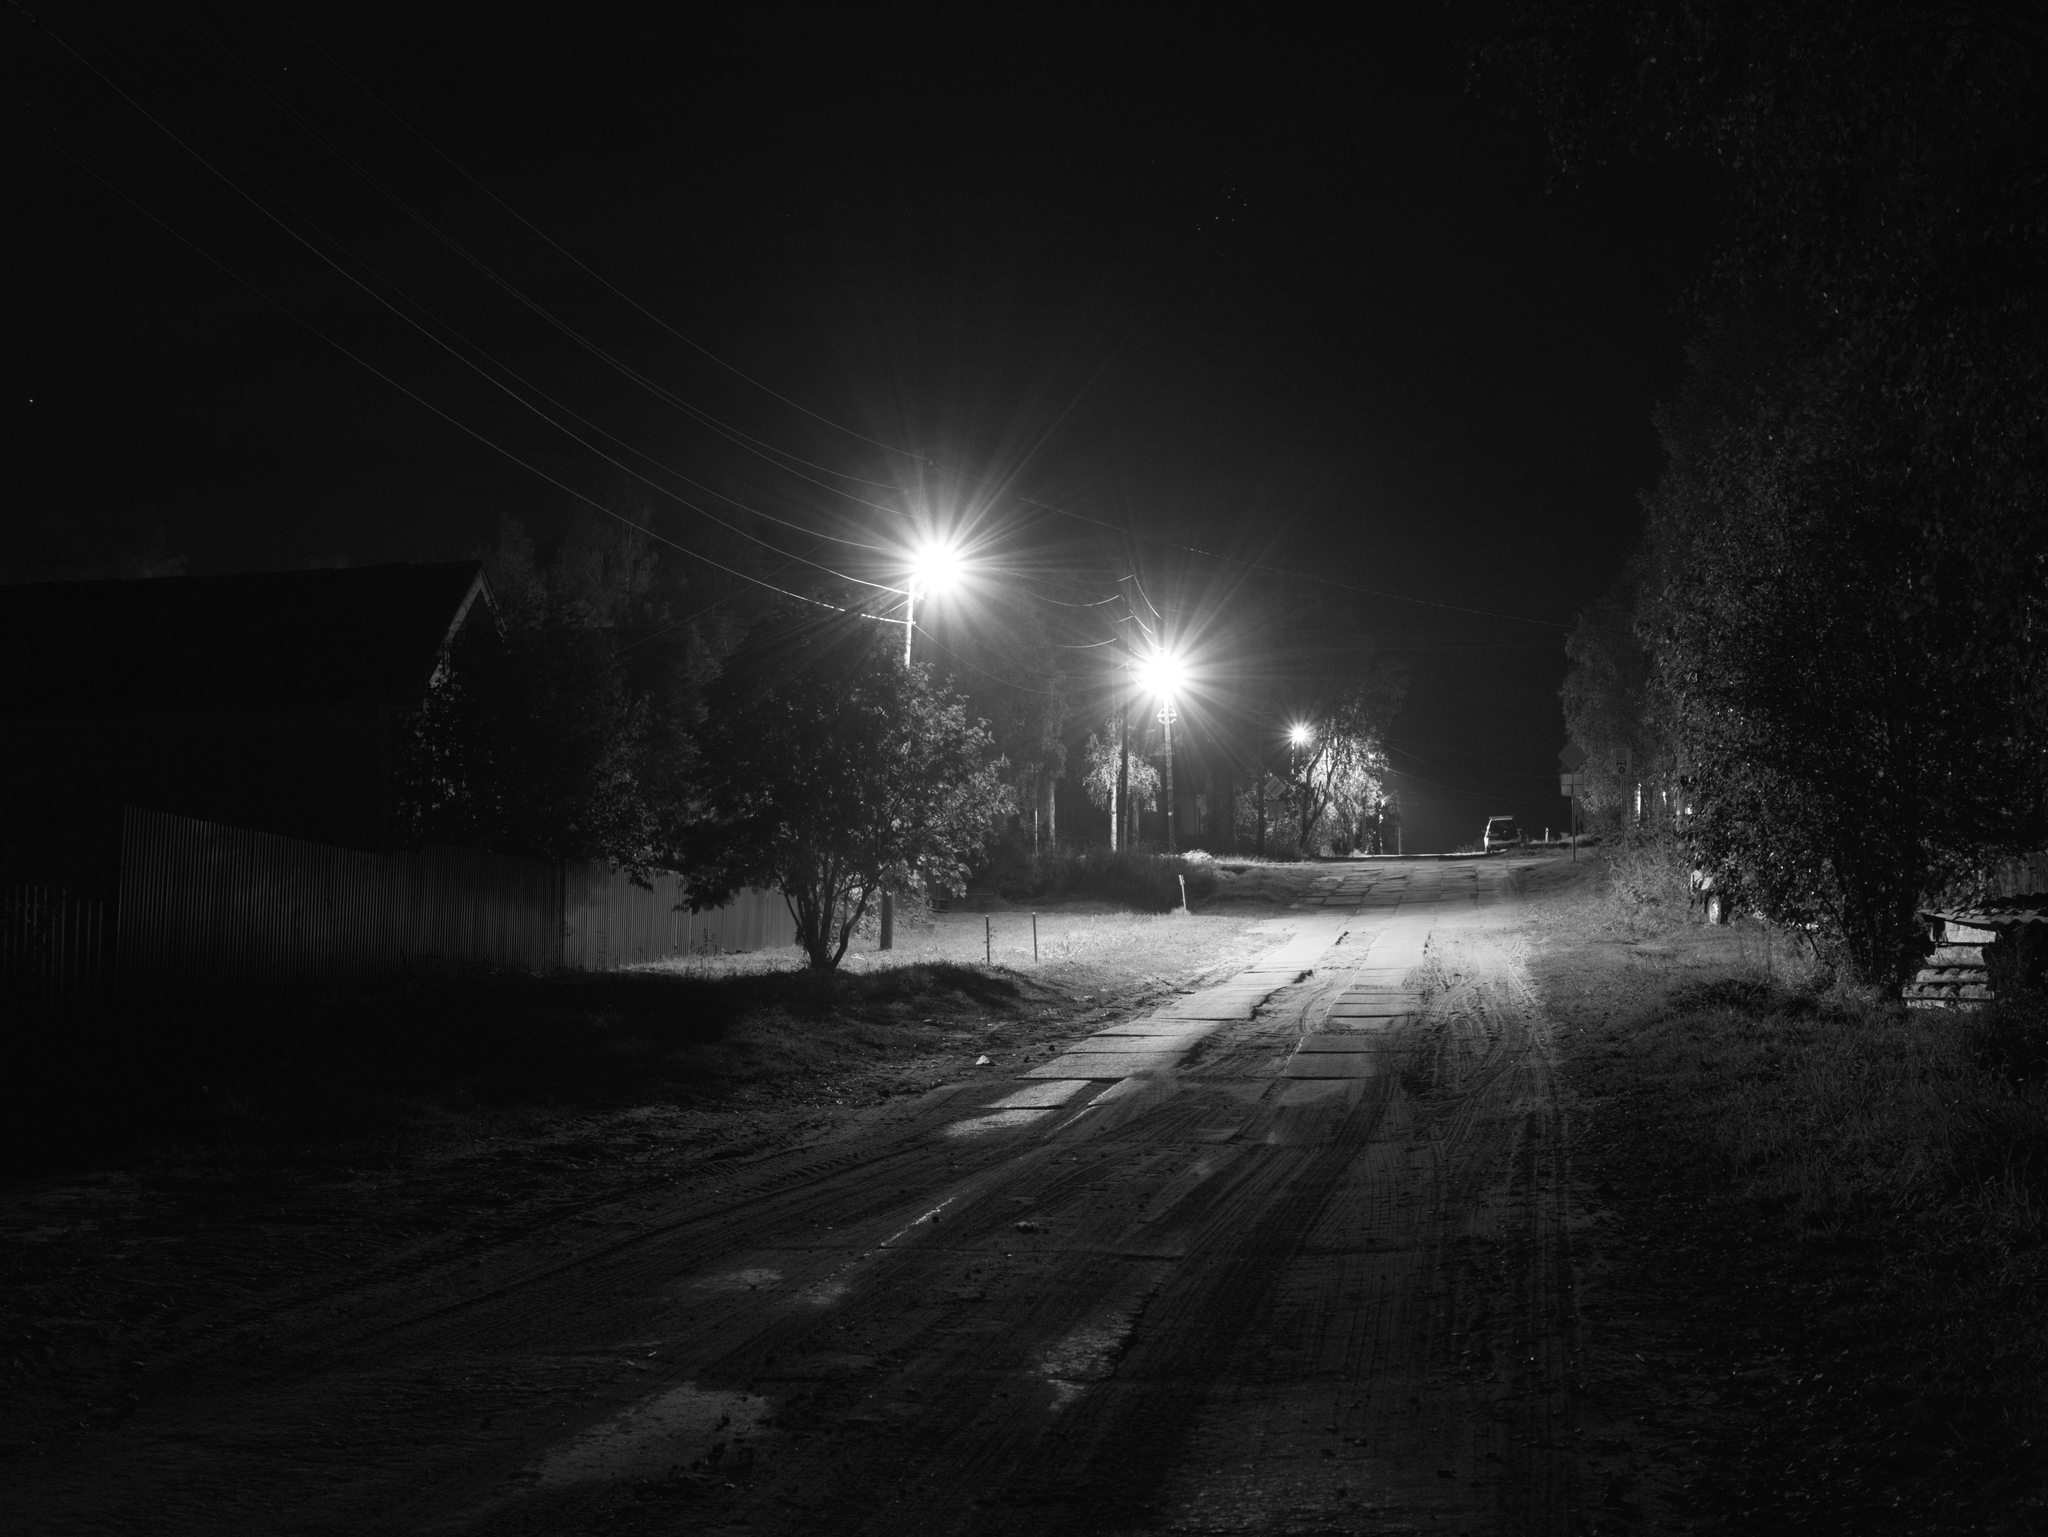
You can shoot at high ISO values — desaturation masks color noise. This provides a cool experience when you set your camera to ISO 1600 or higher and shoot at night handheld. The feeling is as if you're using high-sensitivity grainy film.
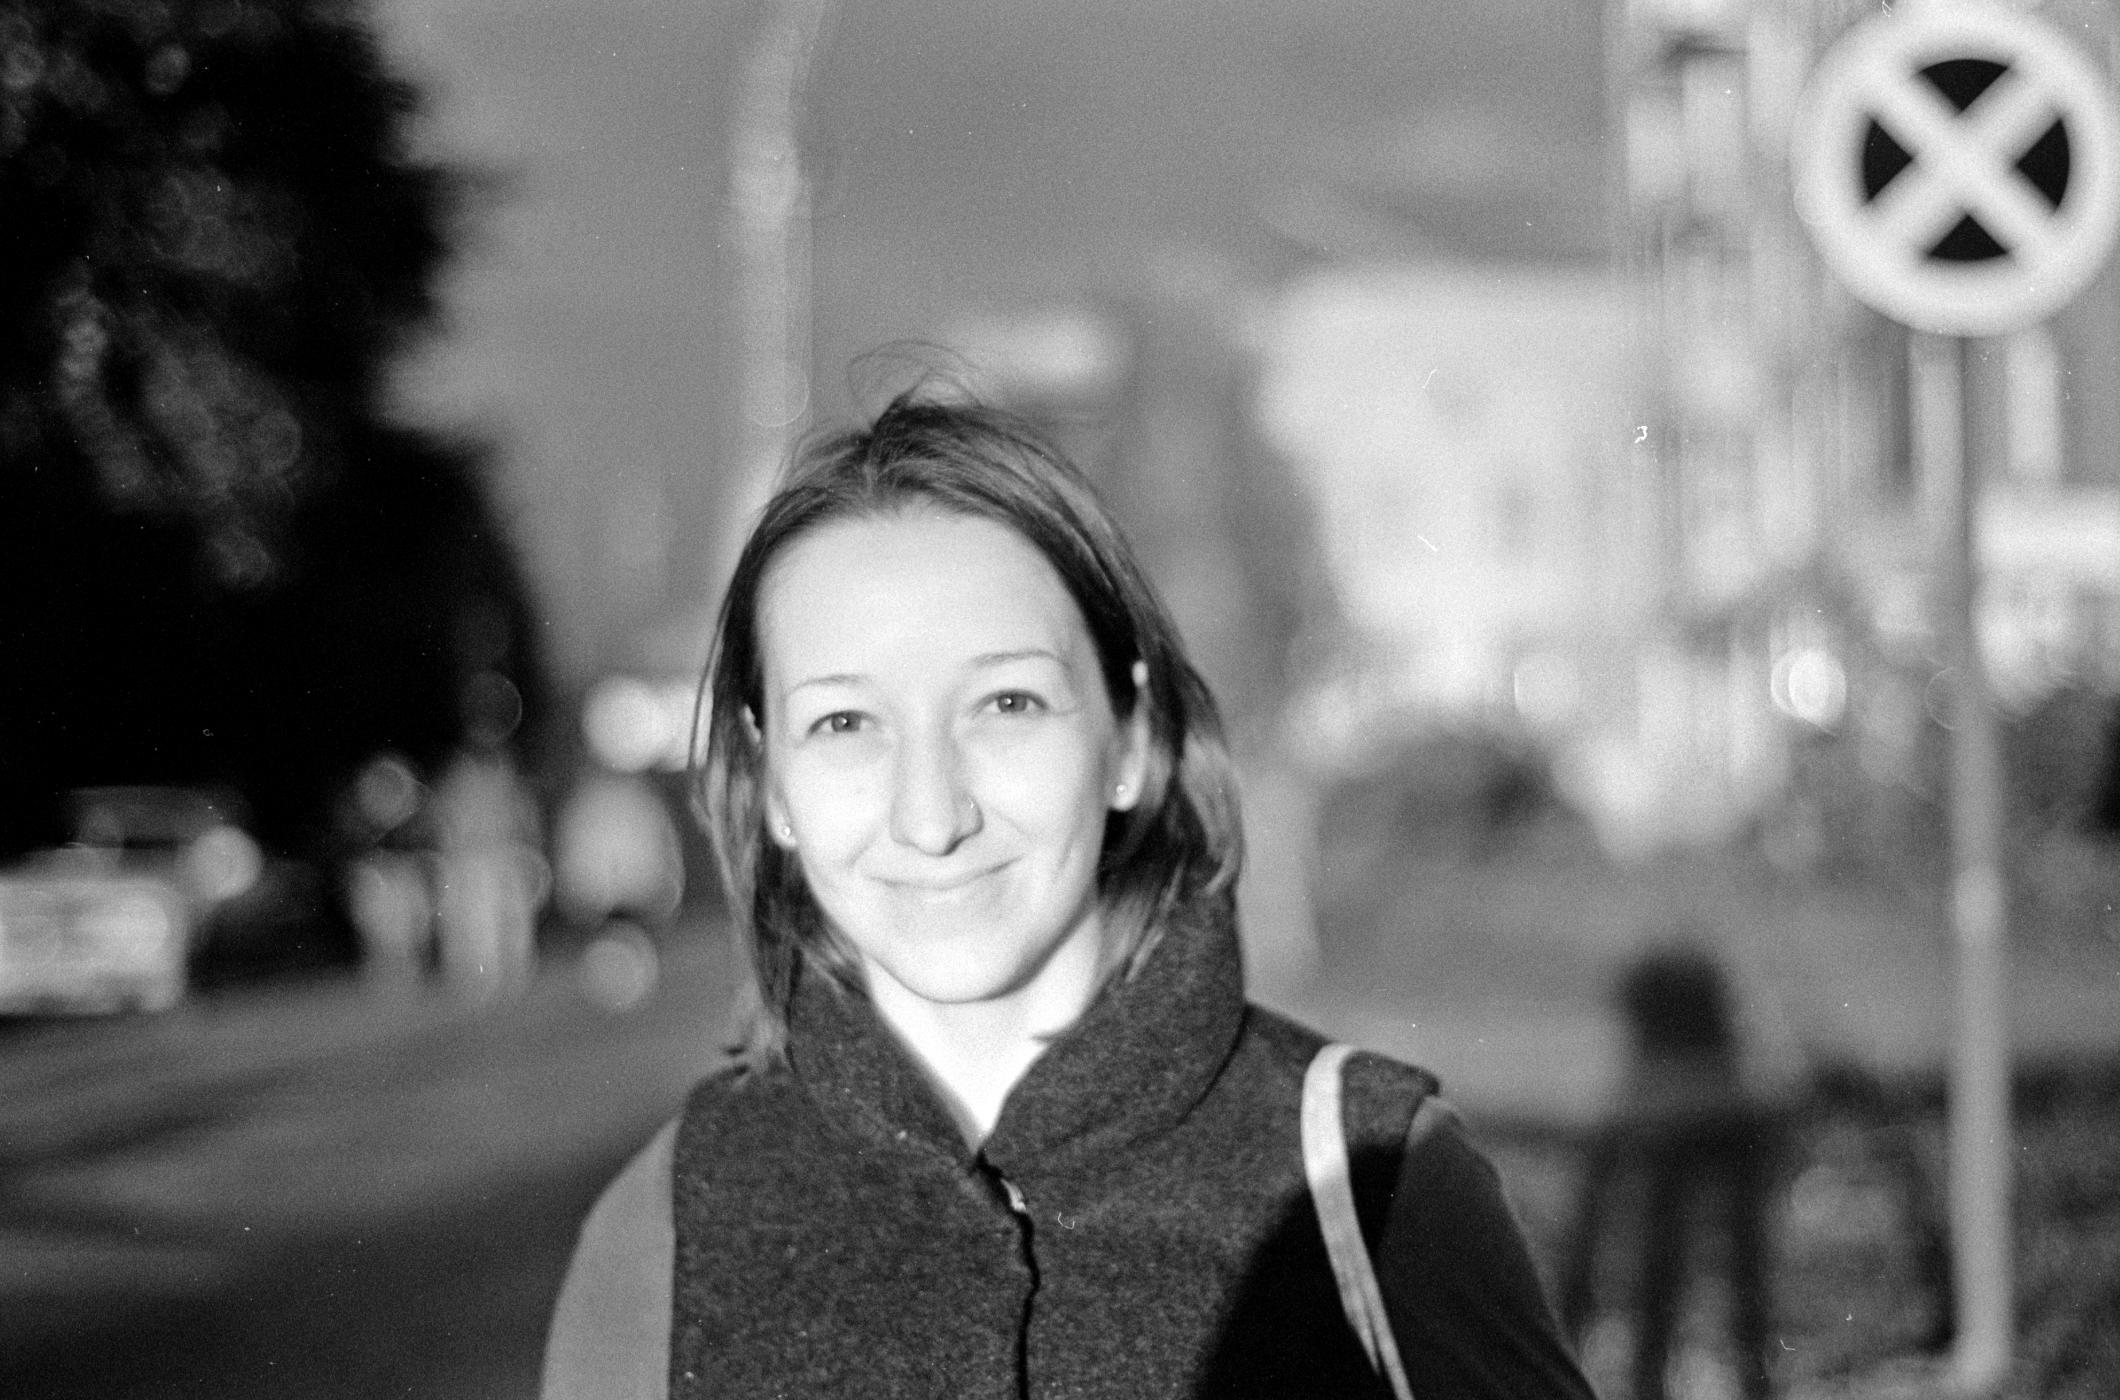
It helps with poor or unflattering lighting. I've had many instances where the lighting at a shooting location had a strong color cast or bad spectrum, causing people to look like zombies with horrible skin tones. Black-and-white mode fixes the problem in one fell swoop, and interestingly, people readily accept such photographs.
It's not afraid of overexposure and deep shadows. When shooting in color, you have to control bright areas of the image so they don't exceed the range of reproducible tones or colors, turning into flat "pancakes" of pure white or desaturated blotches. Black-and-white photography is tolerant of exposure errors and forgives color problems.
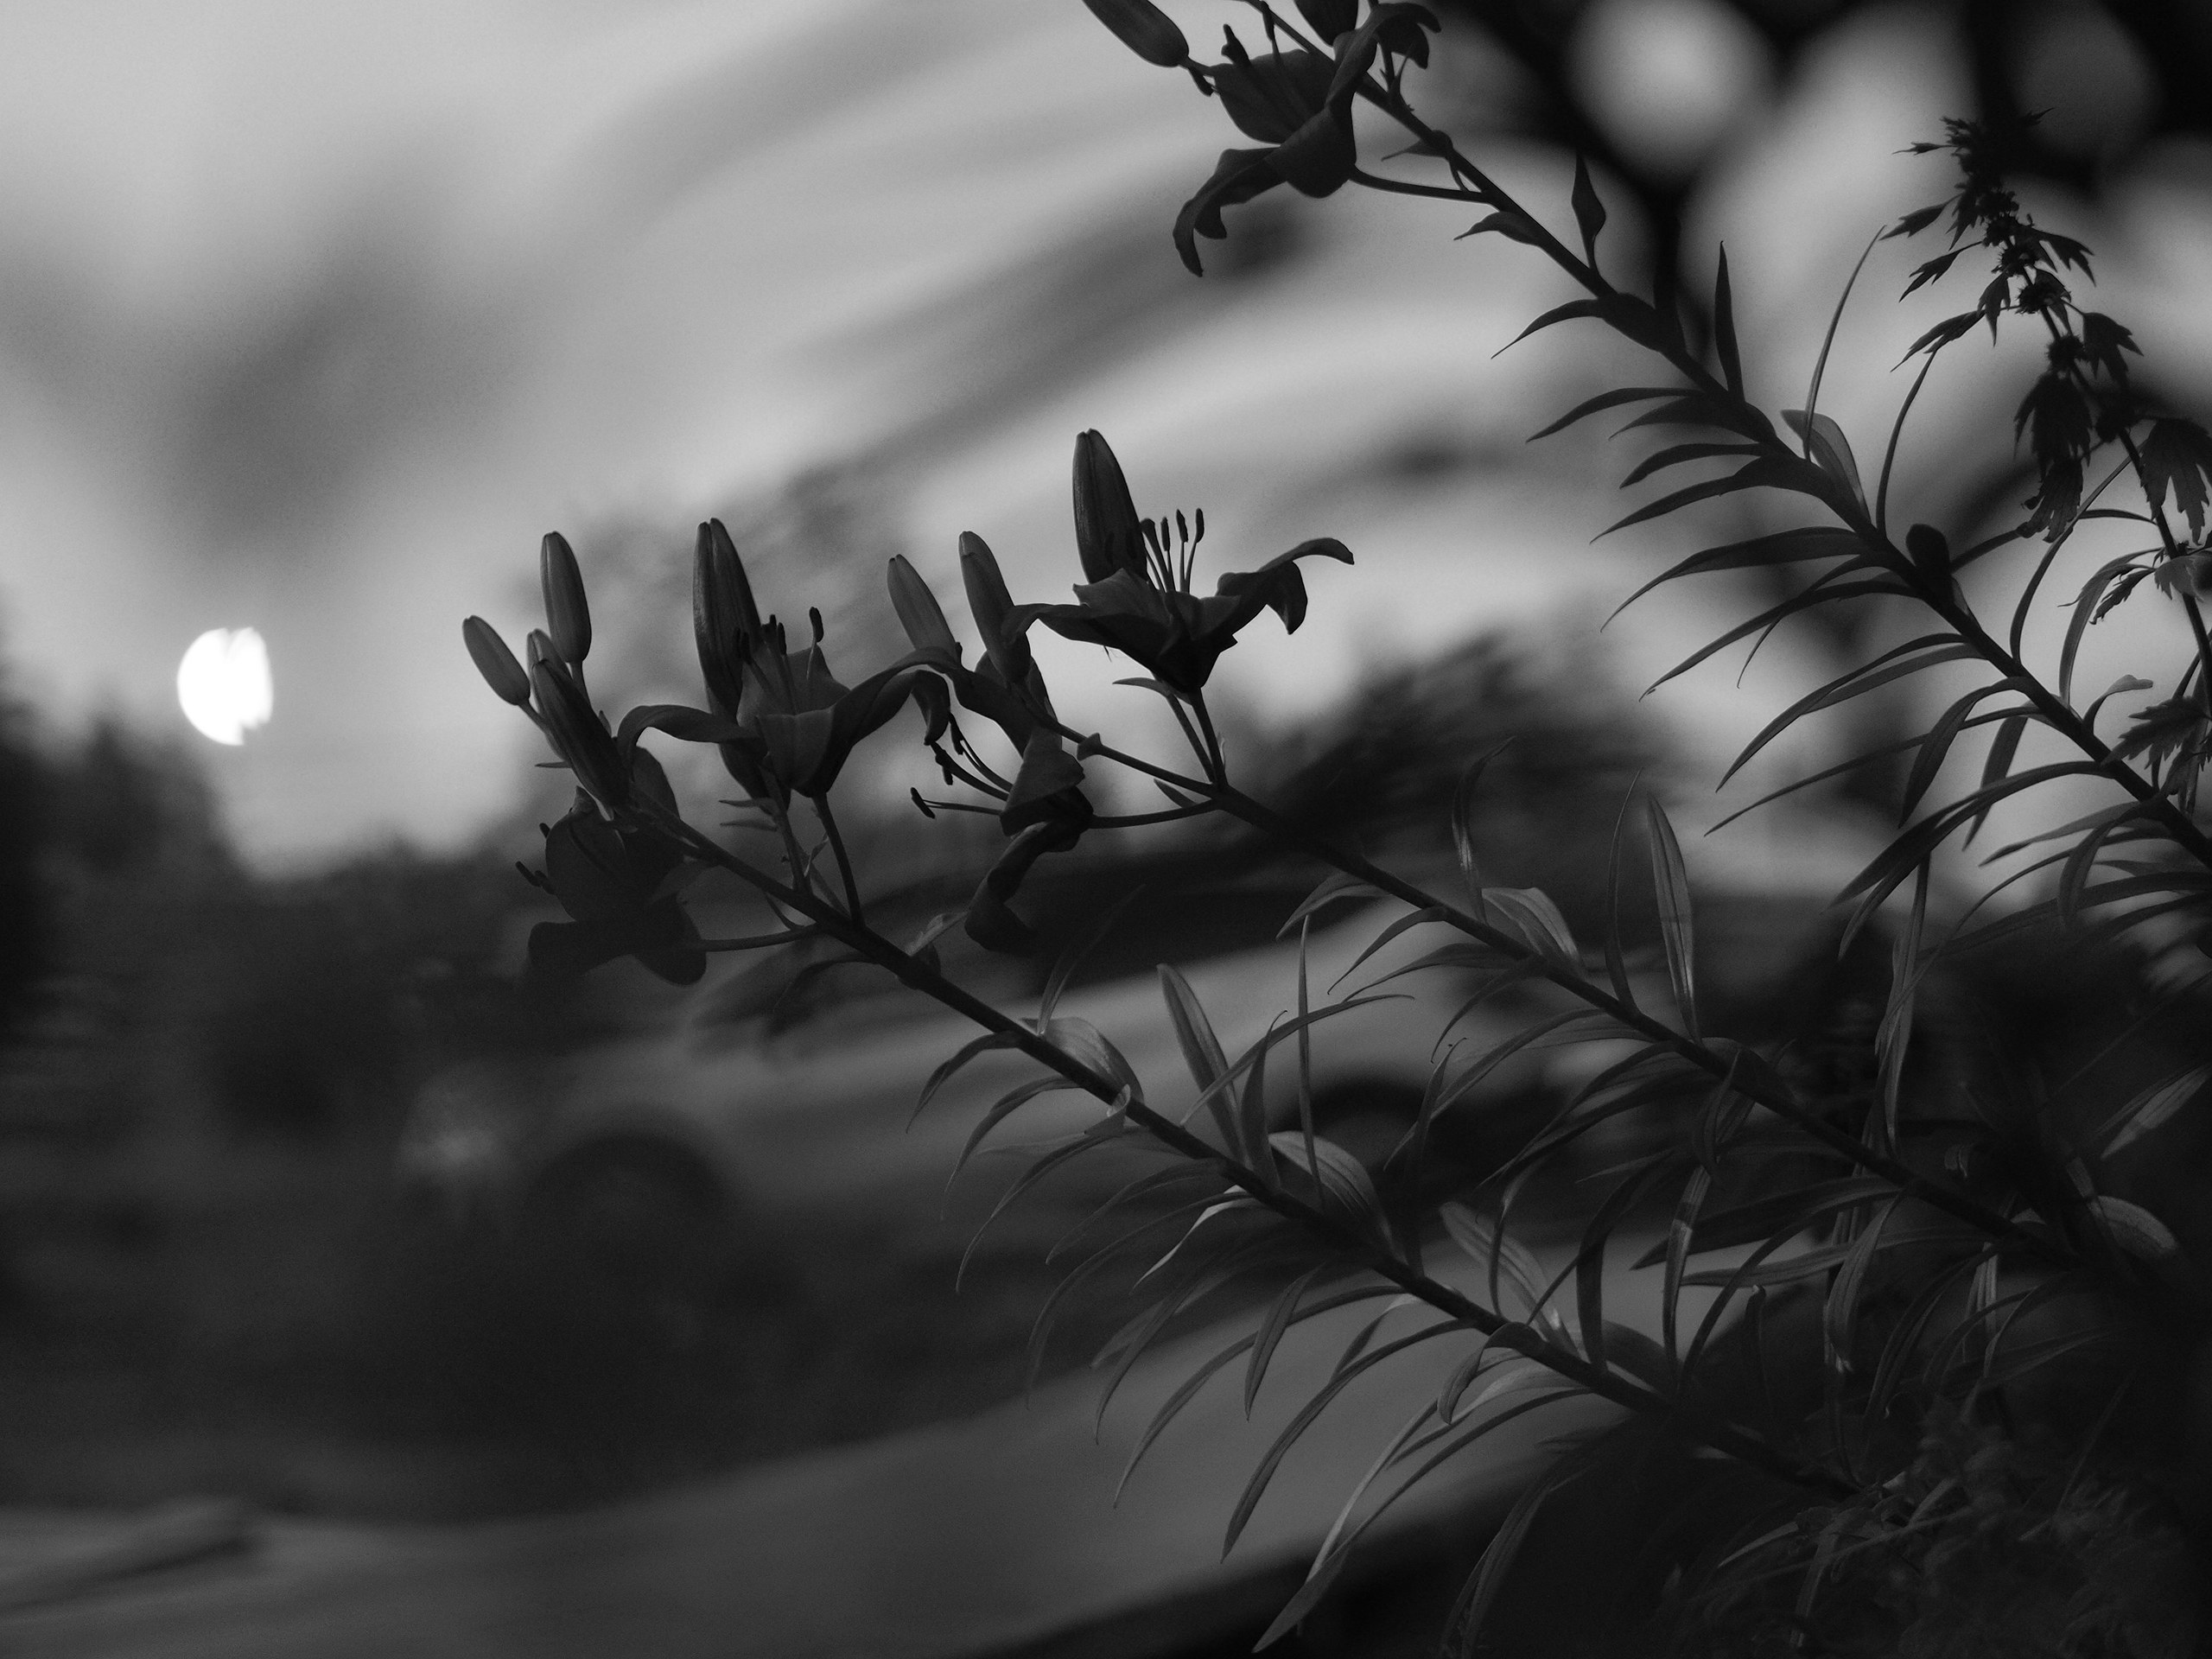
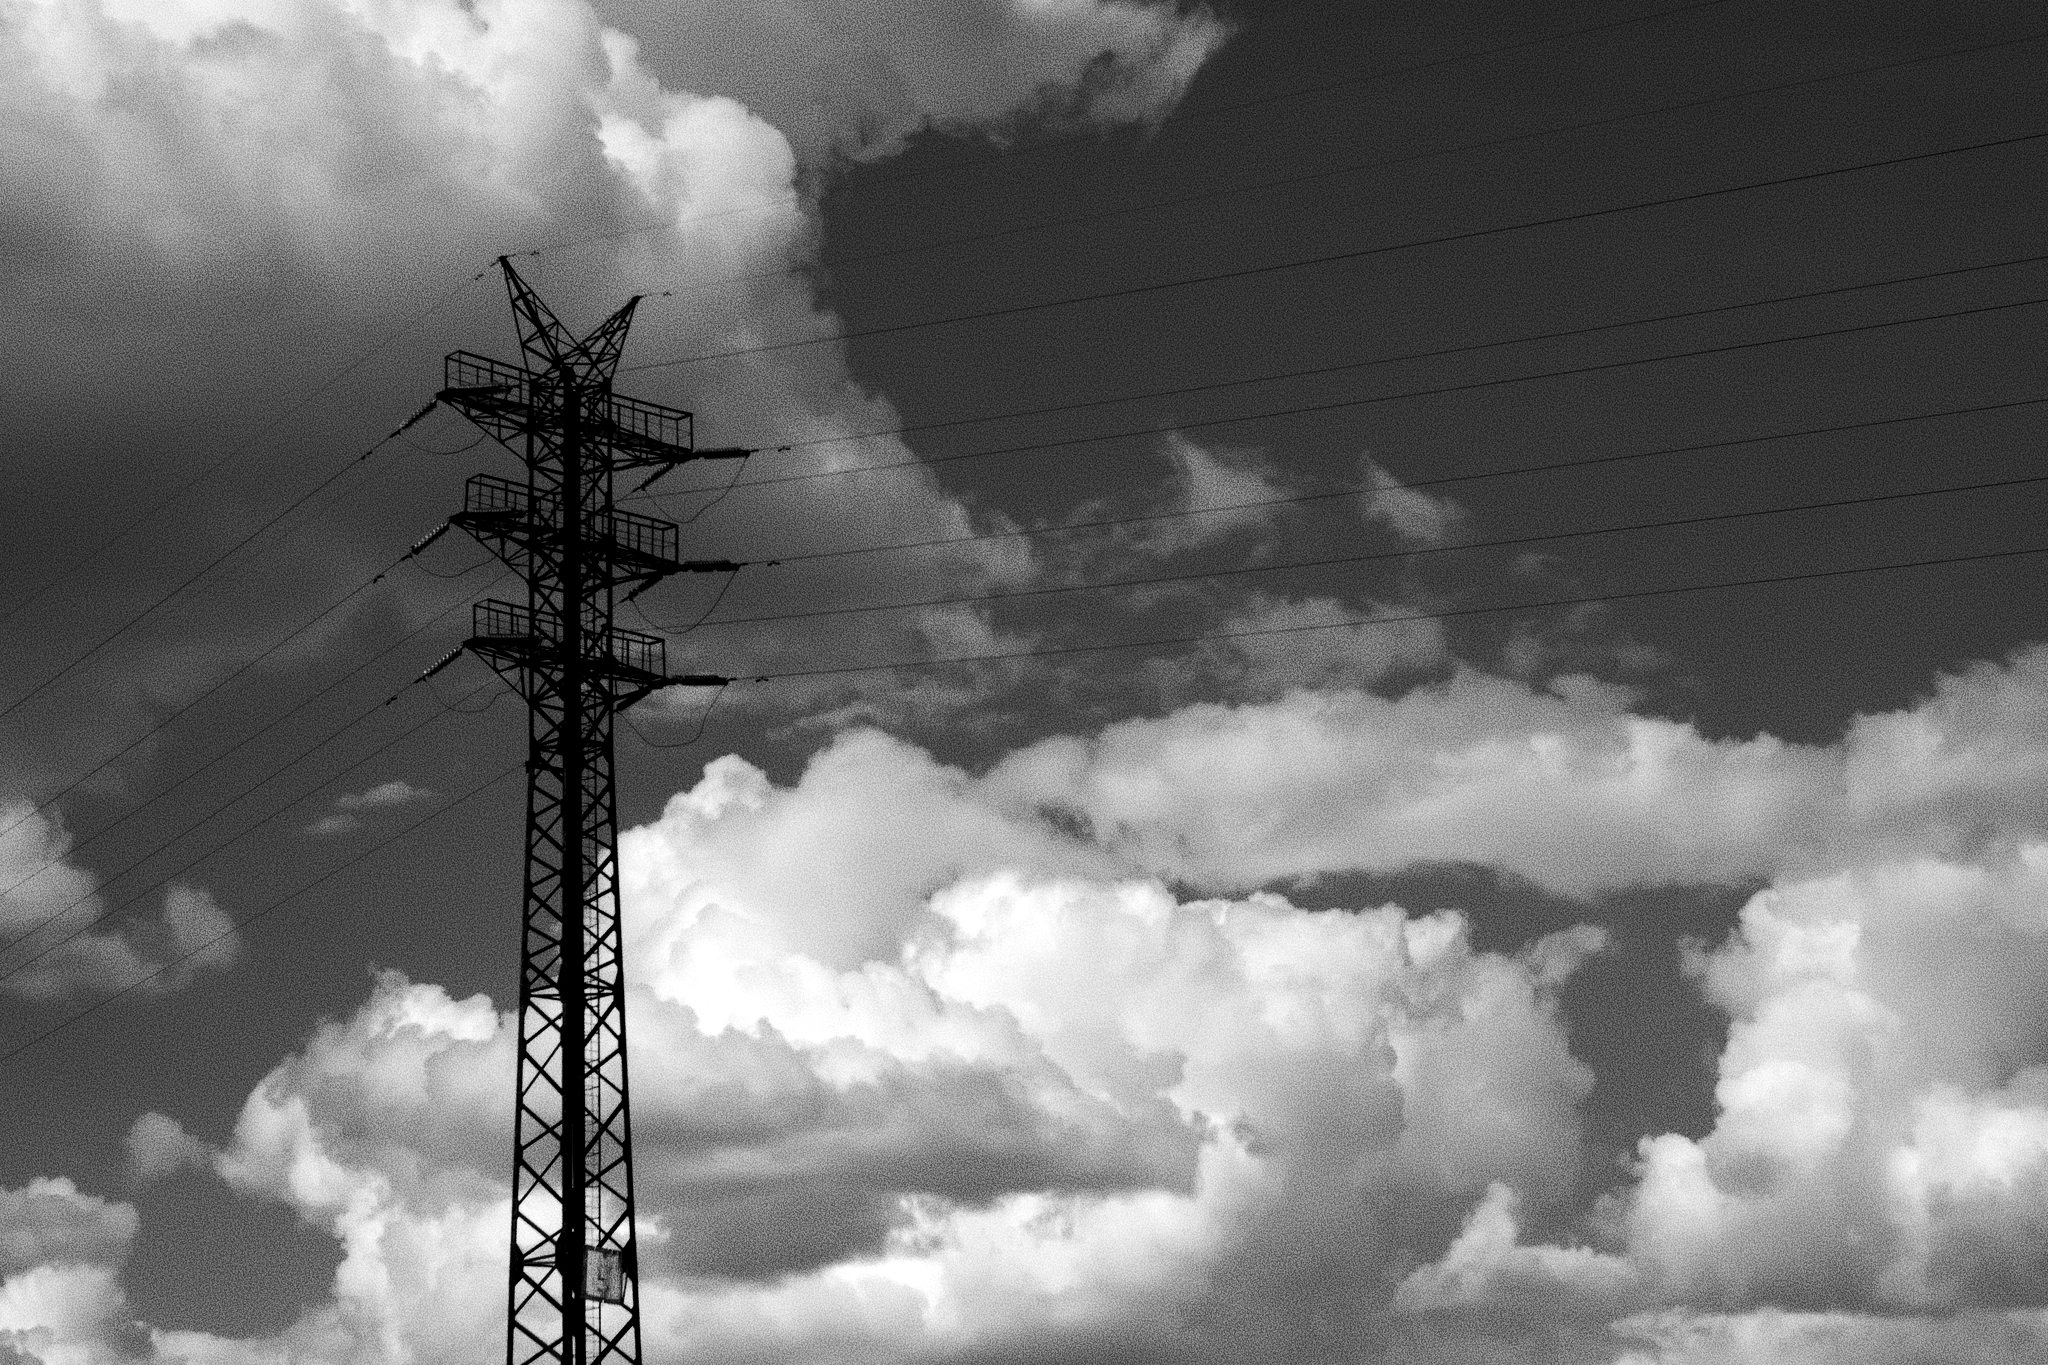
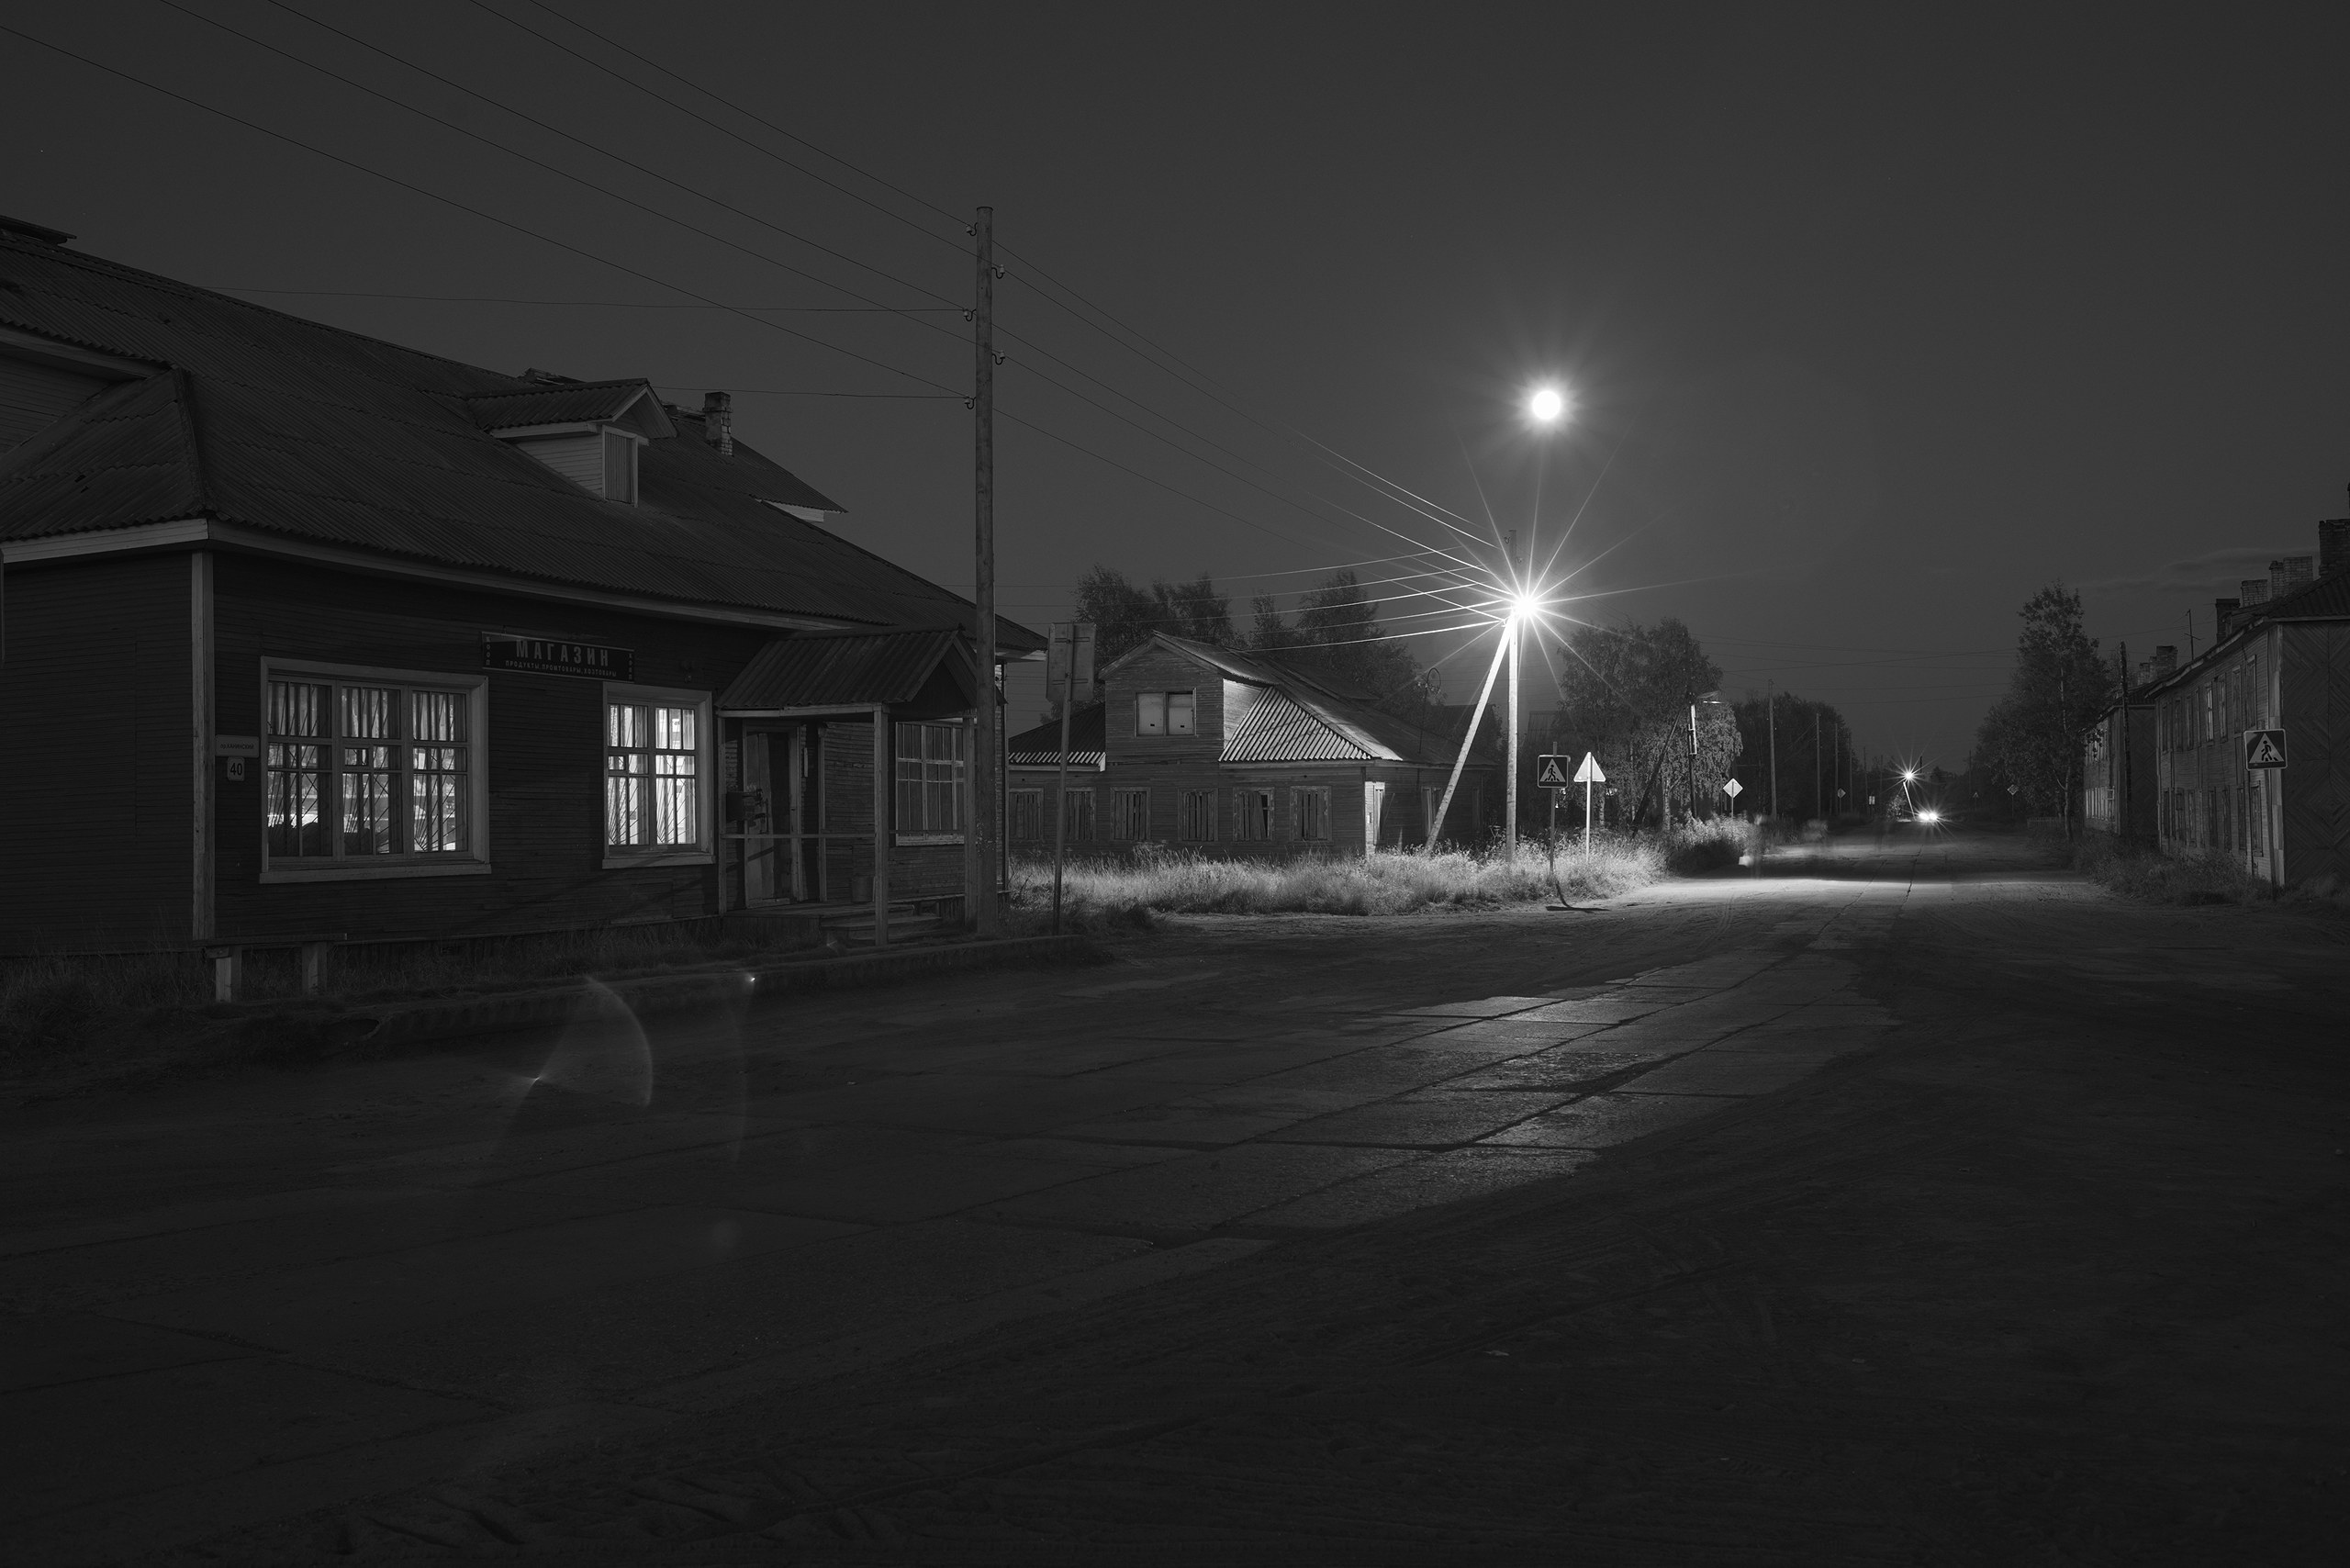
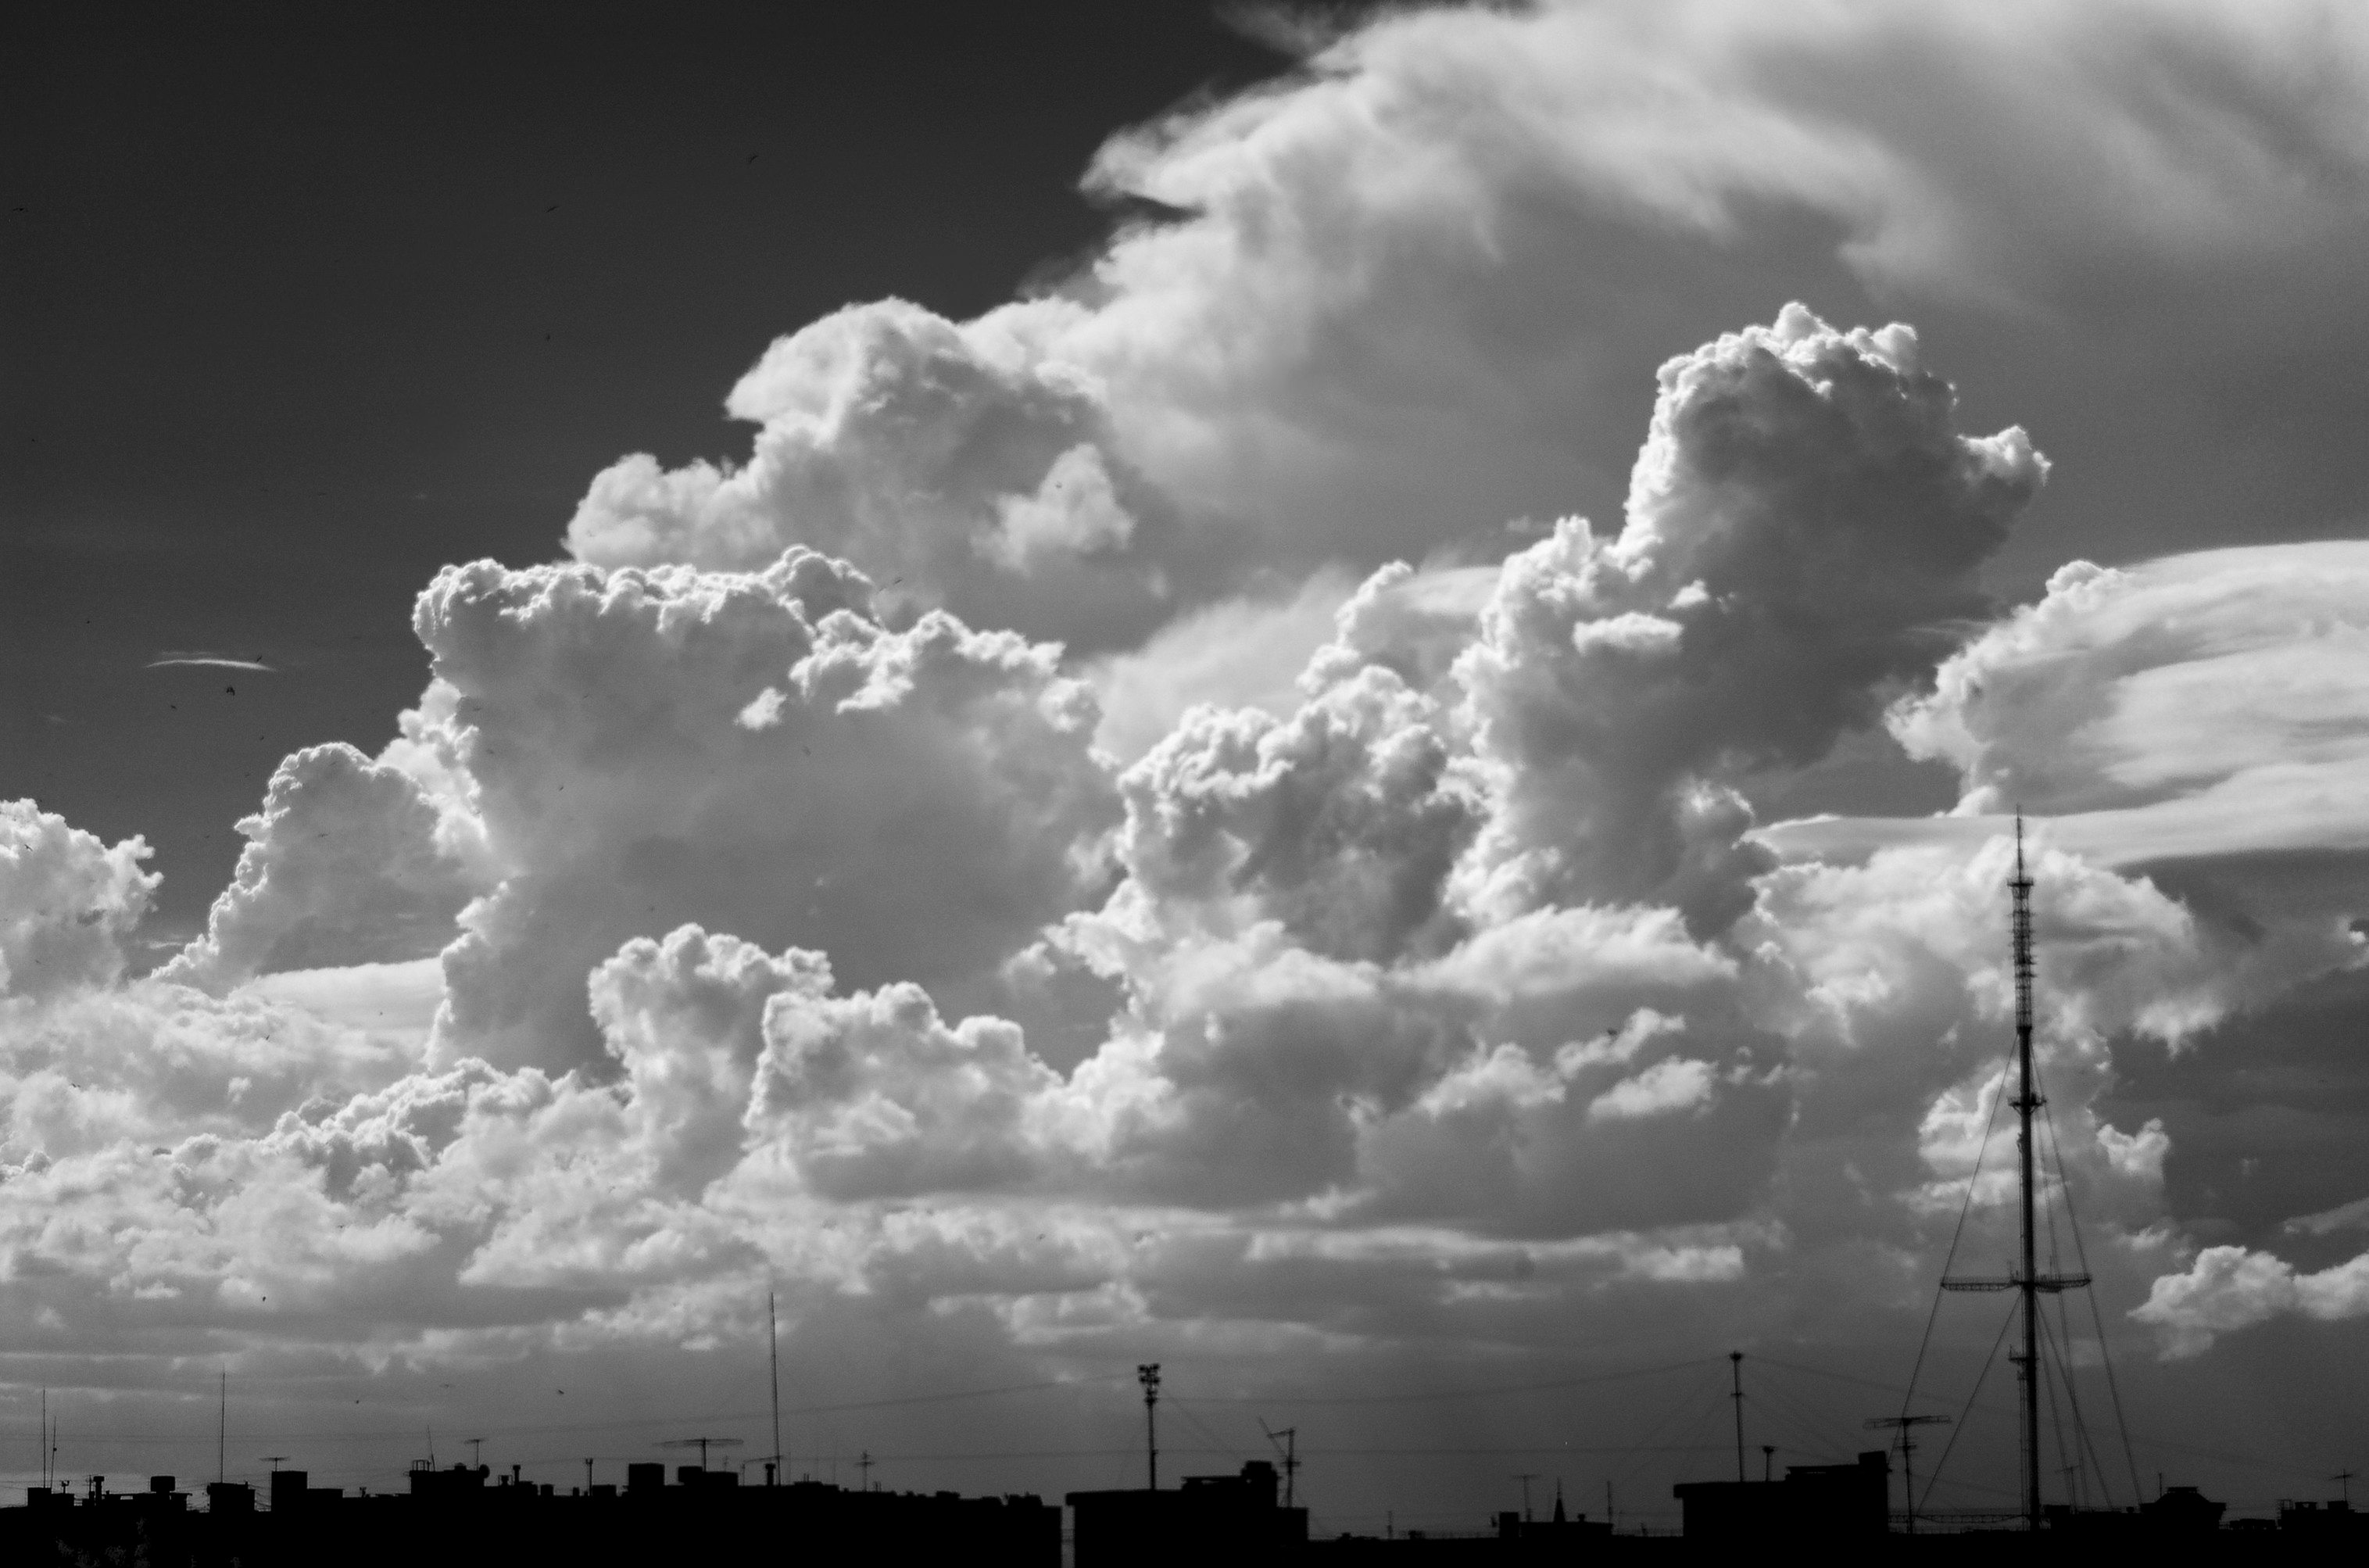
It has a restrained, laconic, and nostalgic style. Photographs seem to receive a certain aesthetic bonus.
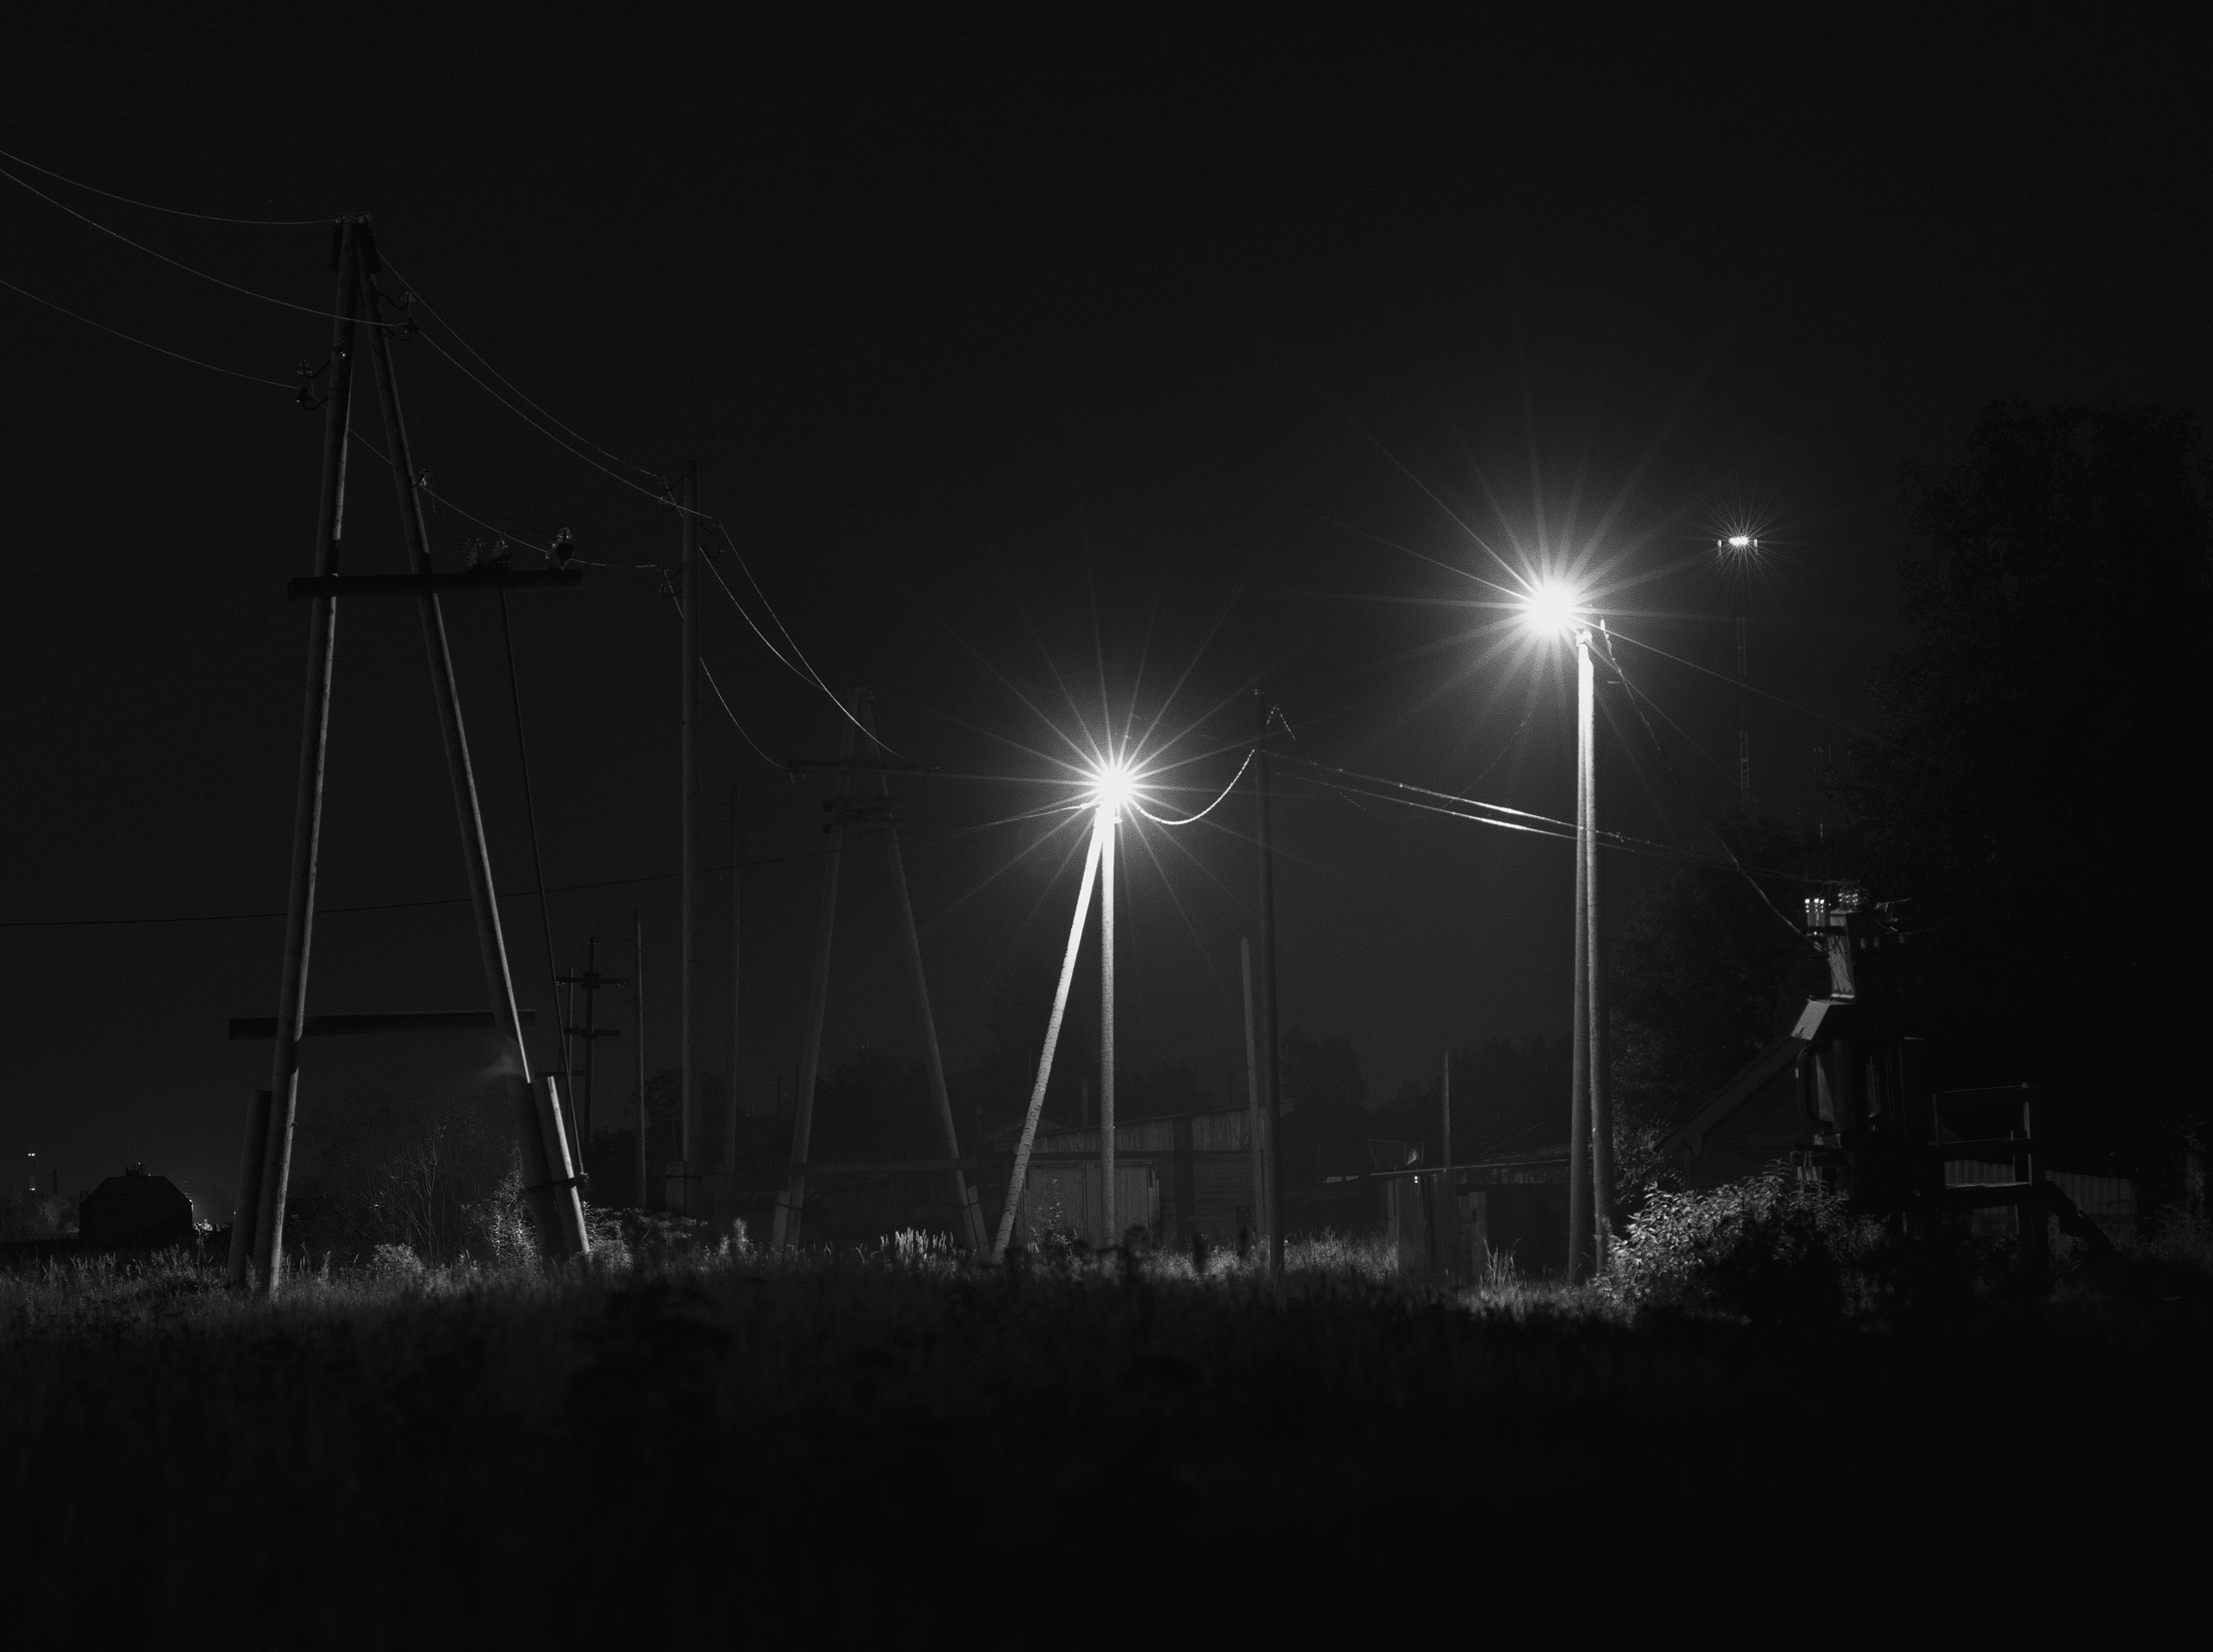
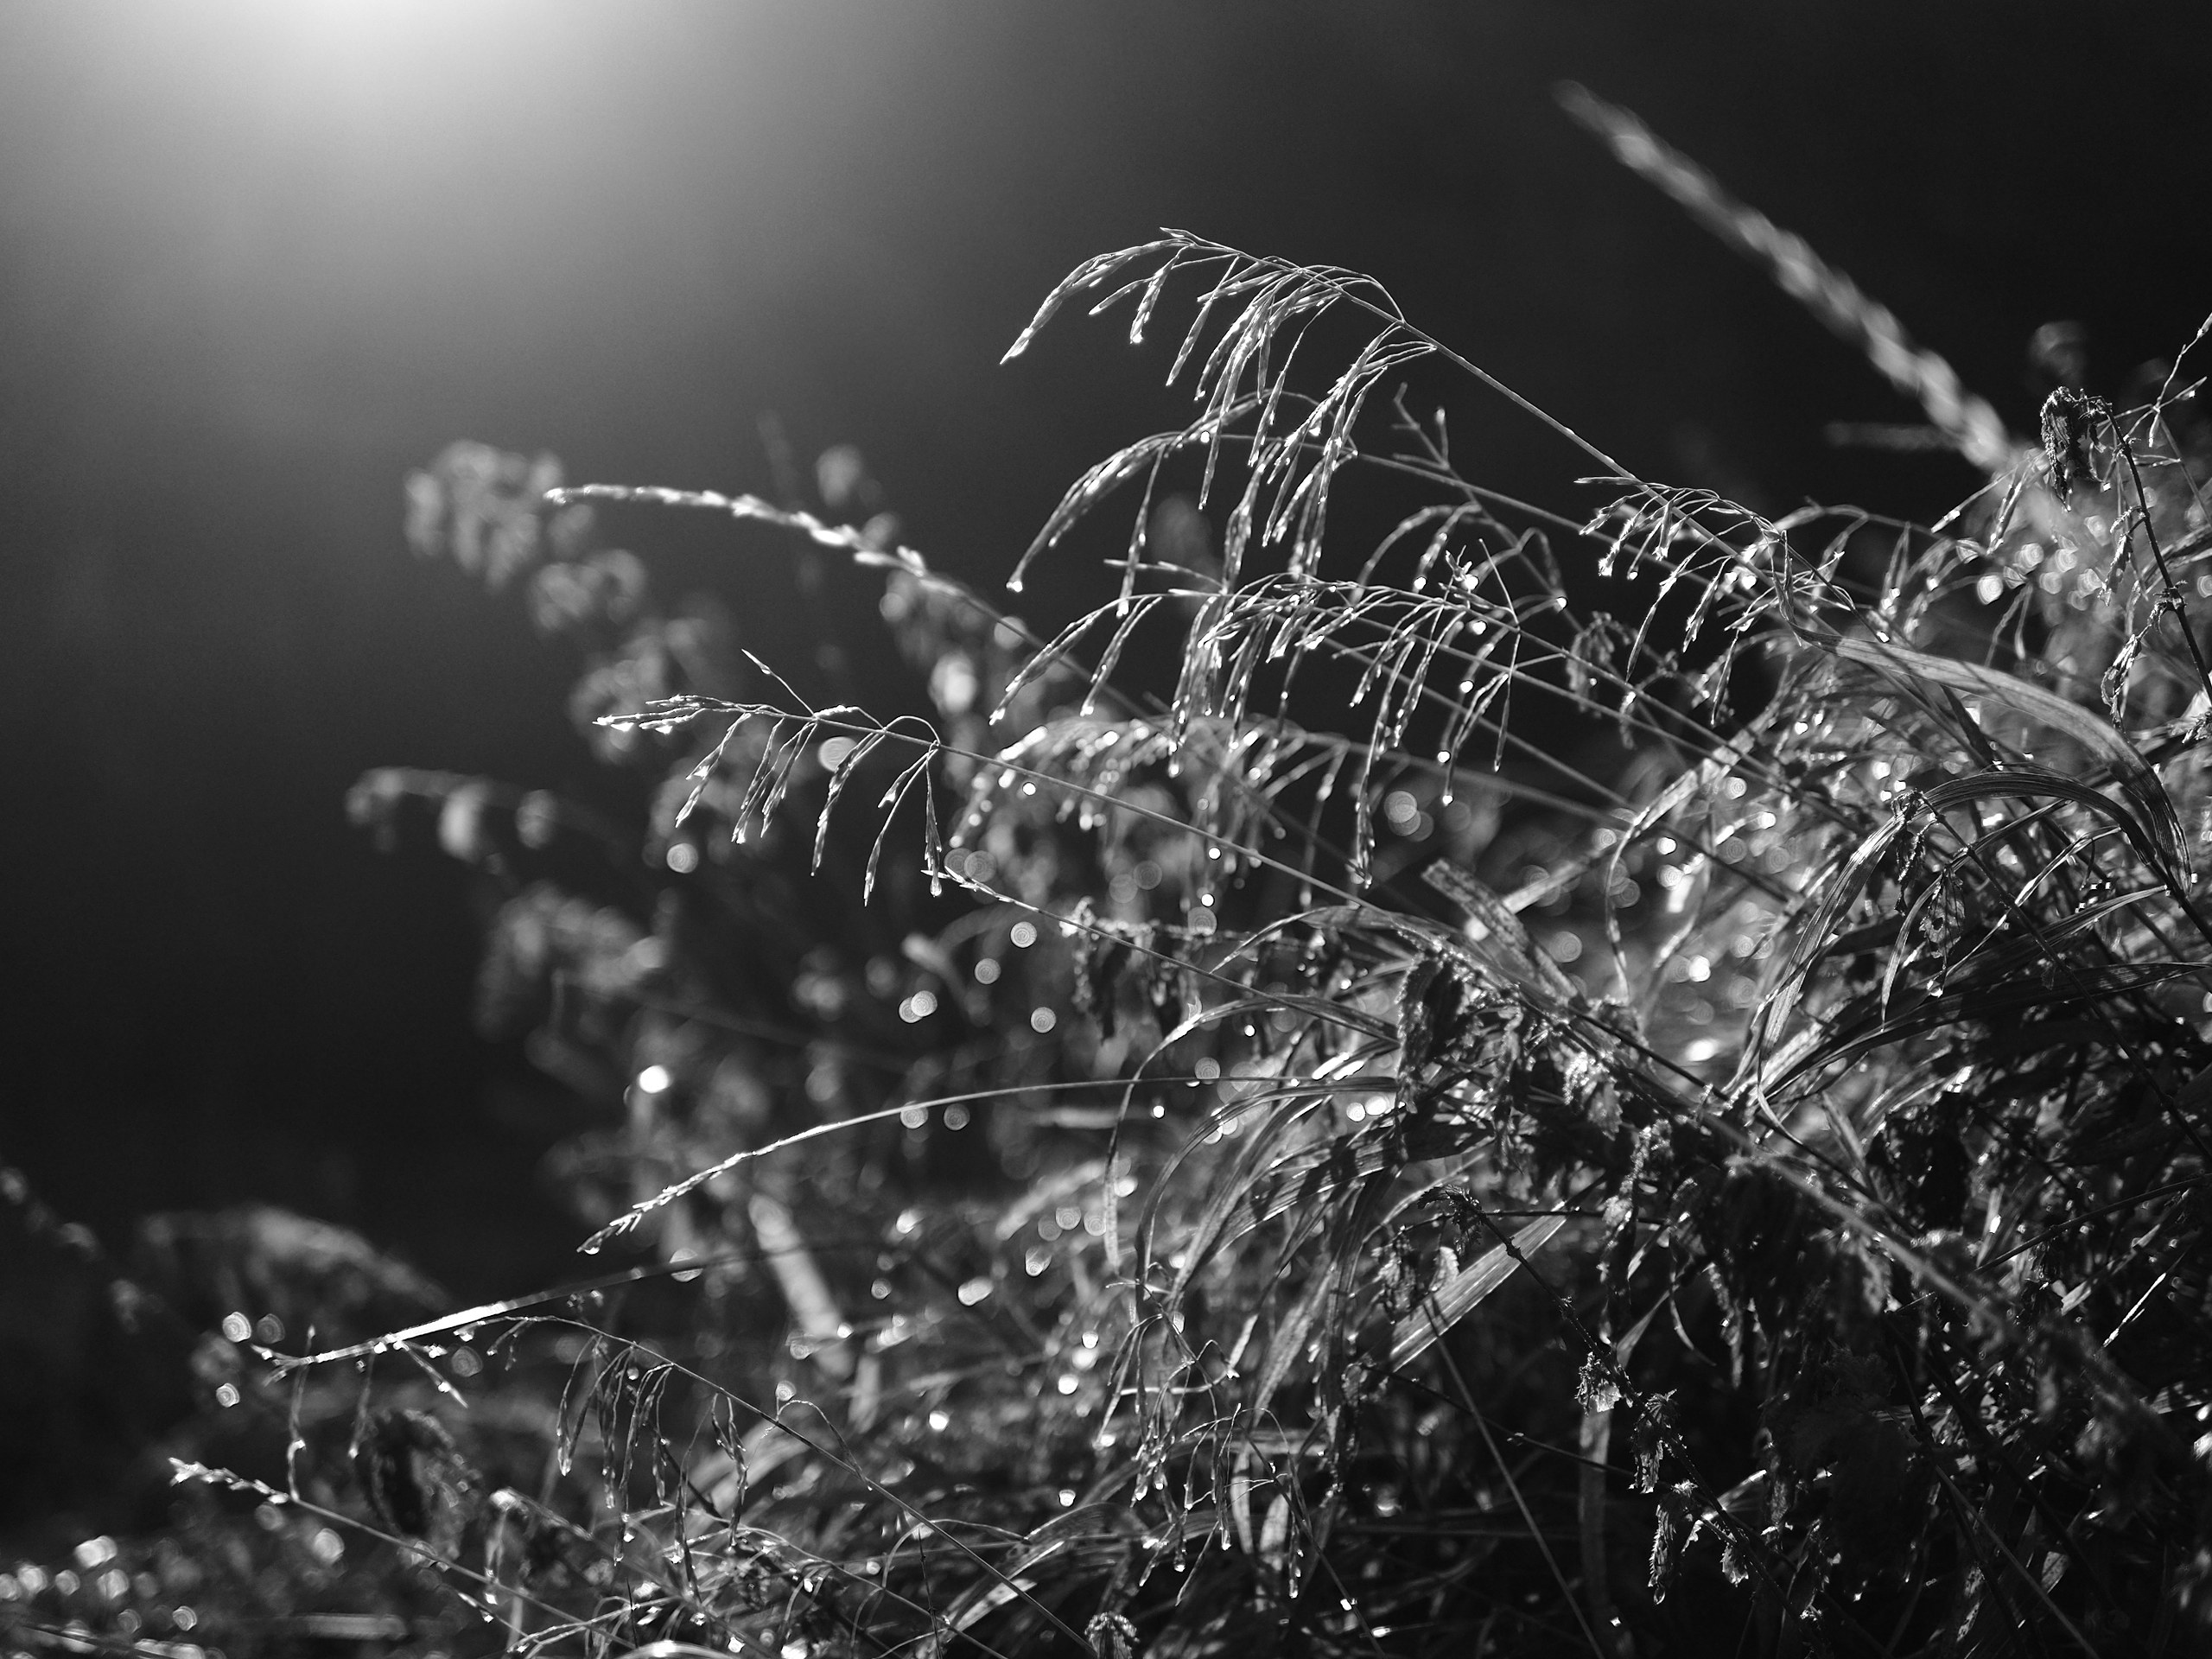
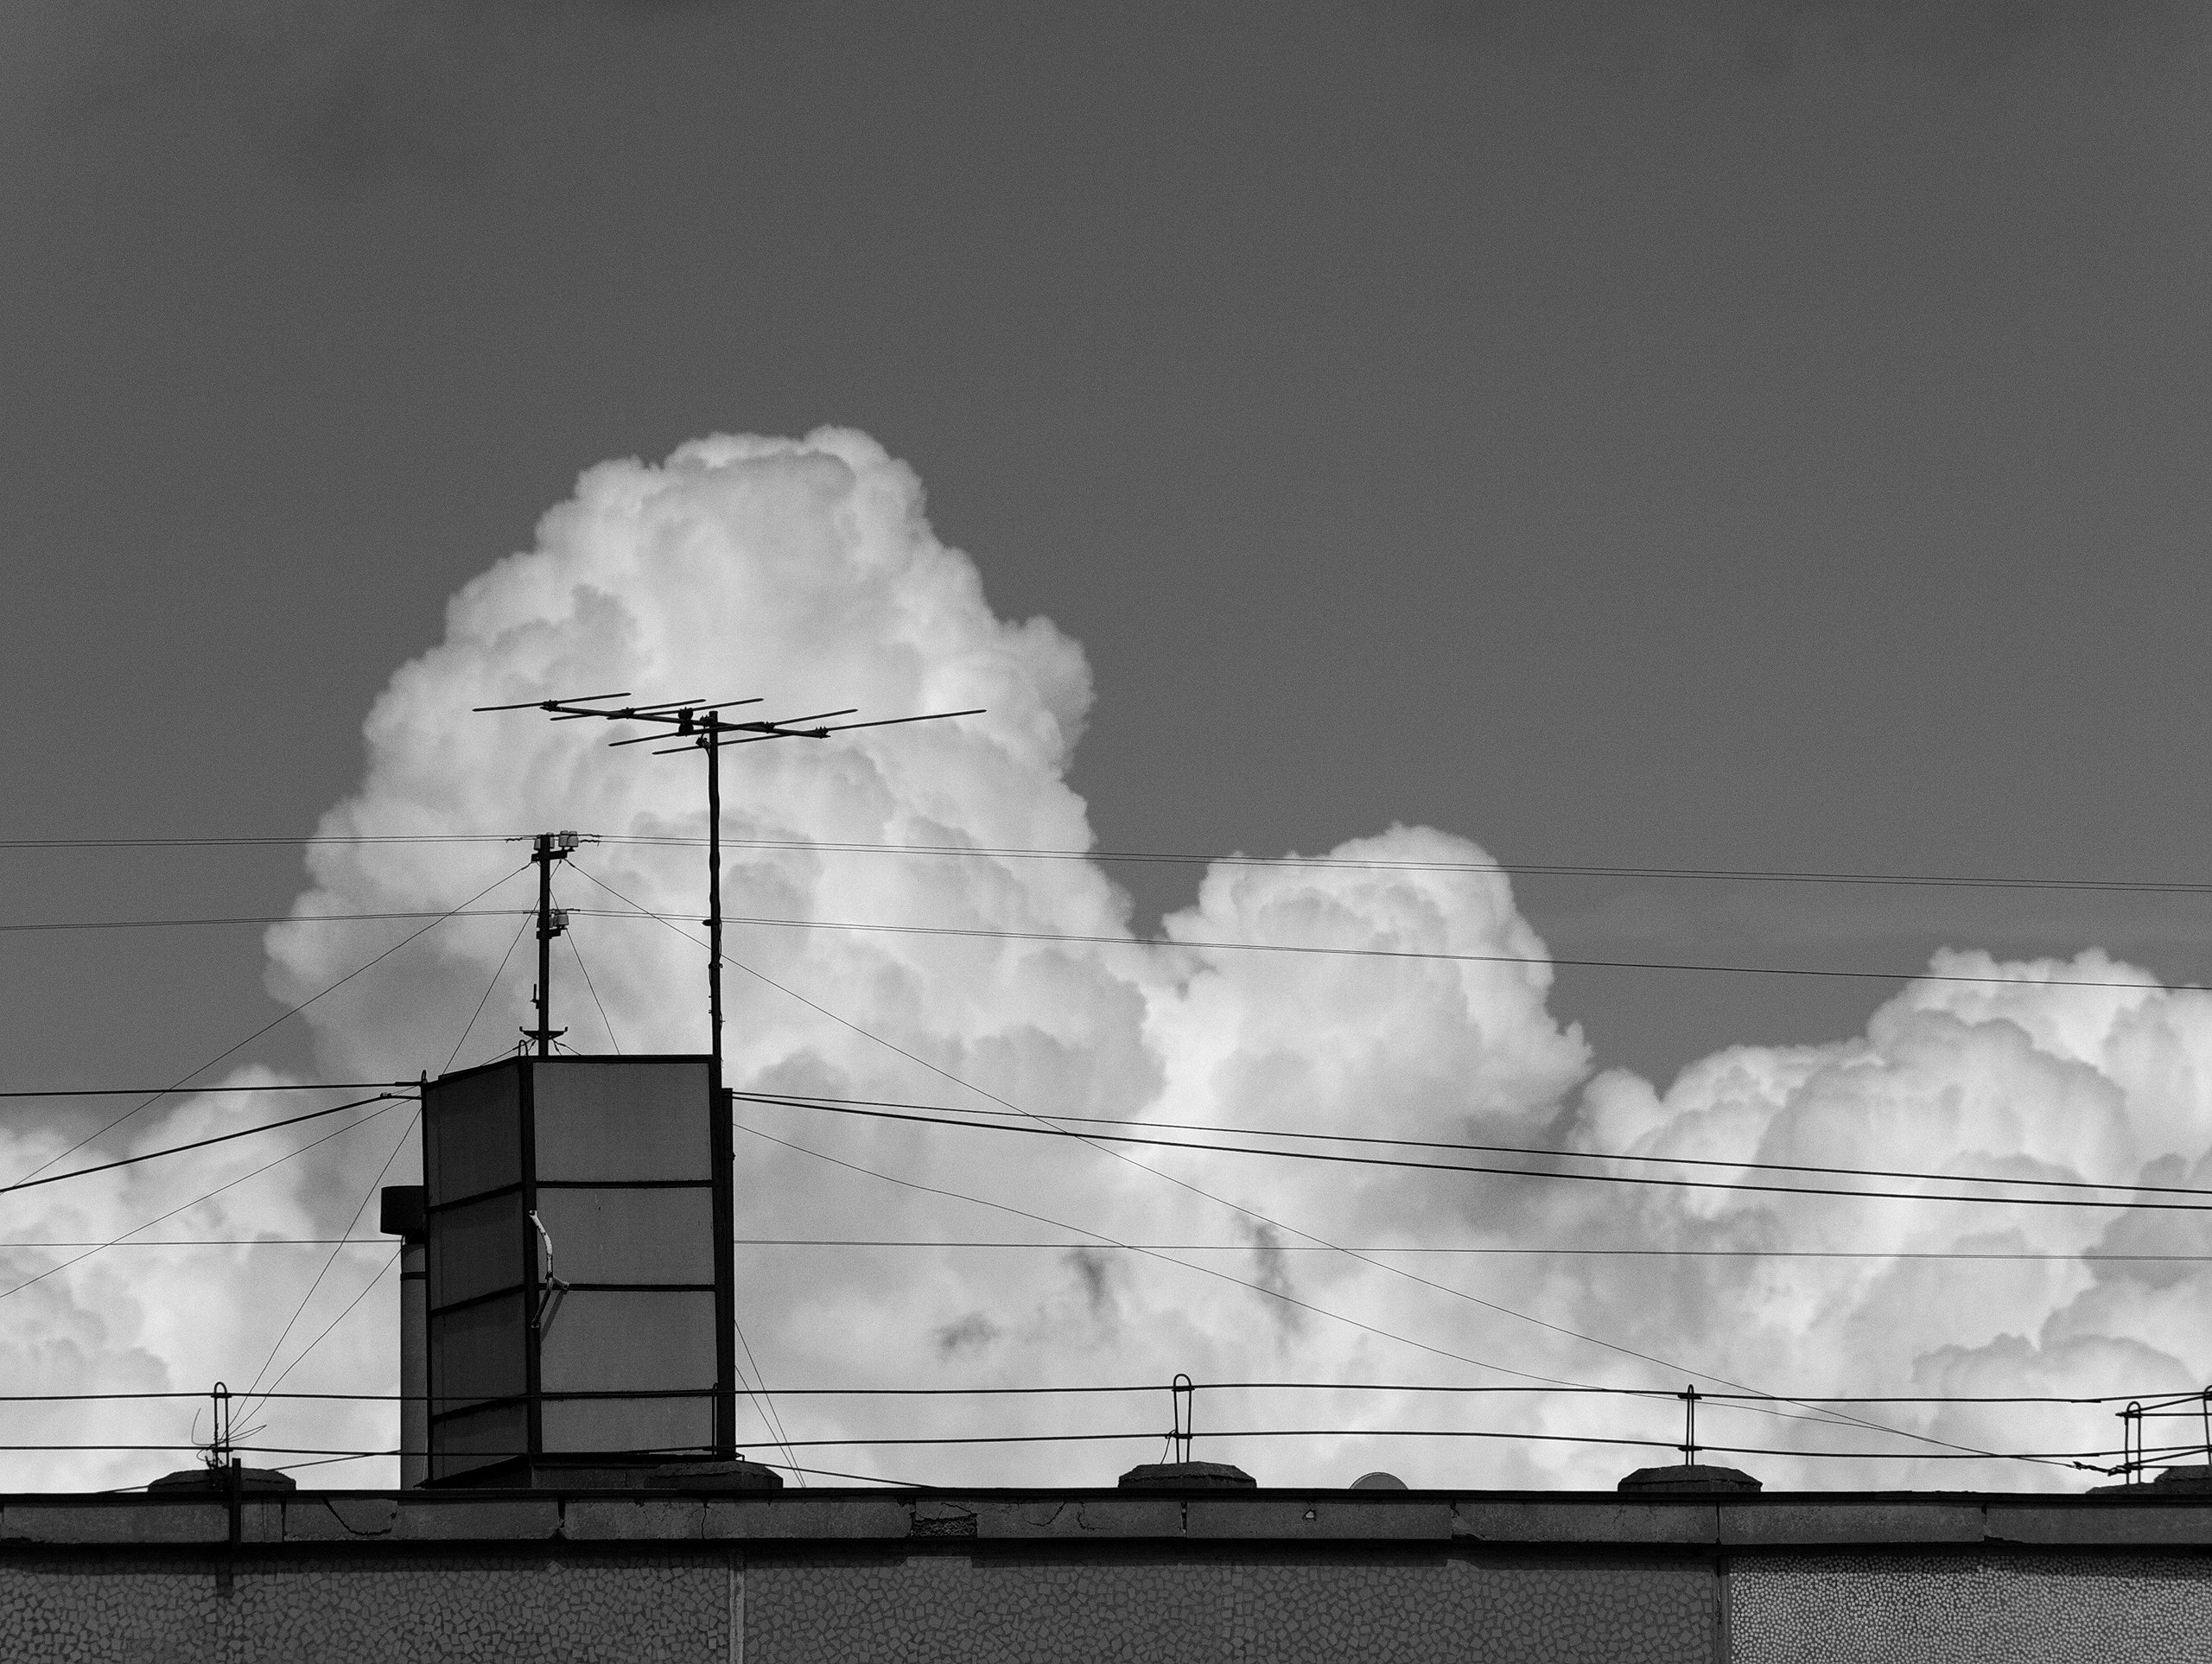
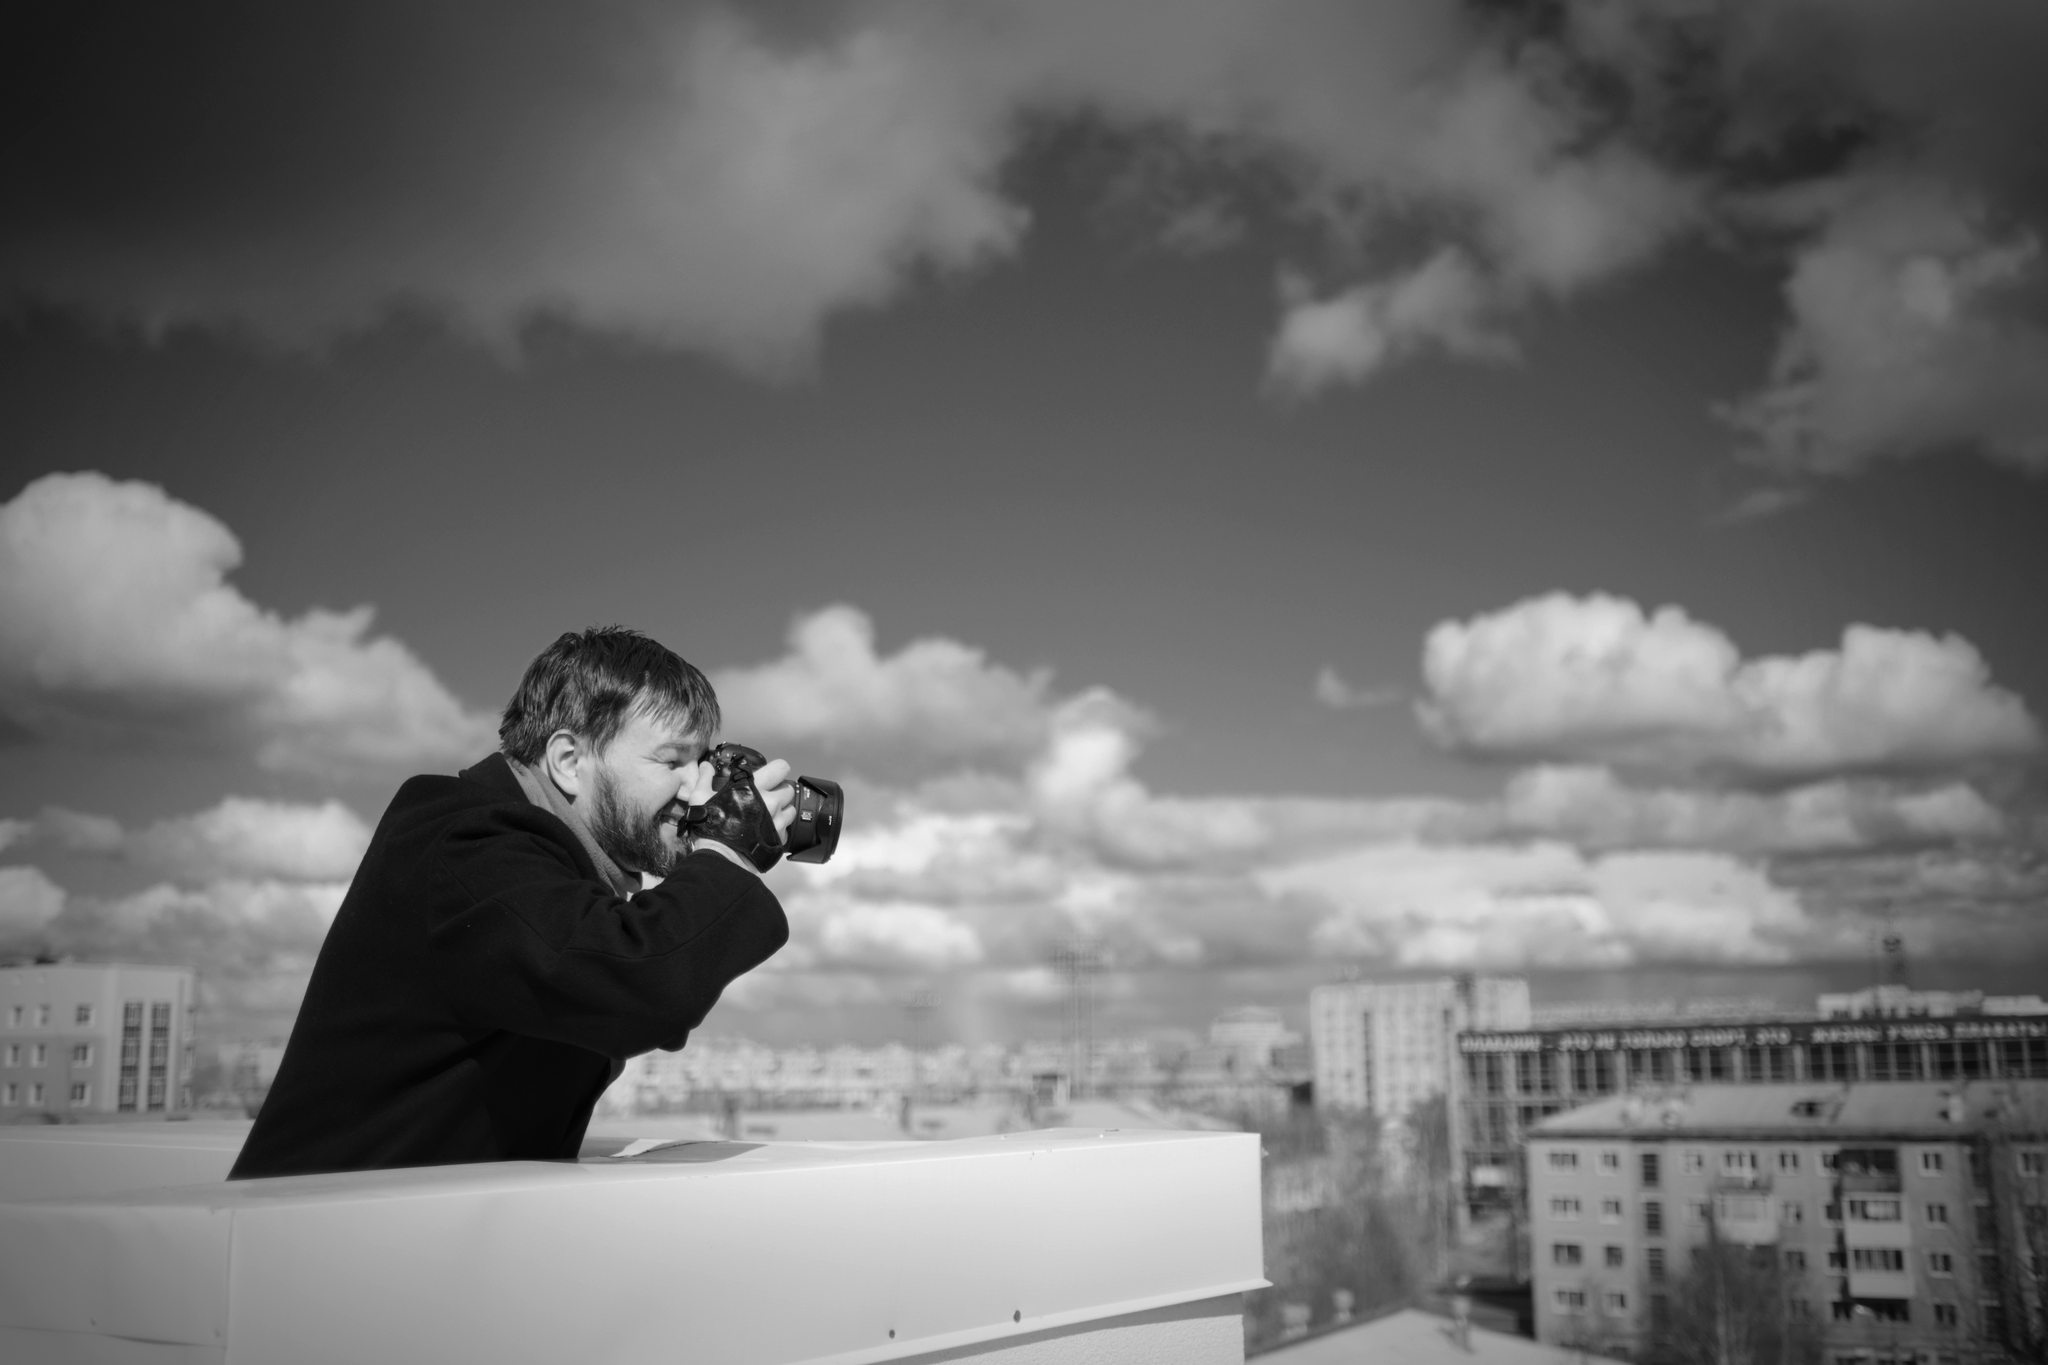
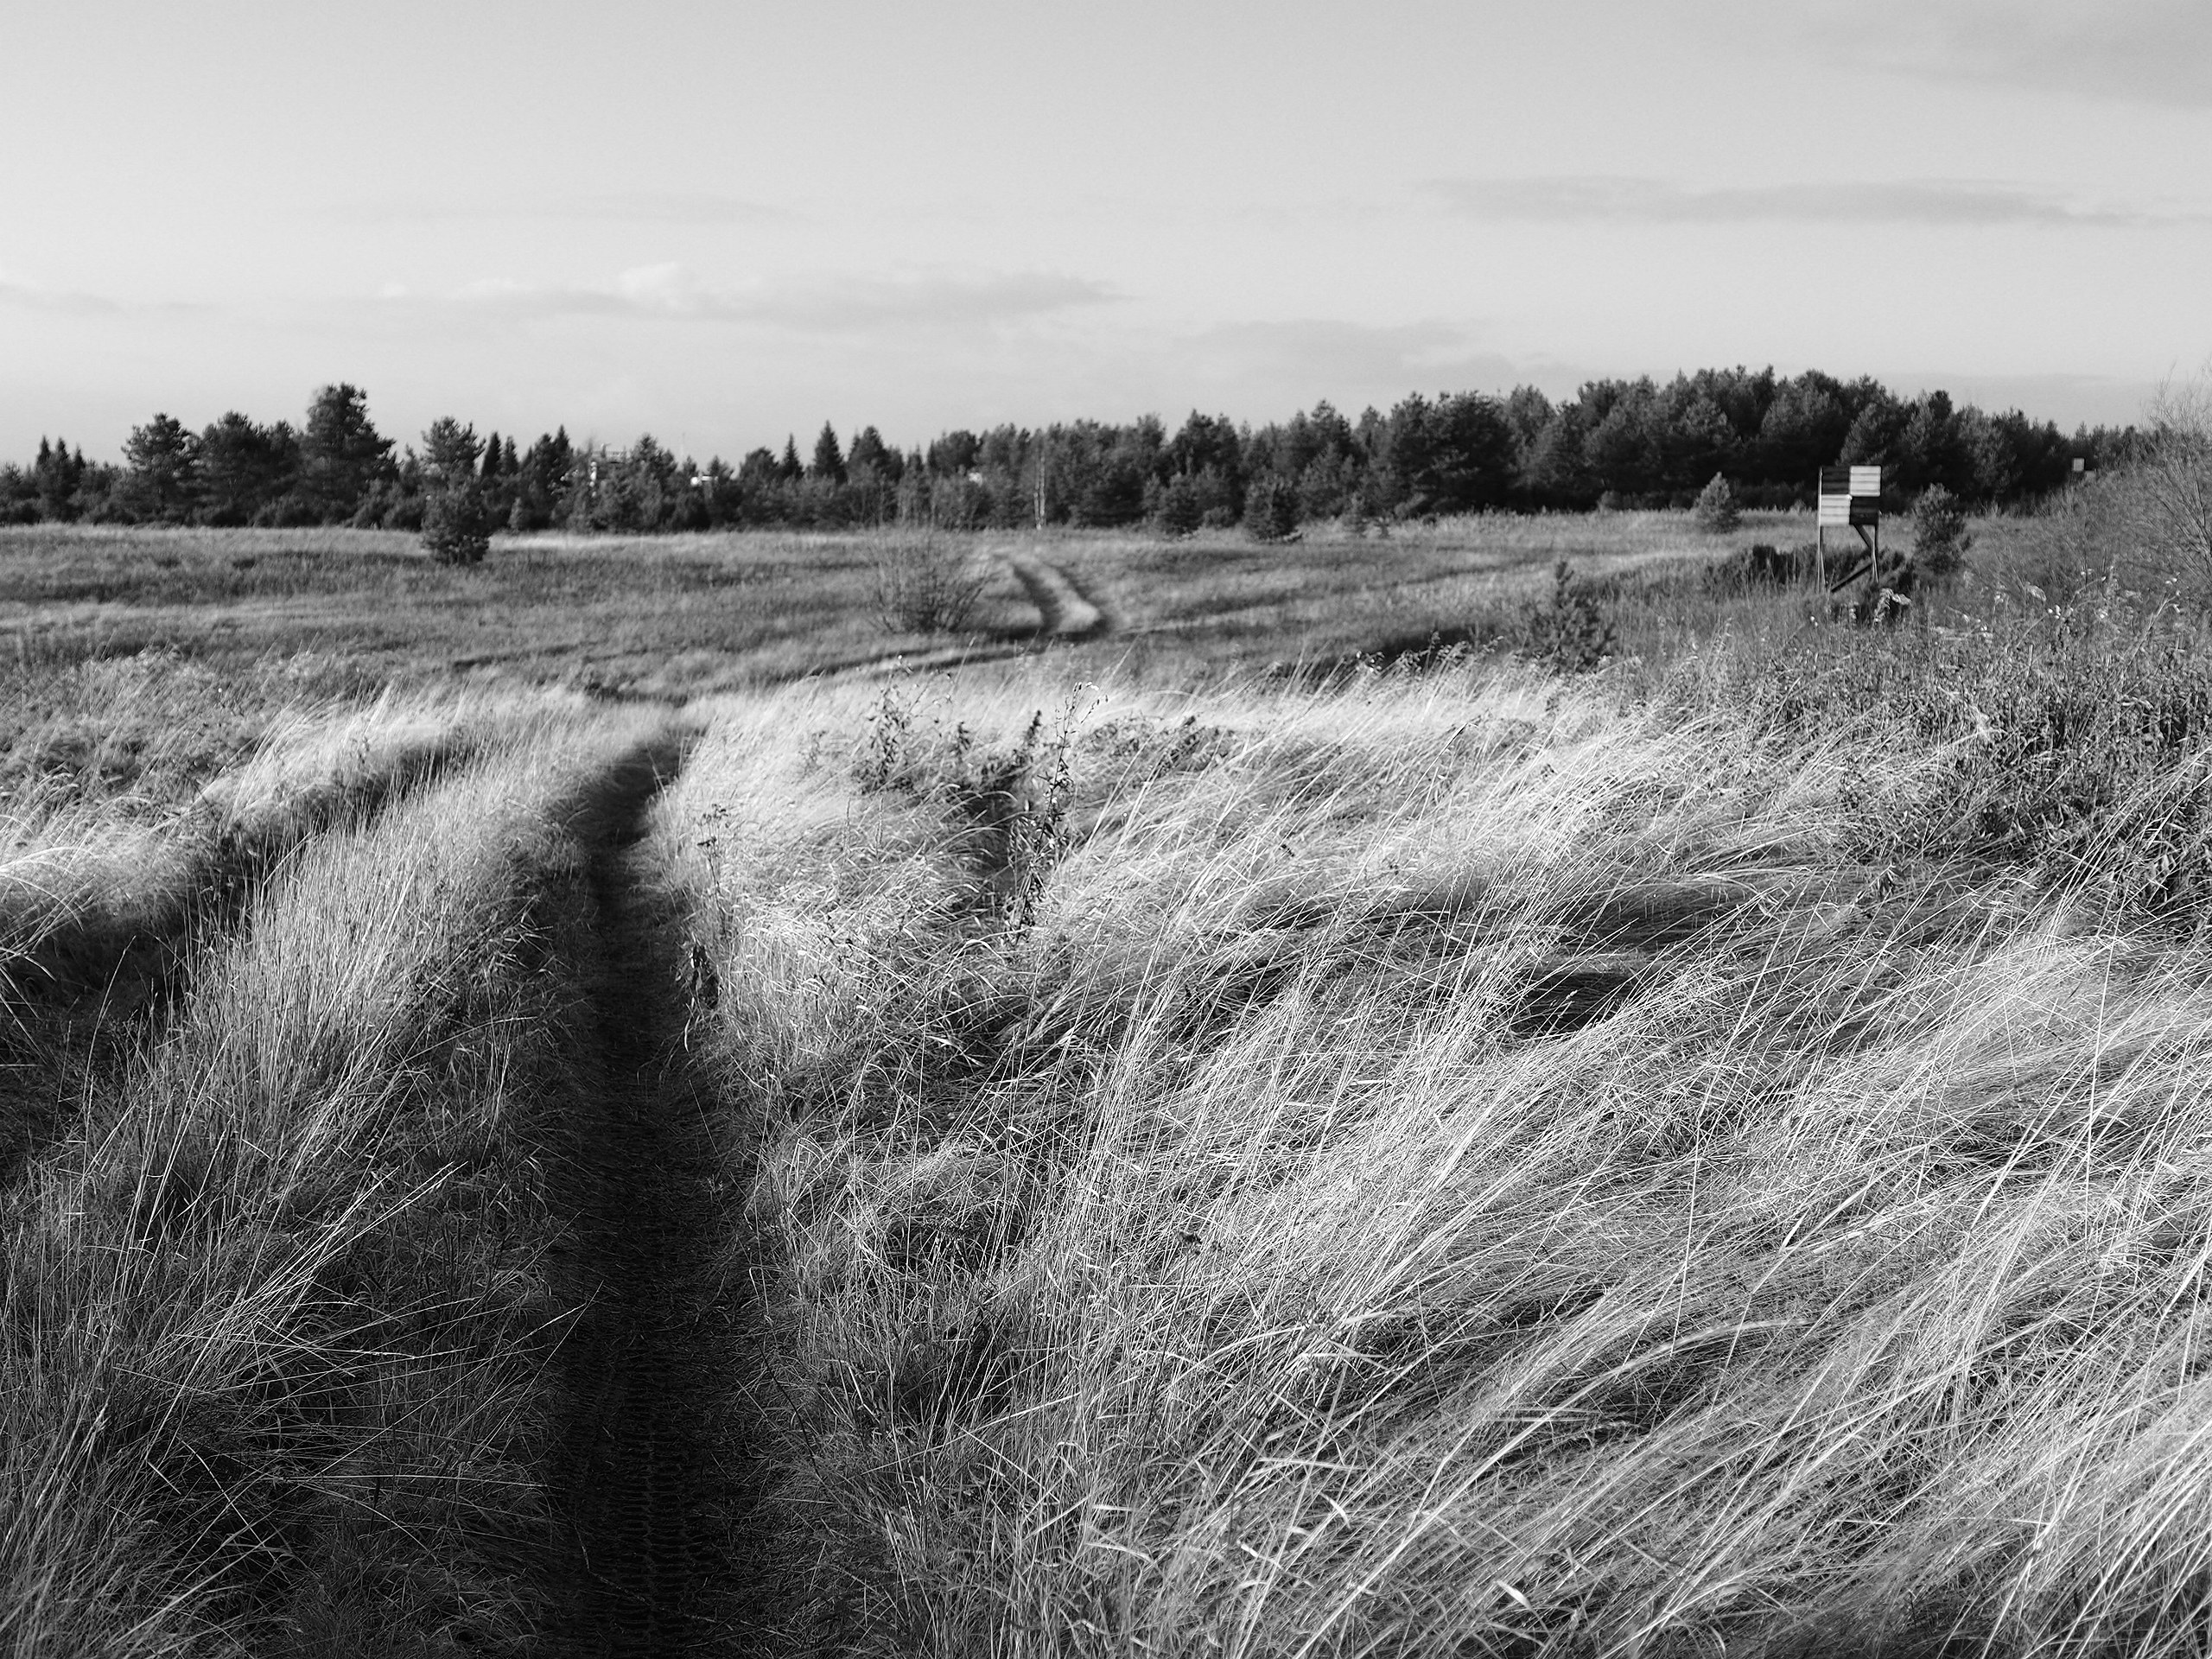
It can help create "drama from nothing," especially if the frame contains low cloudy skies or something that evokes anxiety.

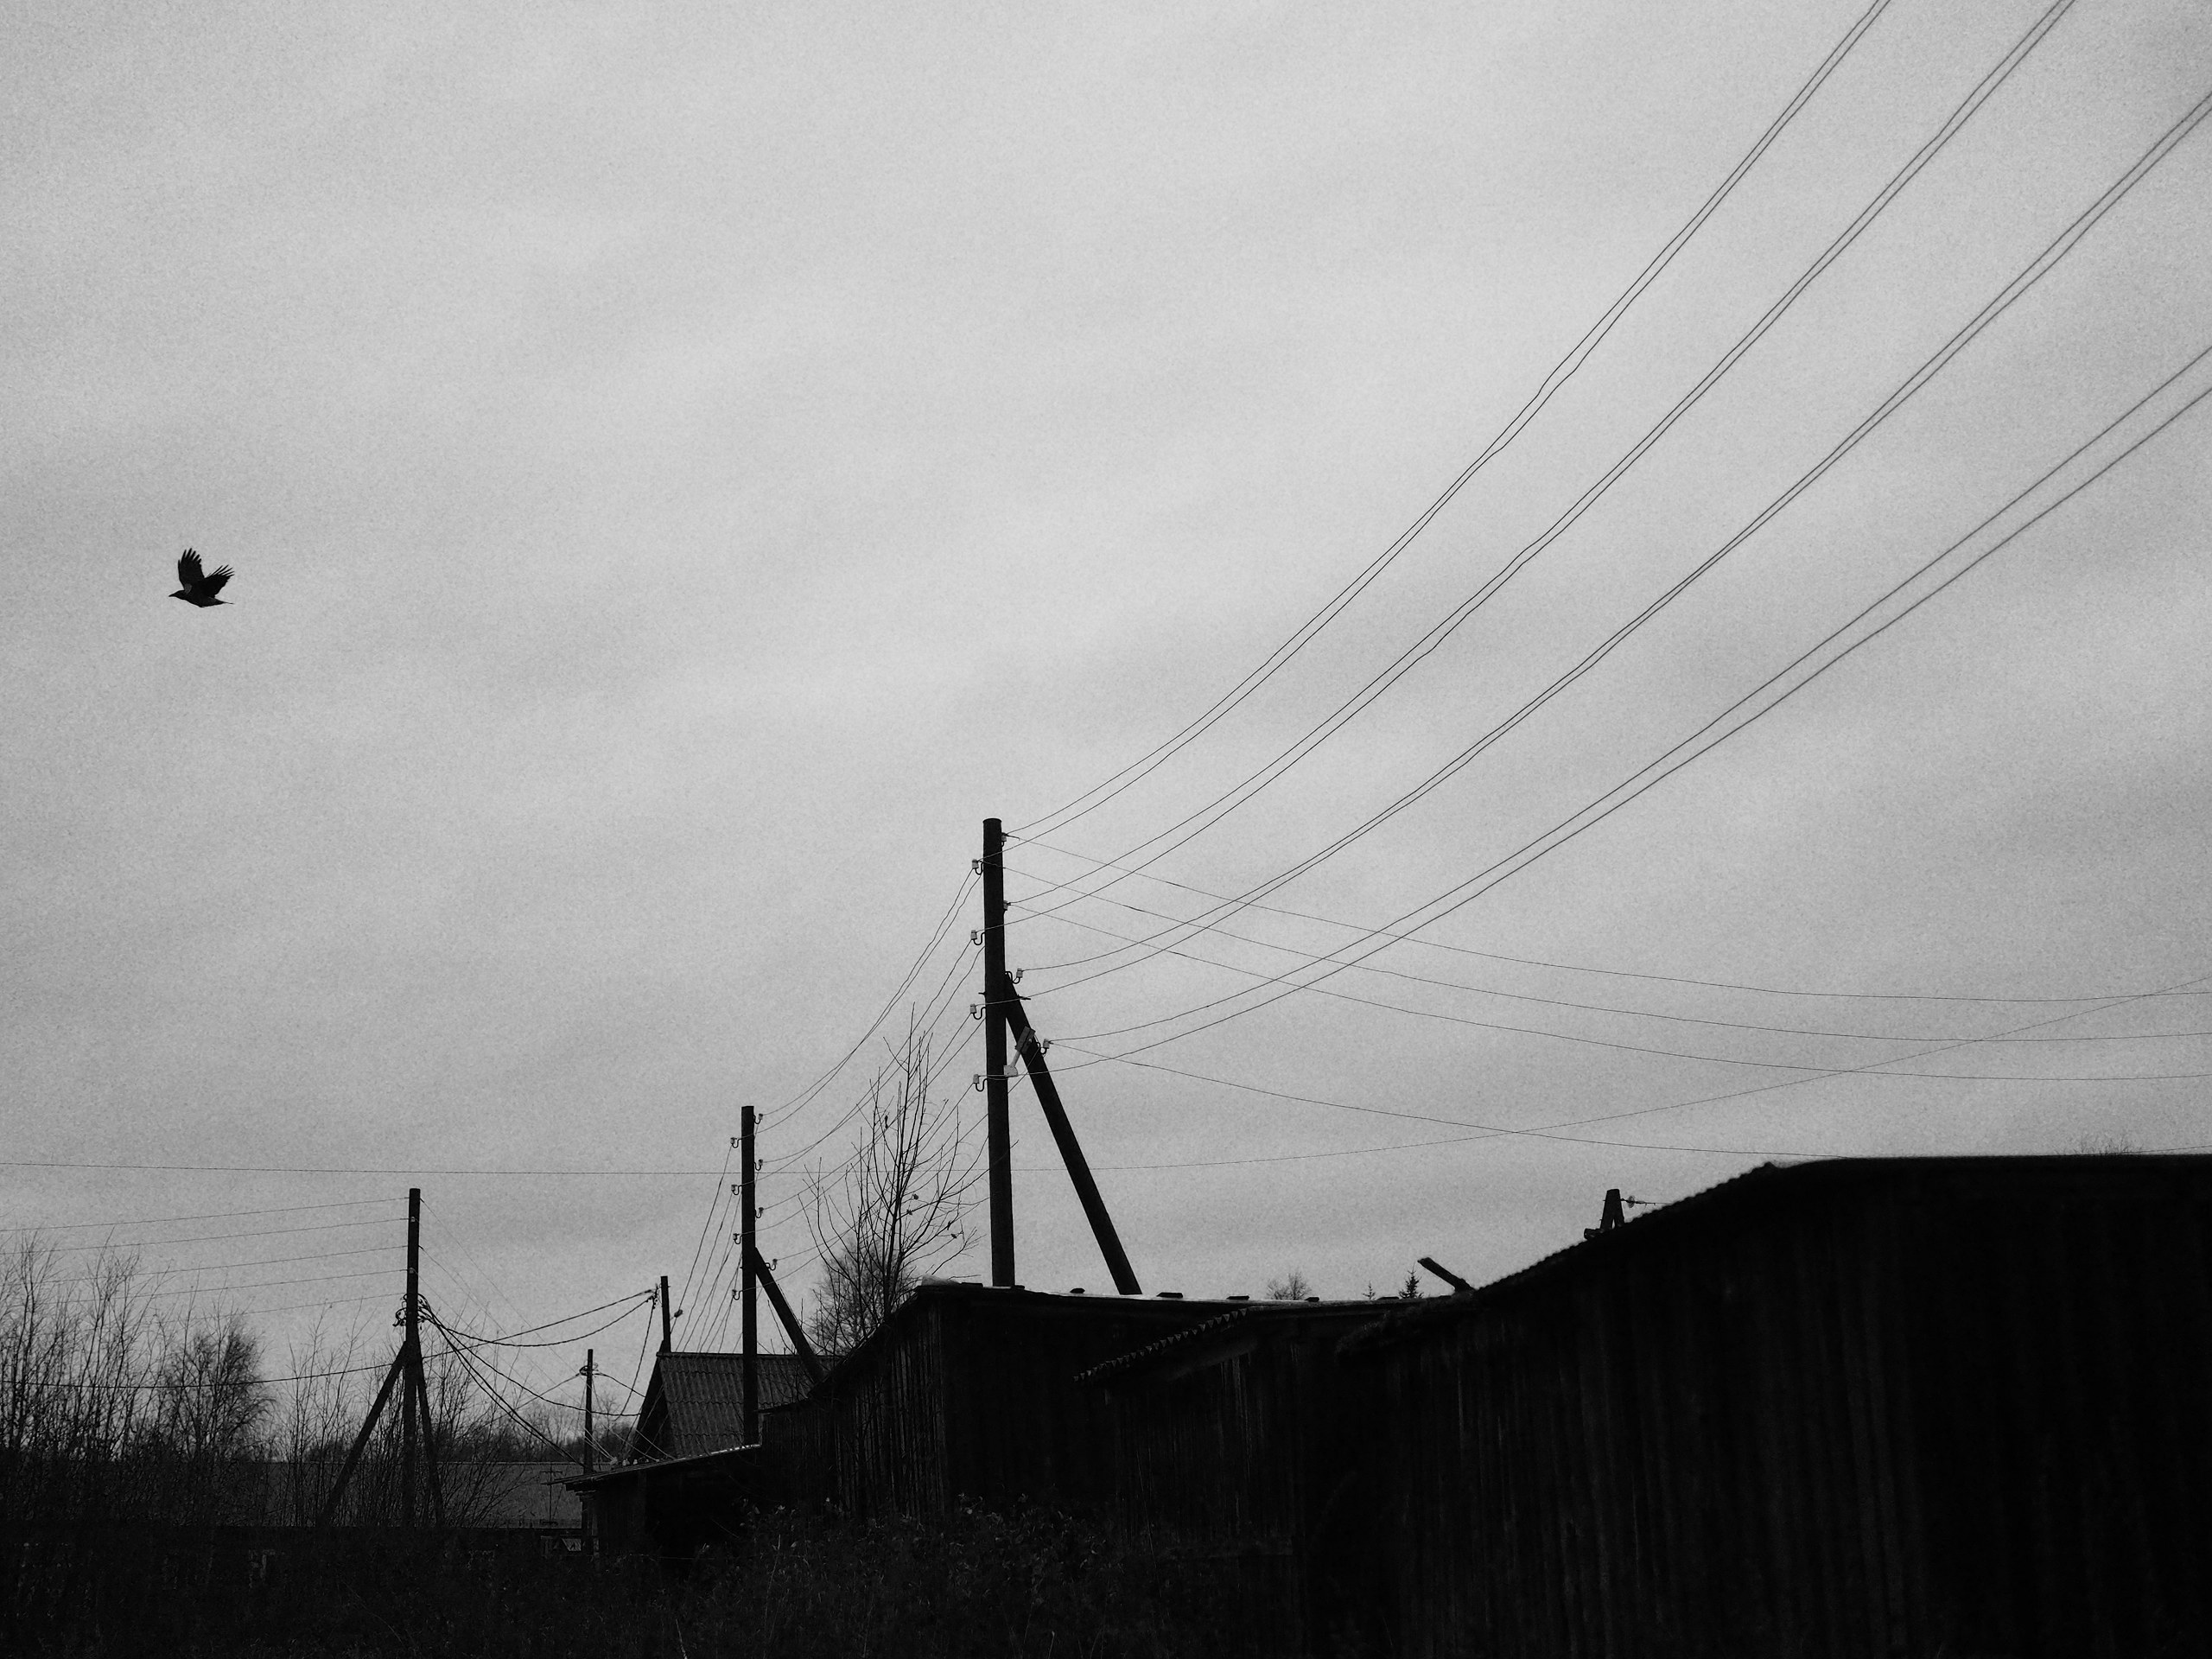
Here's how banal and dreary light is transformed in monochrome.
B&W from the Camera
I was studying the settings on my Olympus and stumbled upon creative modes, some of which let you compose and shoot in black and white. I started experimenting, and I liked the practice of shooting without the ability to "tweak" later and without a color backup frame (though you can do that if you select RAW+JPEG save mode). This approach puts you in a special mindset right during the shoot. My Olympus lets me dial in contrast and exposure compensation under viewfinder control. This is very convenient and provides a pleasant experience similar to shooting on film.
My everyday camera, the Olympus E-M10 Mk2, has two B&W modes. A standard one with a choice of color filter emulation.
And a high-contrast black-and-white film mode with high grain, which is applied algorithmically during processing. In this mode, the camera significantly boosts contrast and applies an effect similar to dynamic range compression.
Look at how pleasant and realistic the grain is.
I like both modes and frequently use them in artistic shooting.
White Board
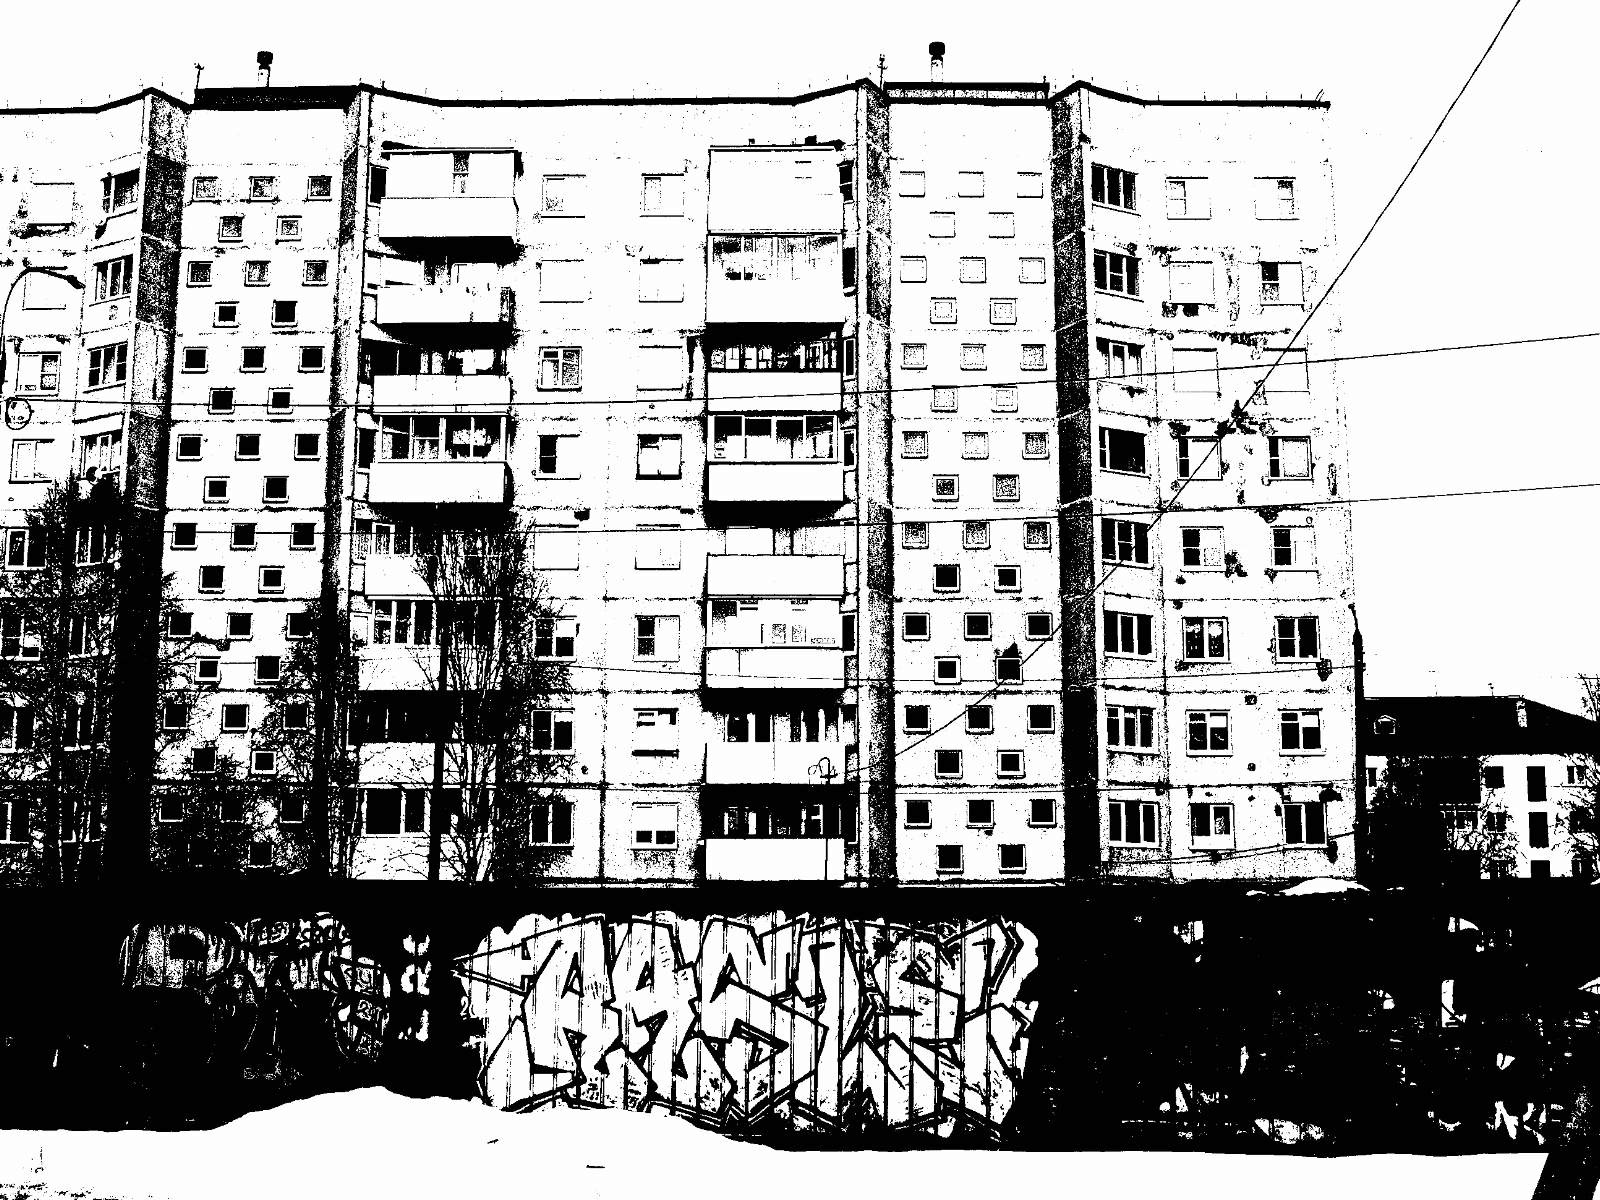
At the end of winter I was studying a vintage C-5060 camera and found a creative mode called "White board," where the black-and-white photography effect is taken to the extreme: photographs literally contain only white and black pixels.
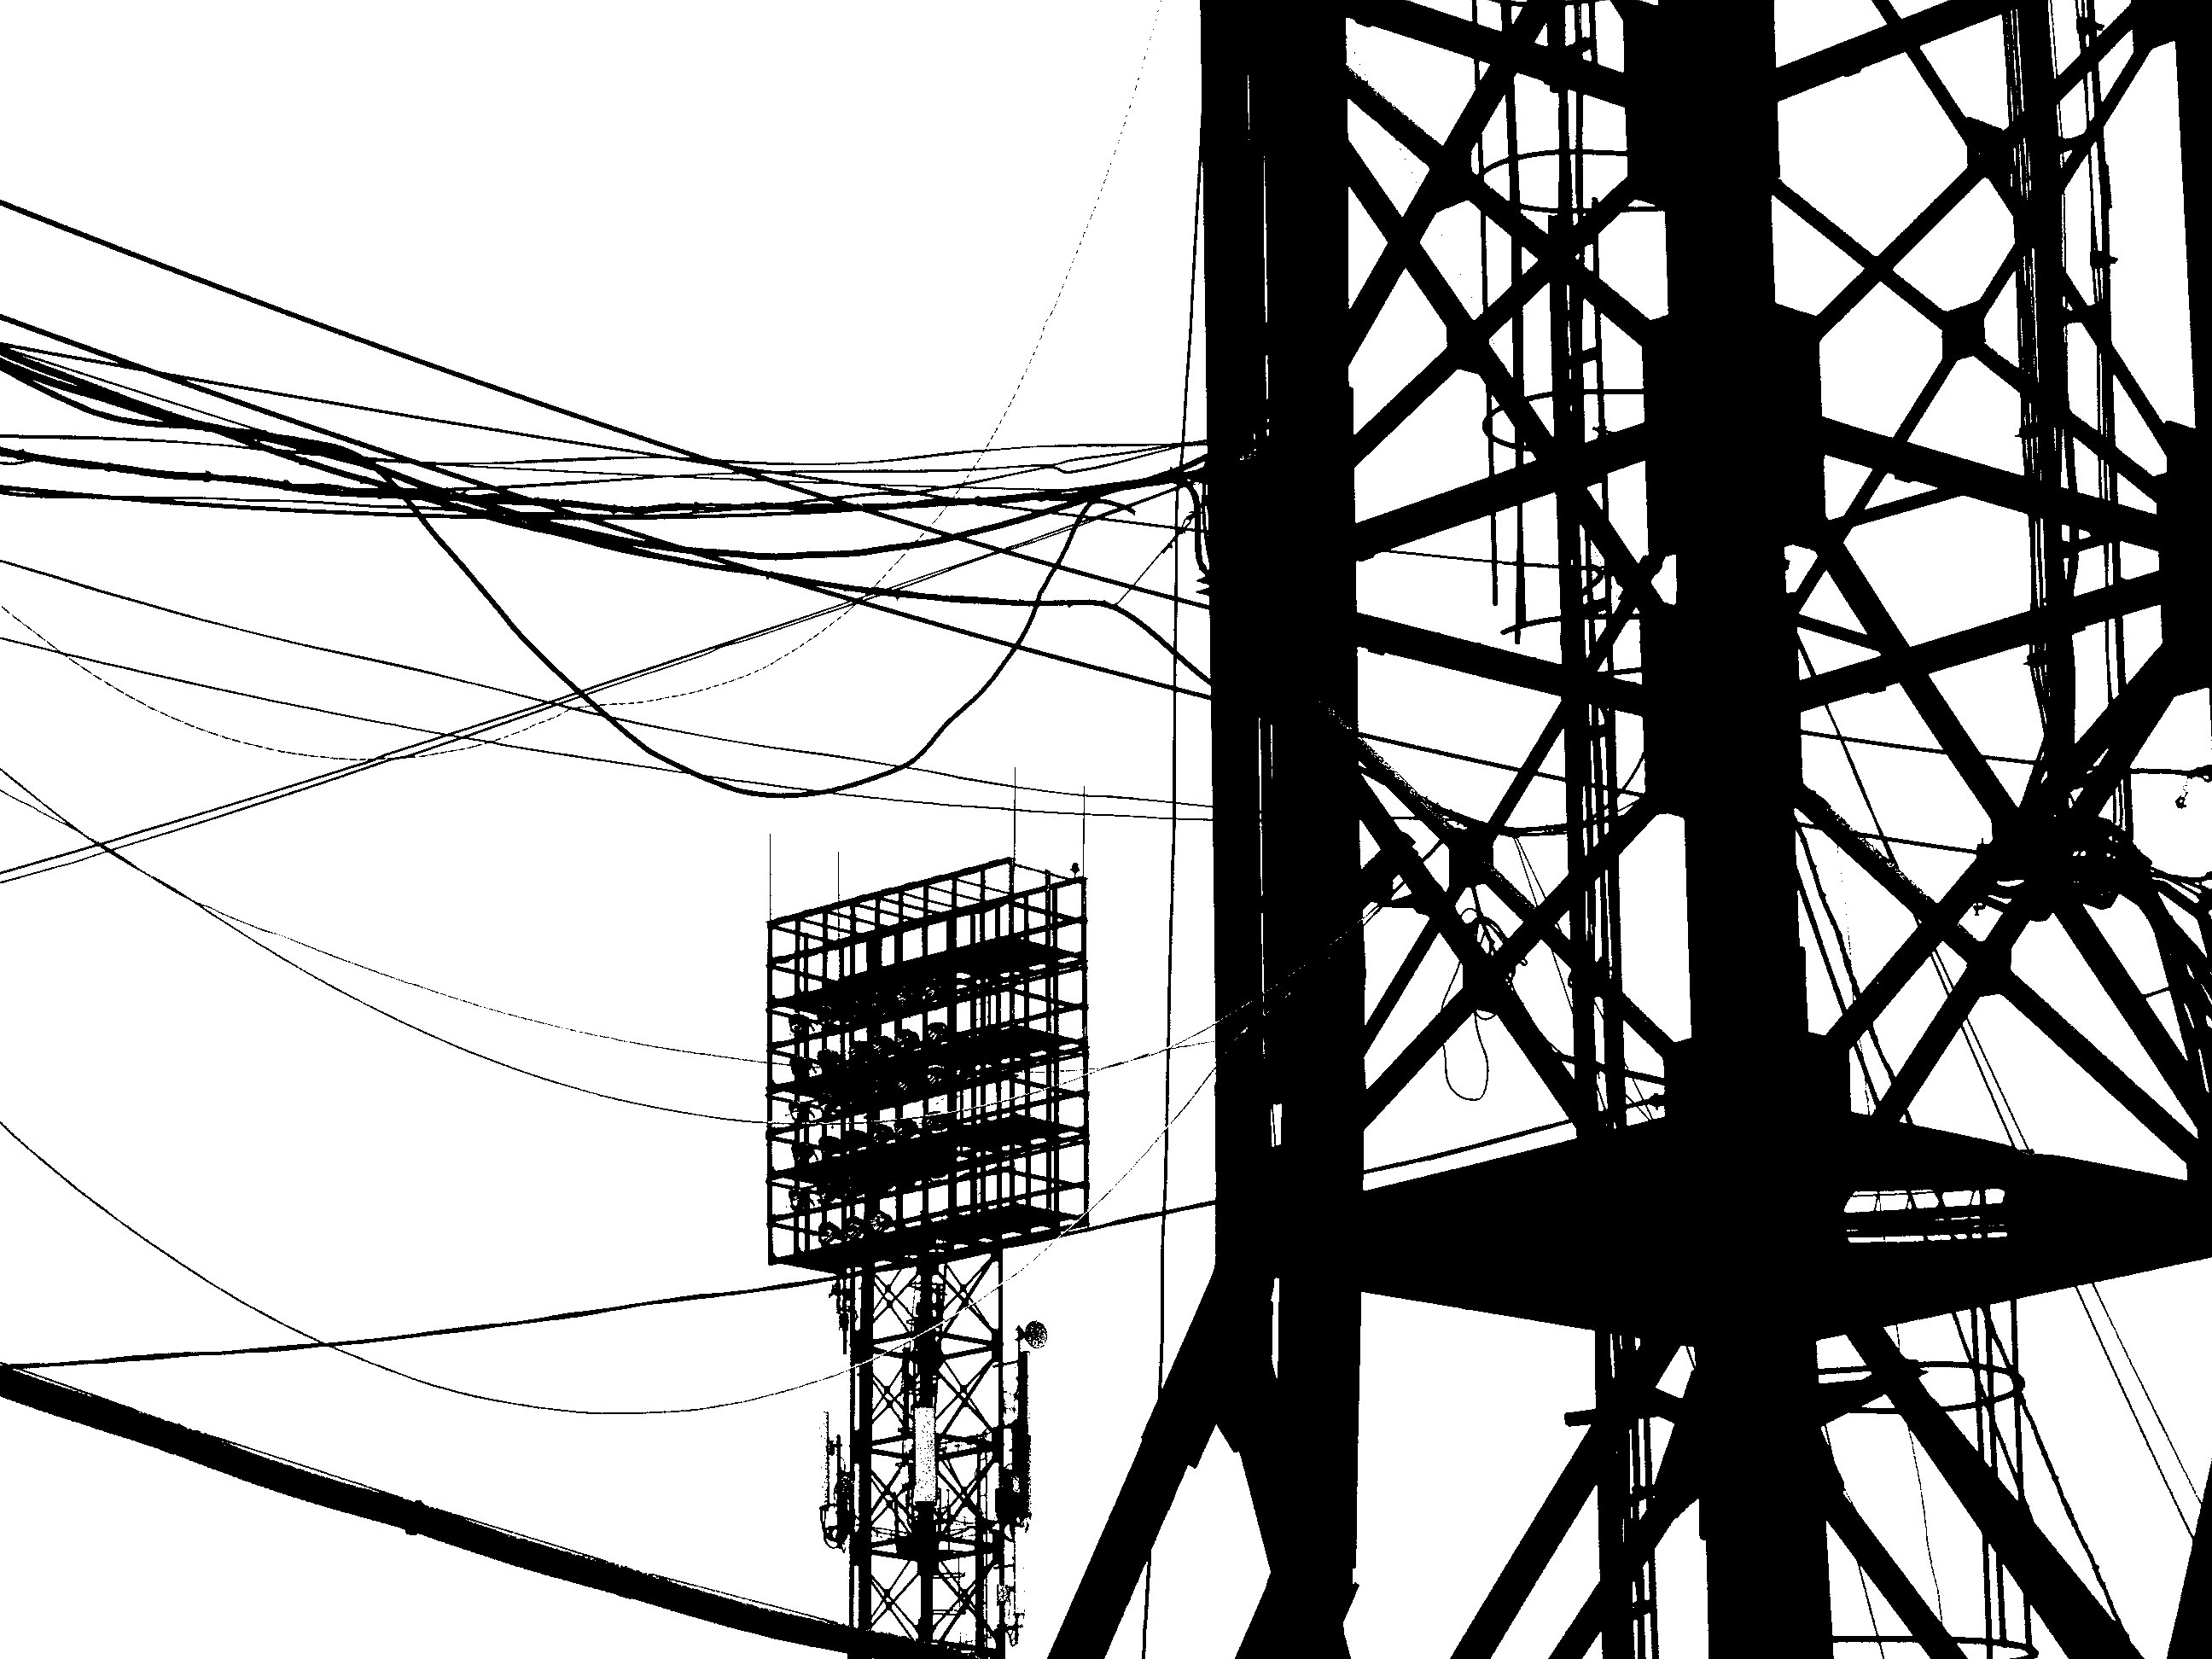
I noticed that the algorithm in the camera is a bit more complex than simple threshold sorting of values. In my estimation, the image is subjected to an enhanced "Unsharp mask" filter, which is available in the camera's capabilities. My guess is based on the fact that object contours and brightness contrast transitions are emphasized in the images.
For about a week I didn't part with this mode and eagerly shot everything I saw.
Notably, the camera shows the image with the effect applied on the screen at a decent FPS.
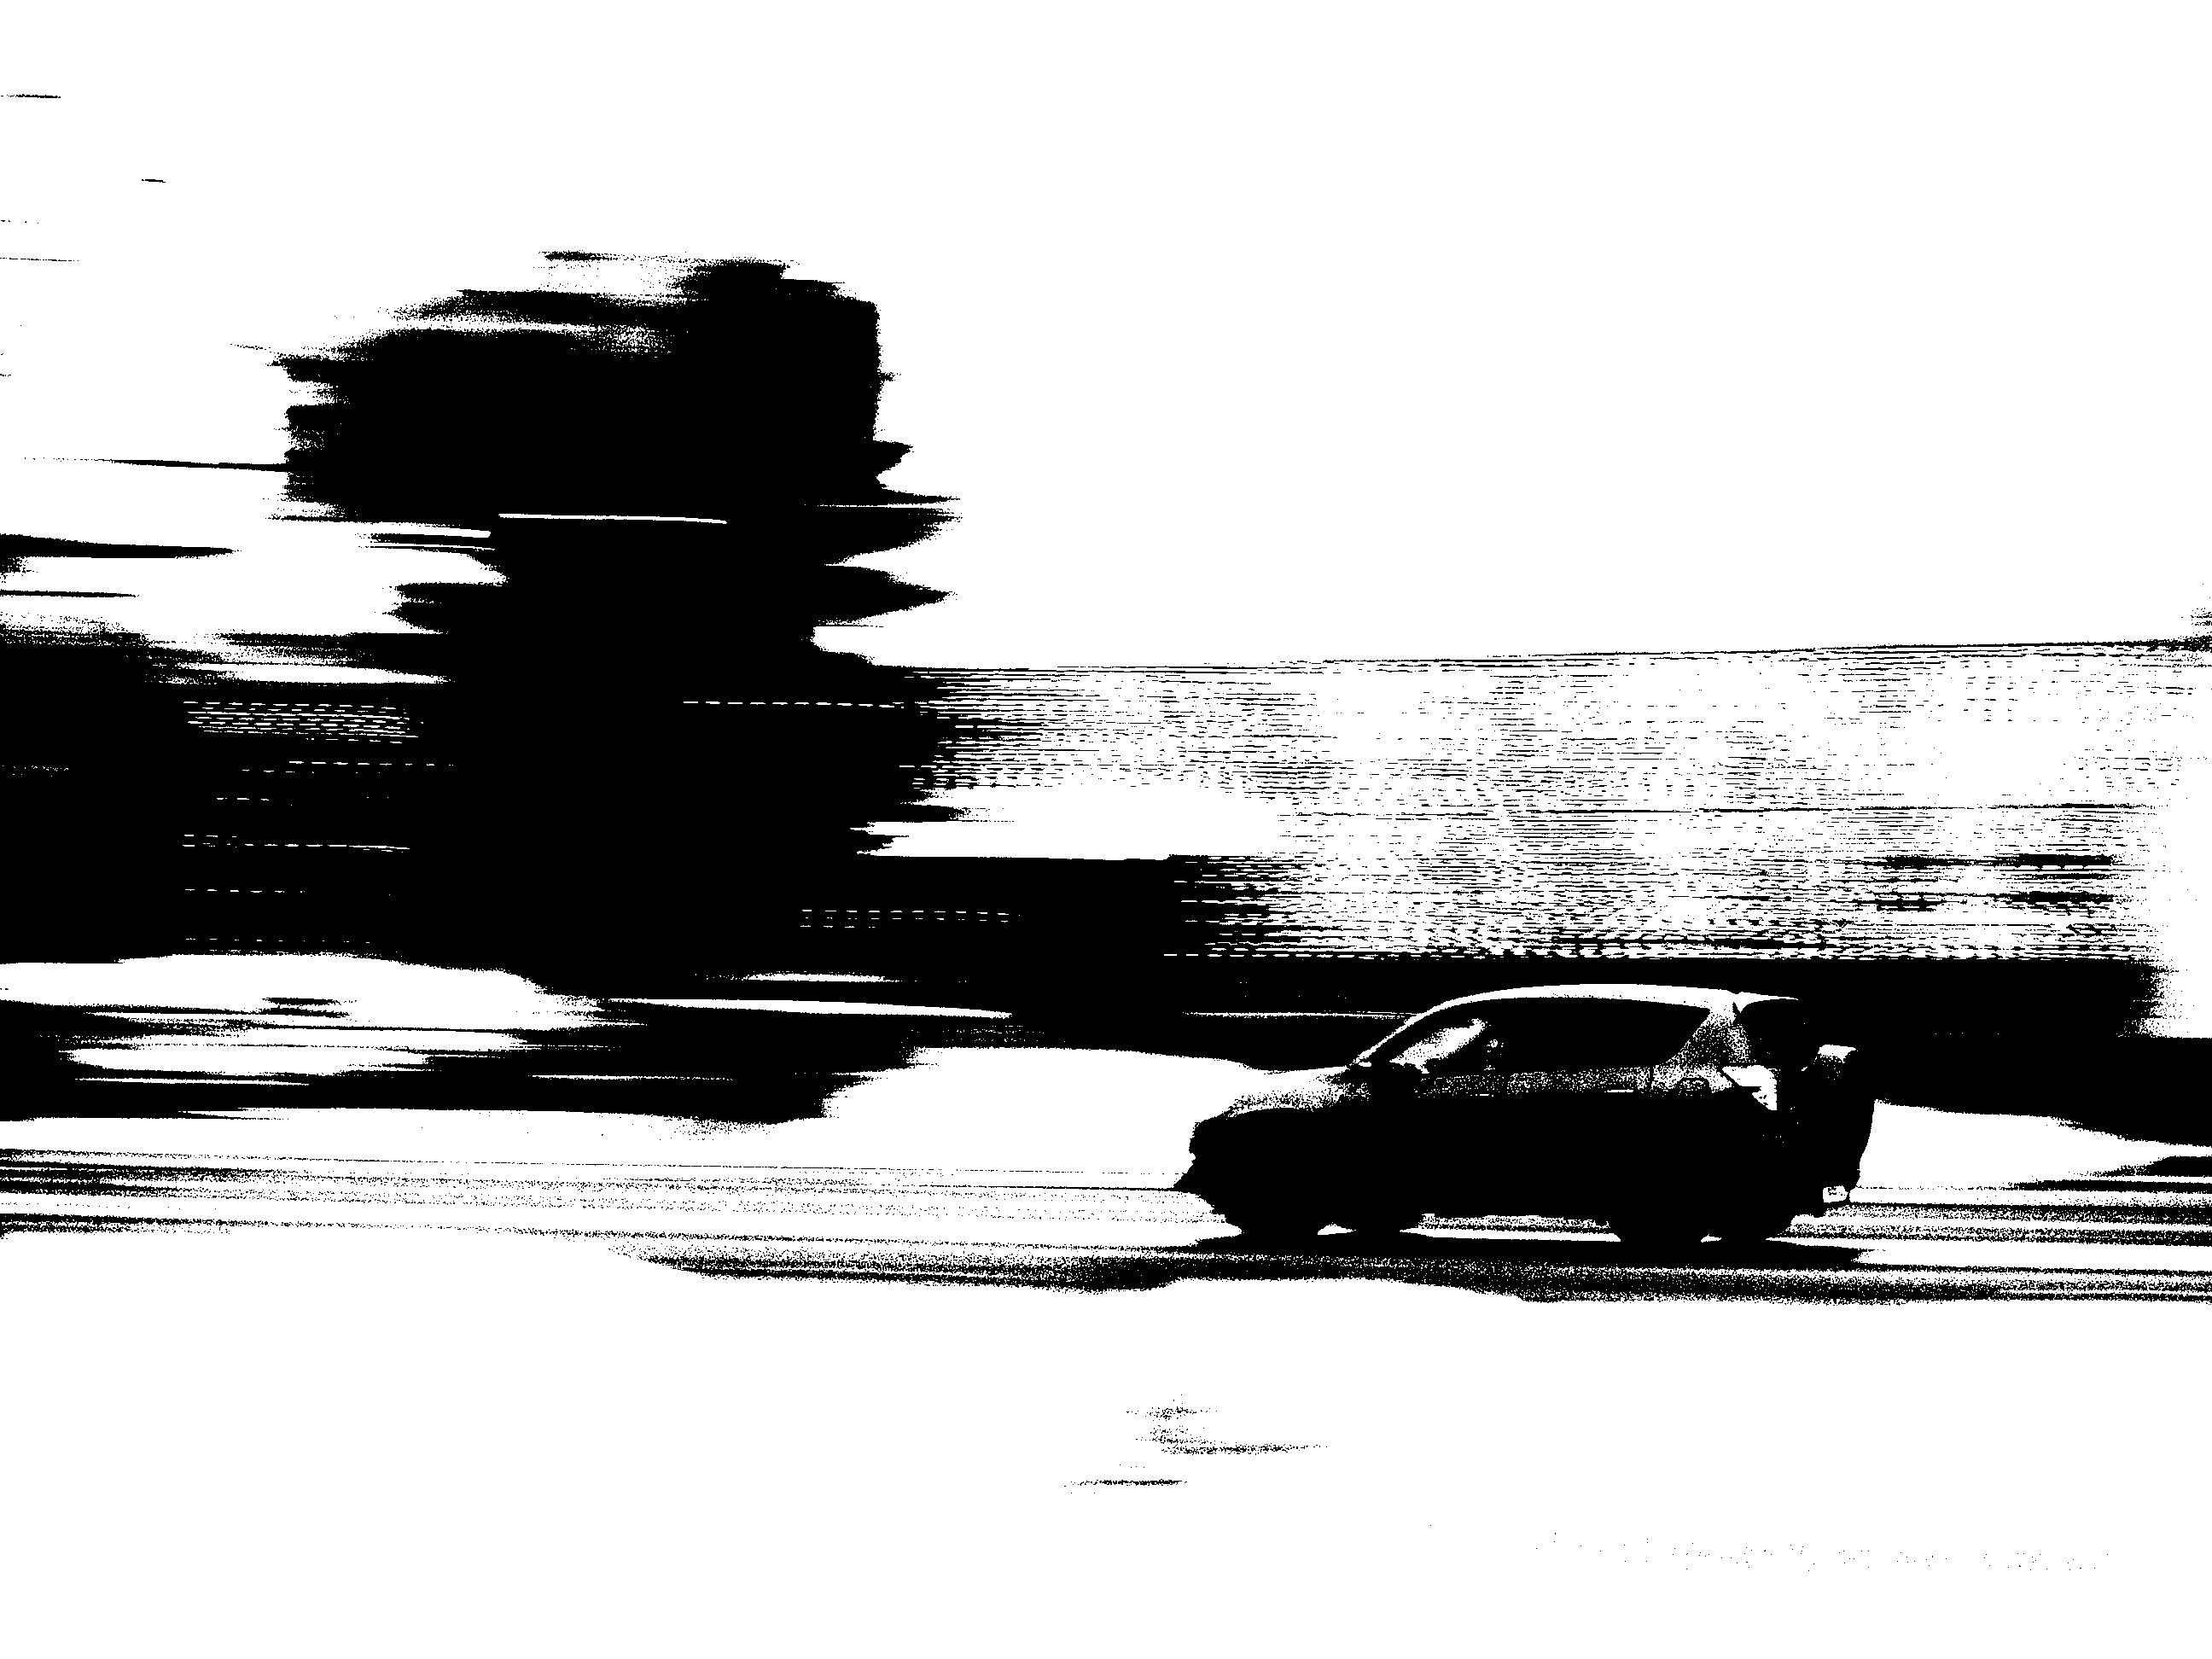
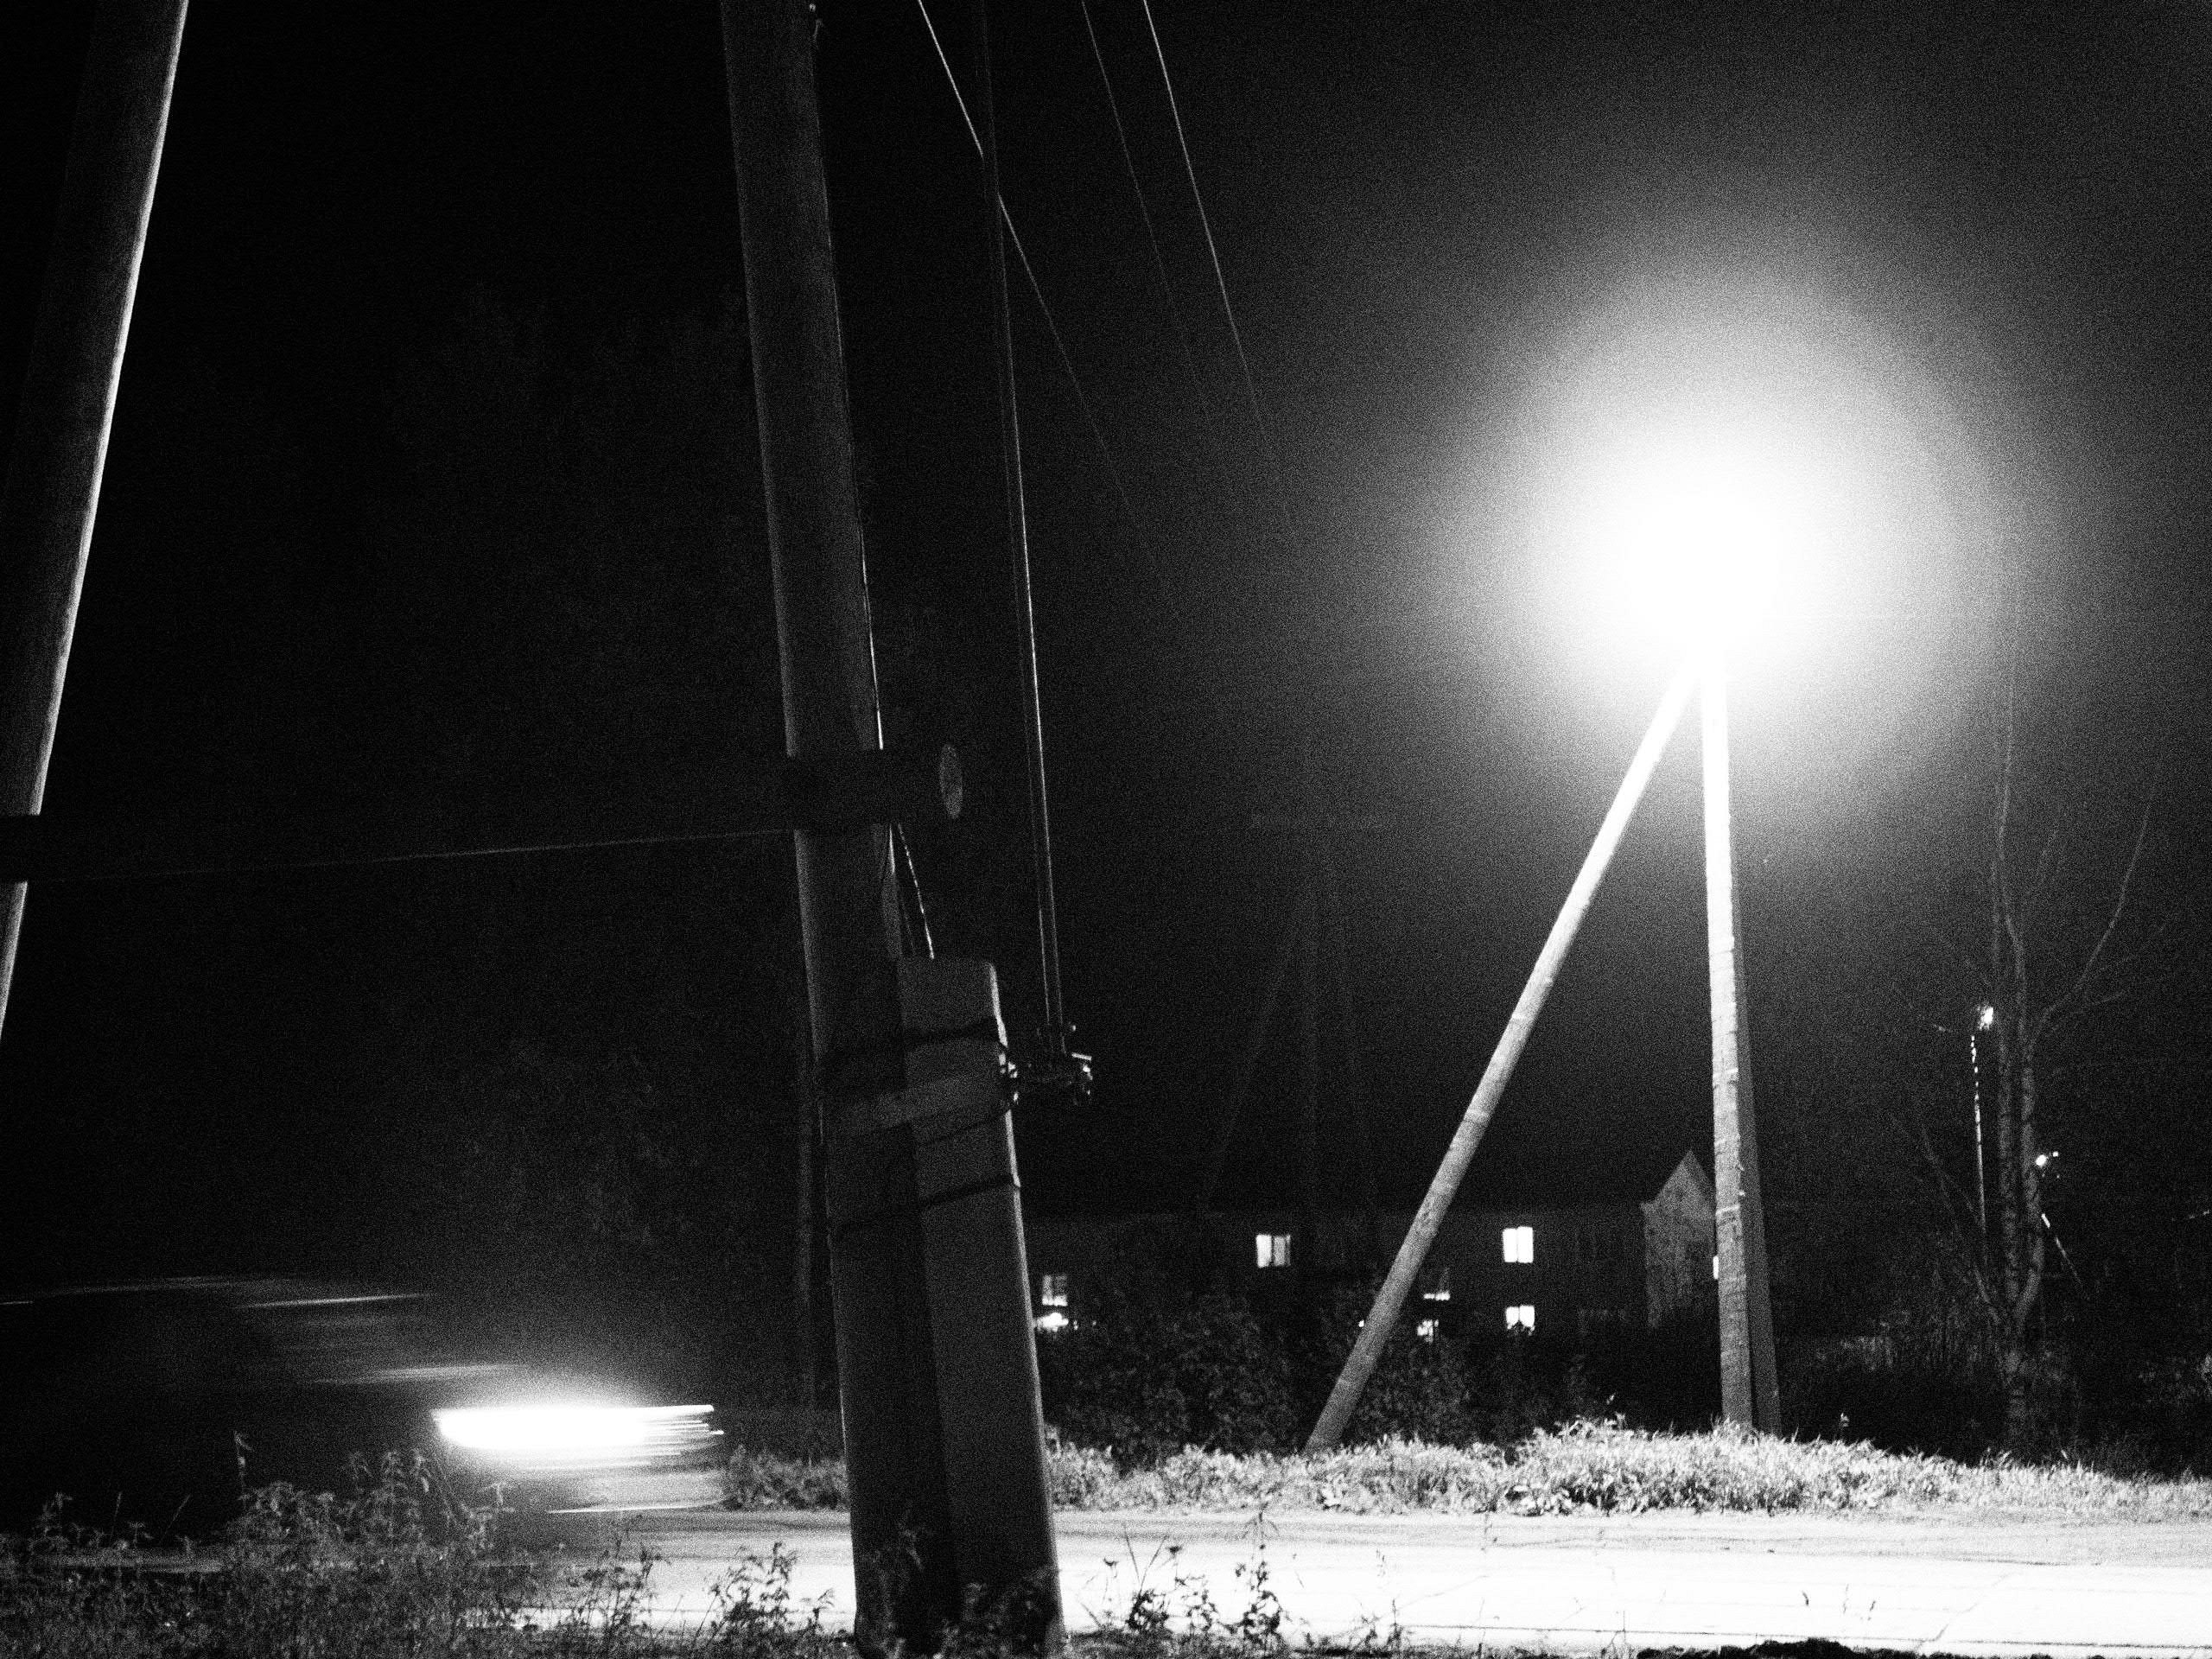
This shot was taken with panning.
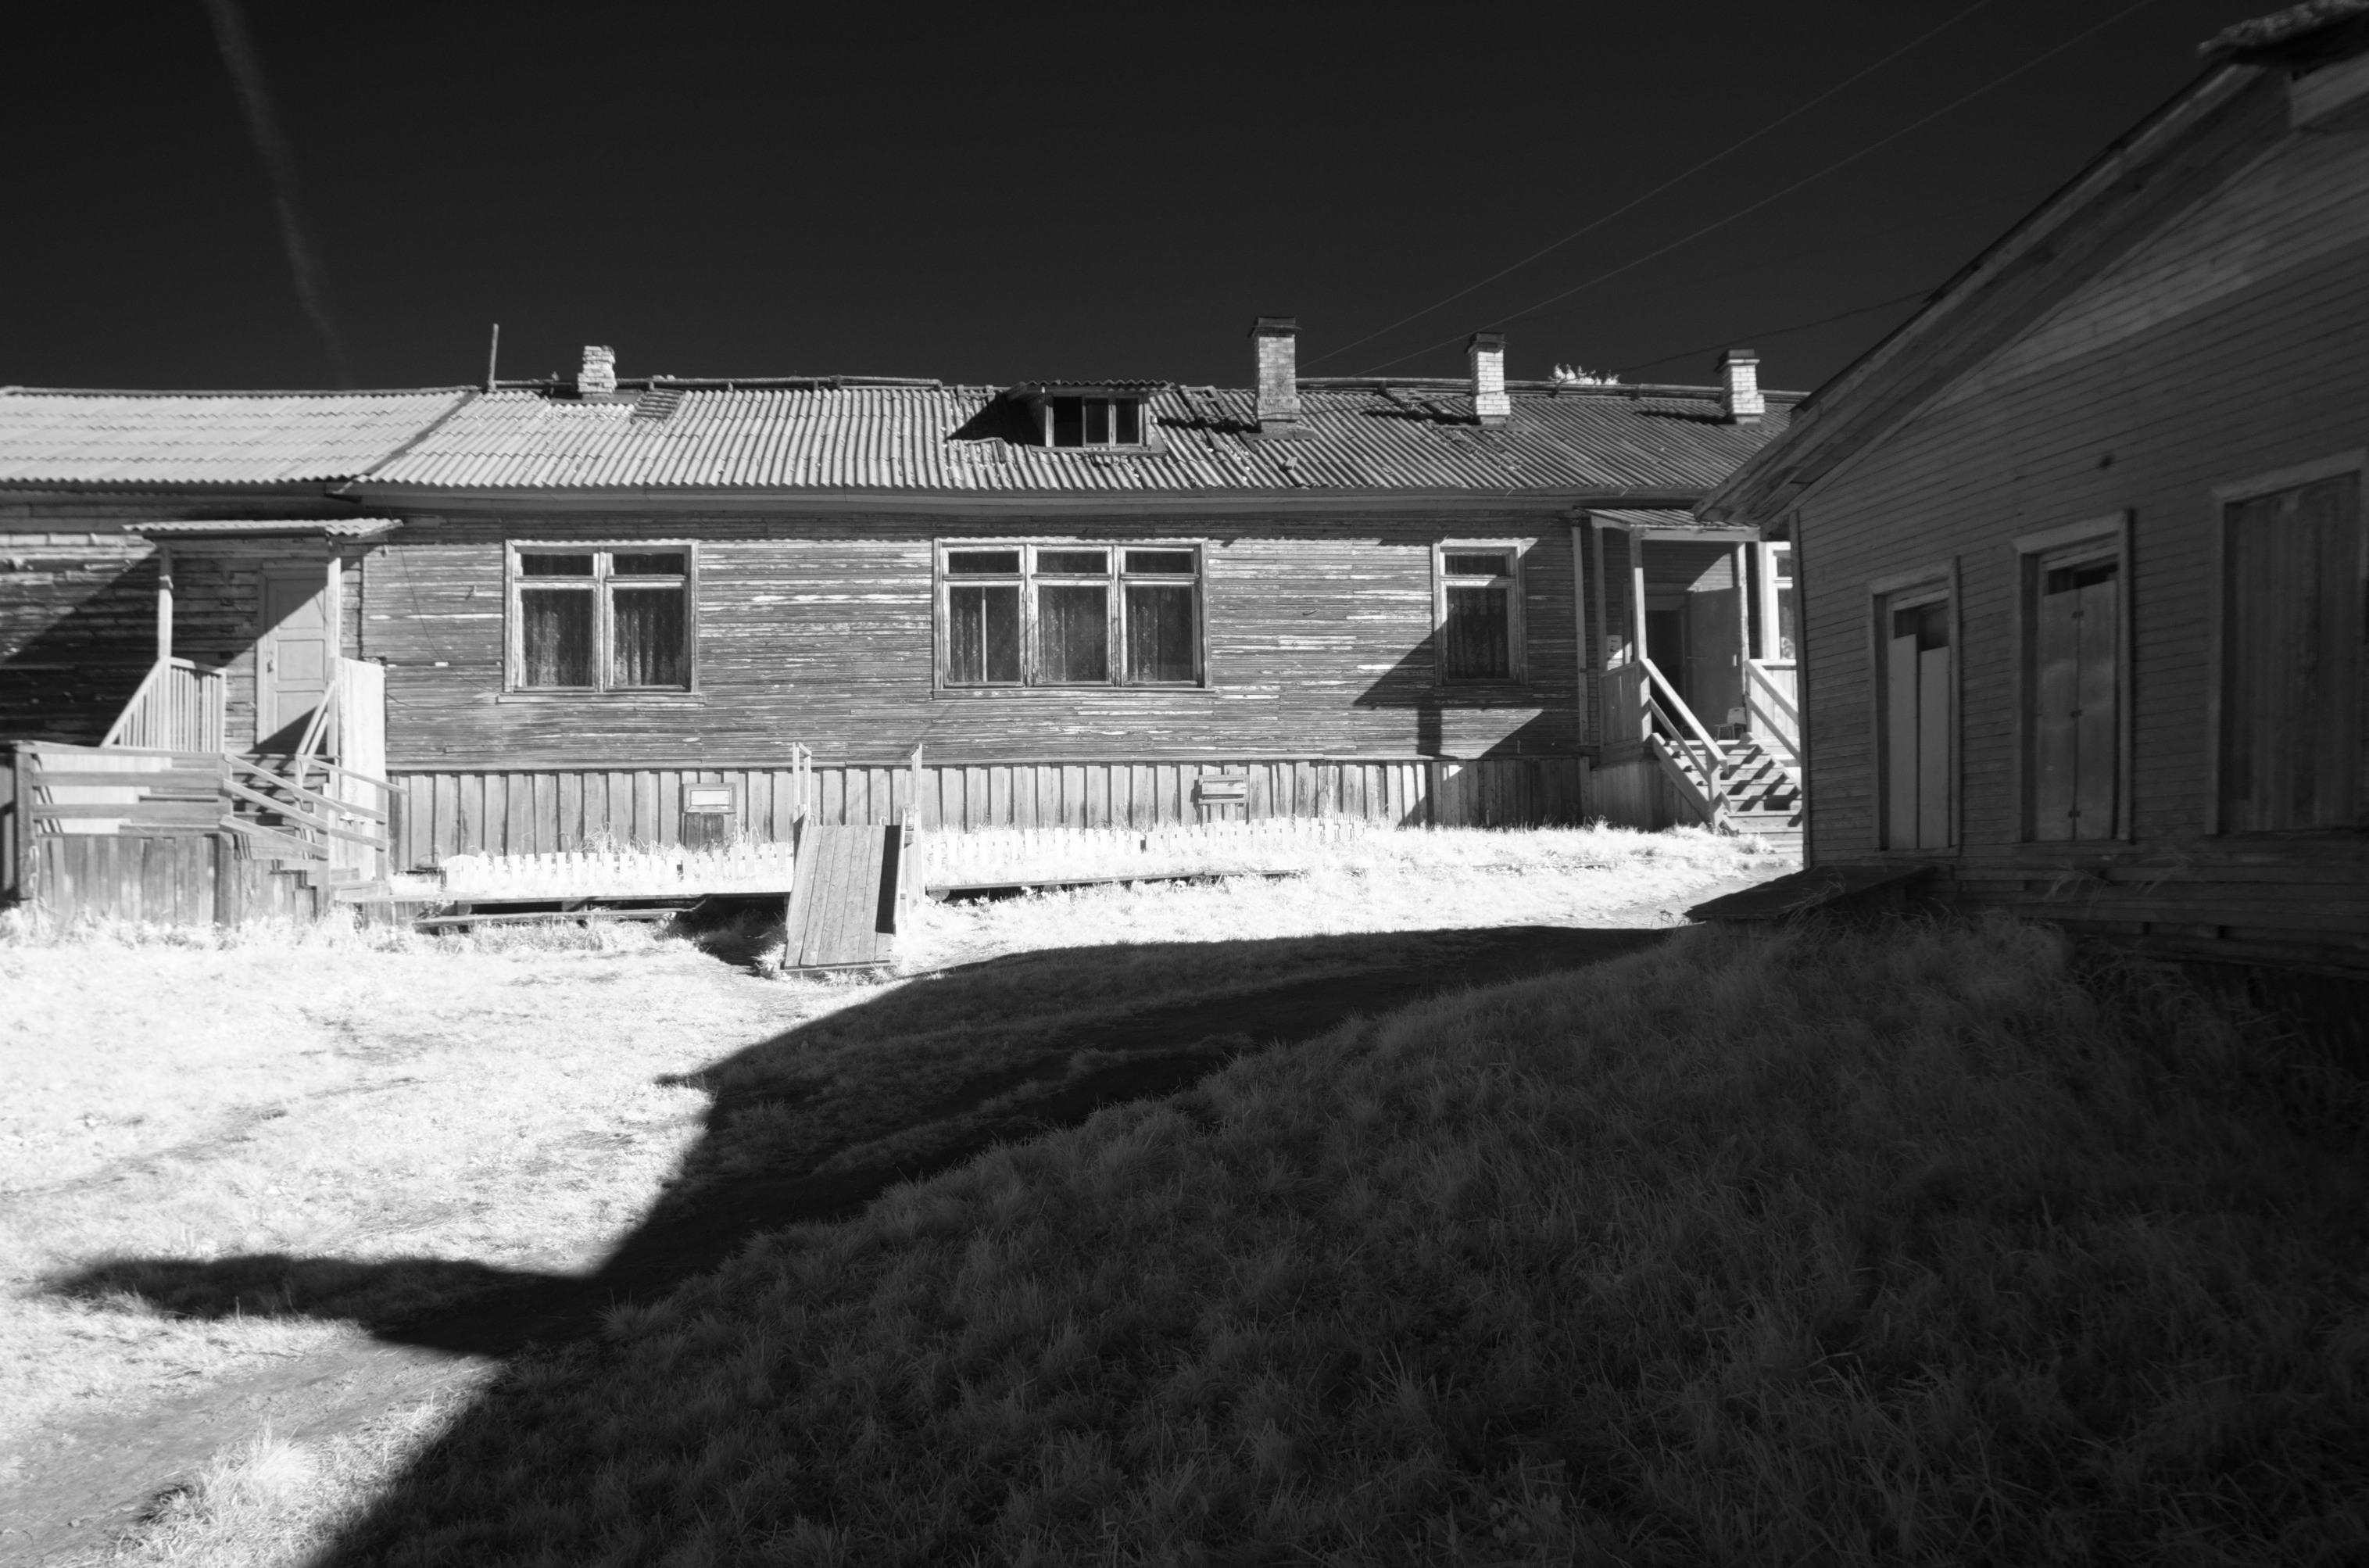
Infrared Photography
I wrote about the Nikon D70 conversion in a previous article; I'll briefly recap the gist. The infrared blocking filter that sits in front of the sensor is physically removed from the camera. Thanks to the silicon photosensor's sensitivity to near-infrared, it becomes possible to capture it in photographs.
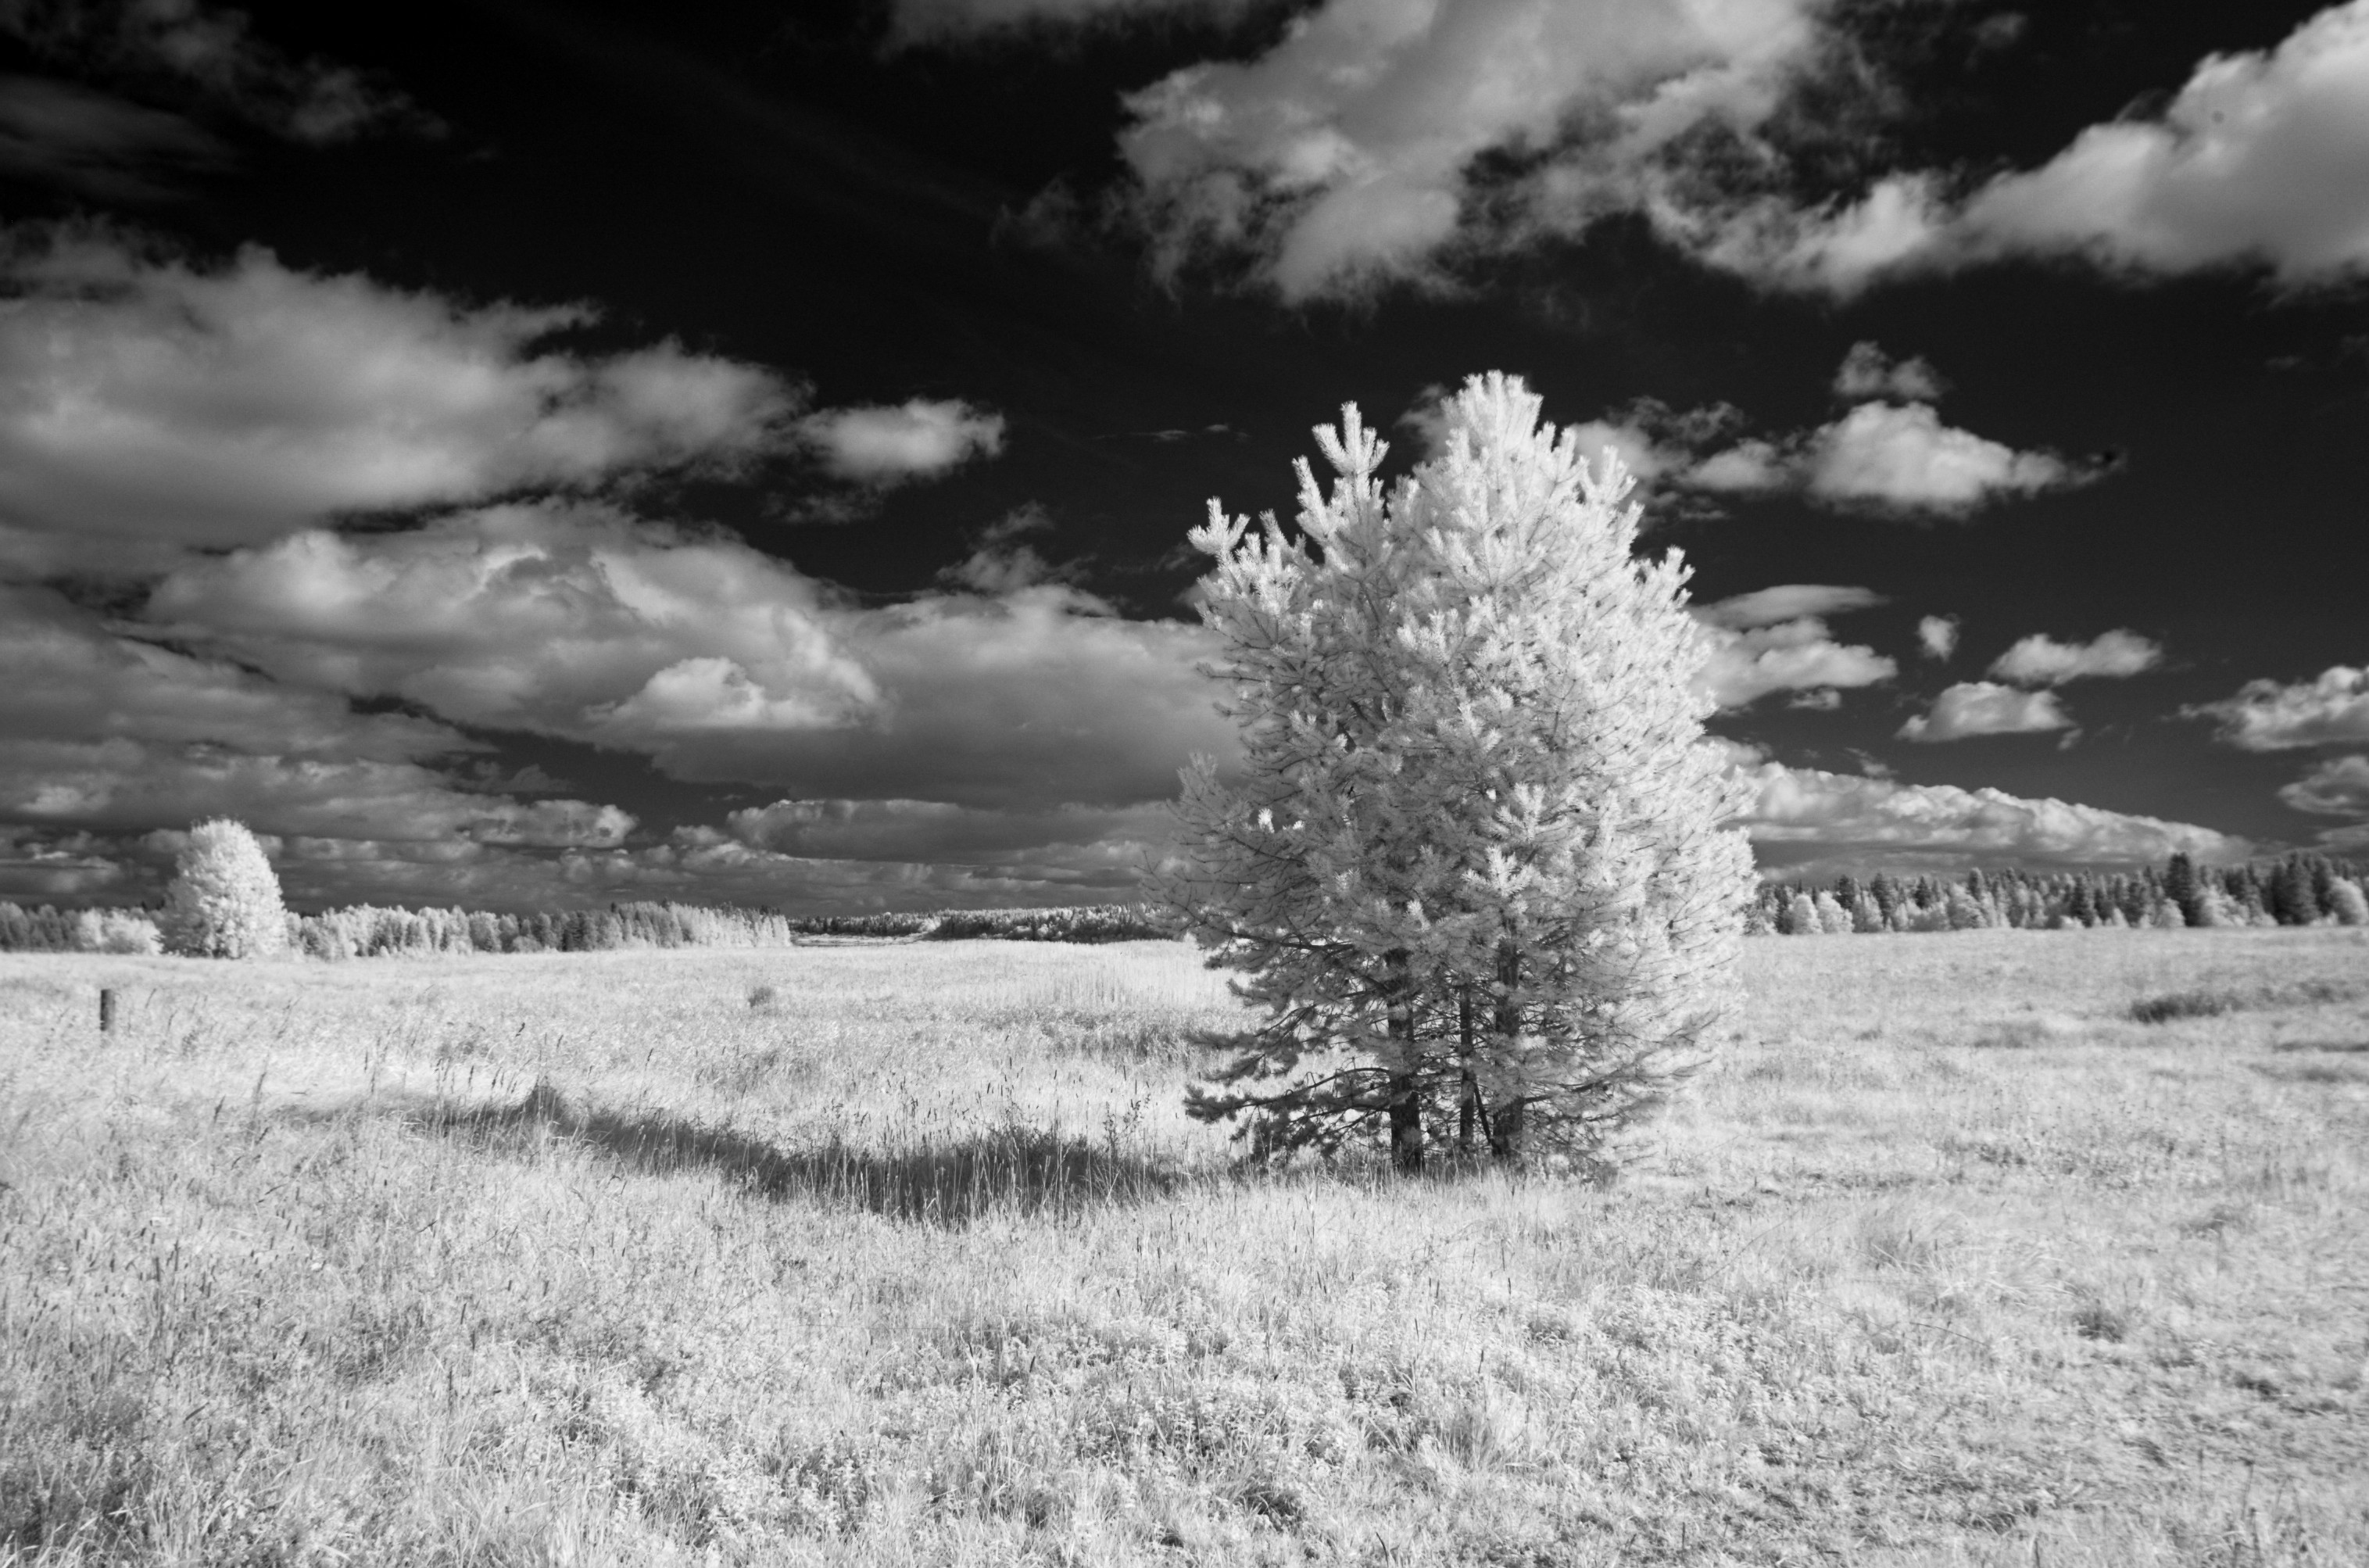
An IR-passing filter is mounted on the photo lens — a very dark red color, through which the eye can see nothing except the glowing filaments of incandescent bulbs and similar light sources.
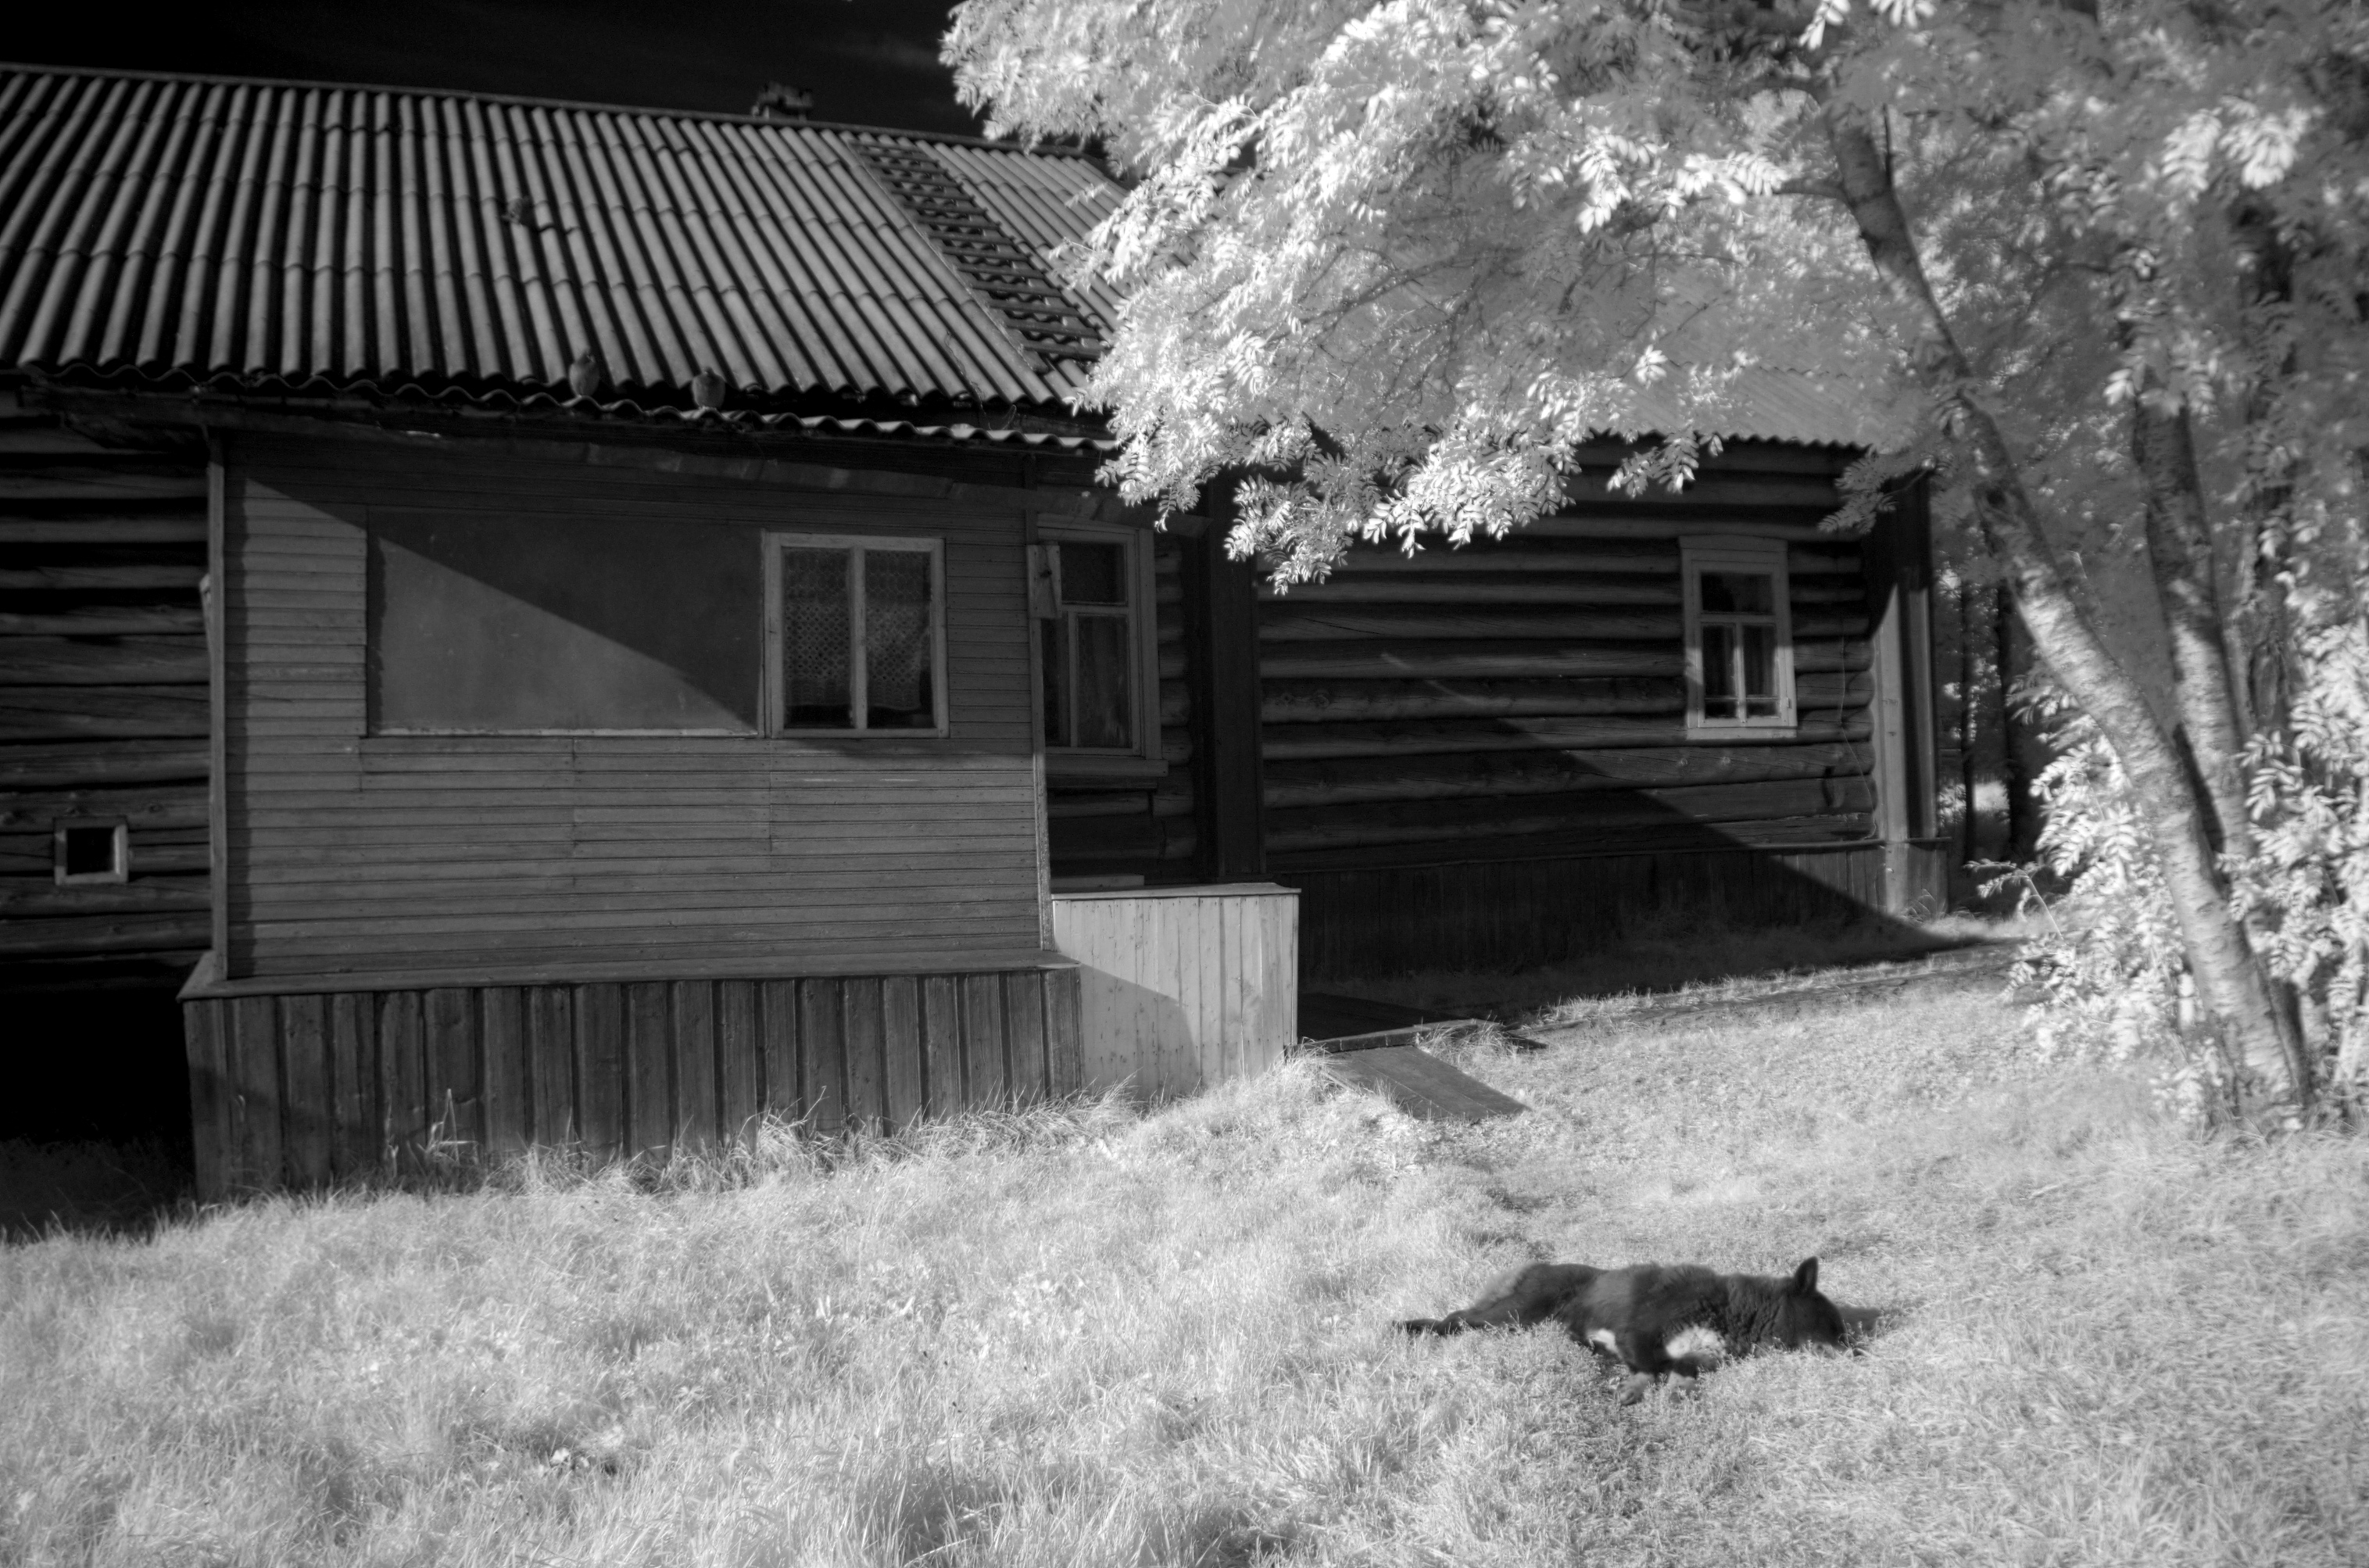
Photographs in the IR range create a special atmosphere of an illusory world or dream. Black patches of open sky, white, almost snowy vegetation, and a strange waxy look to people's skin.
Post-Processing
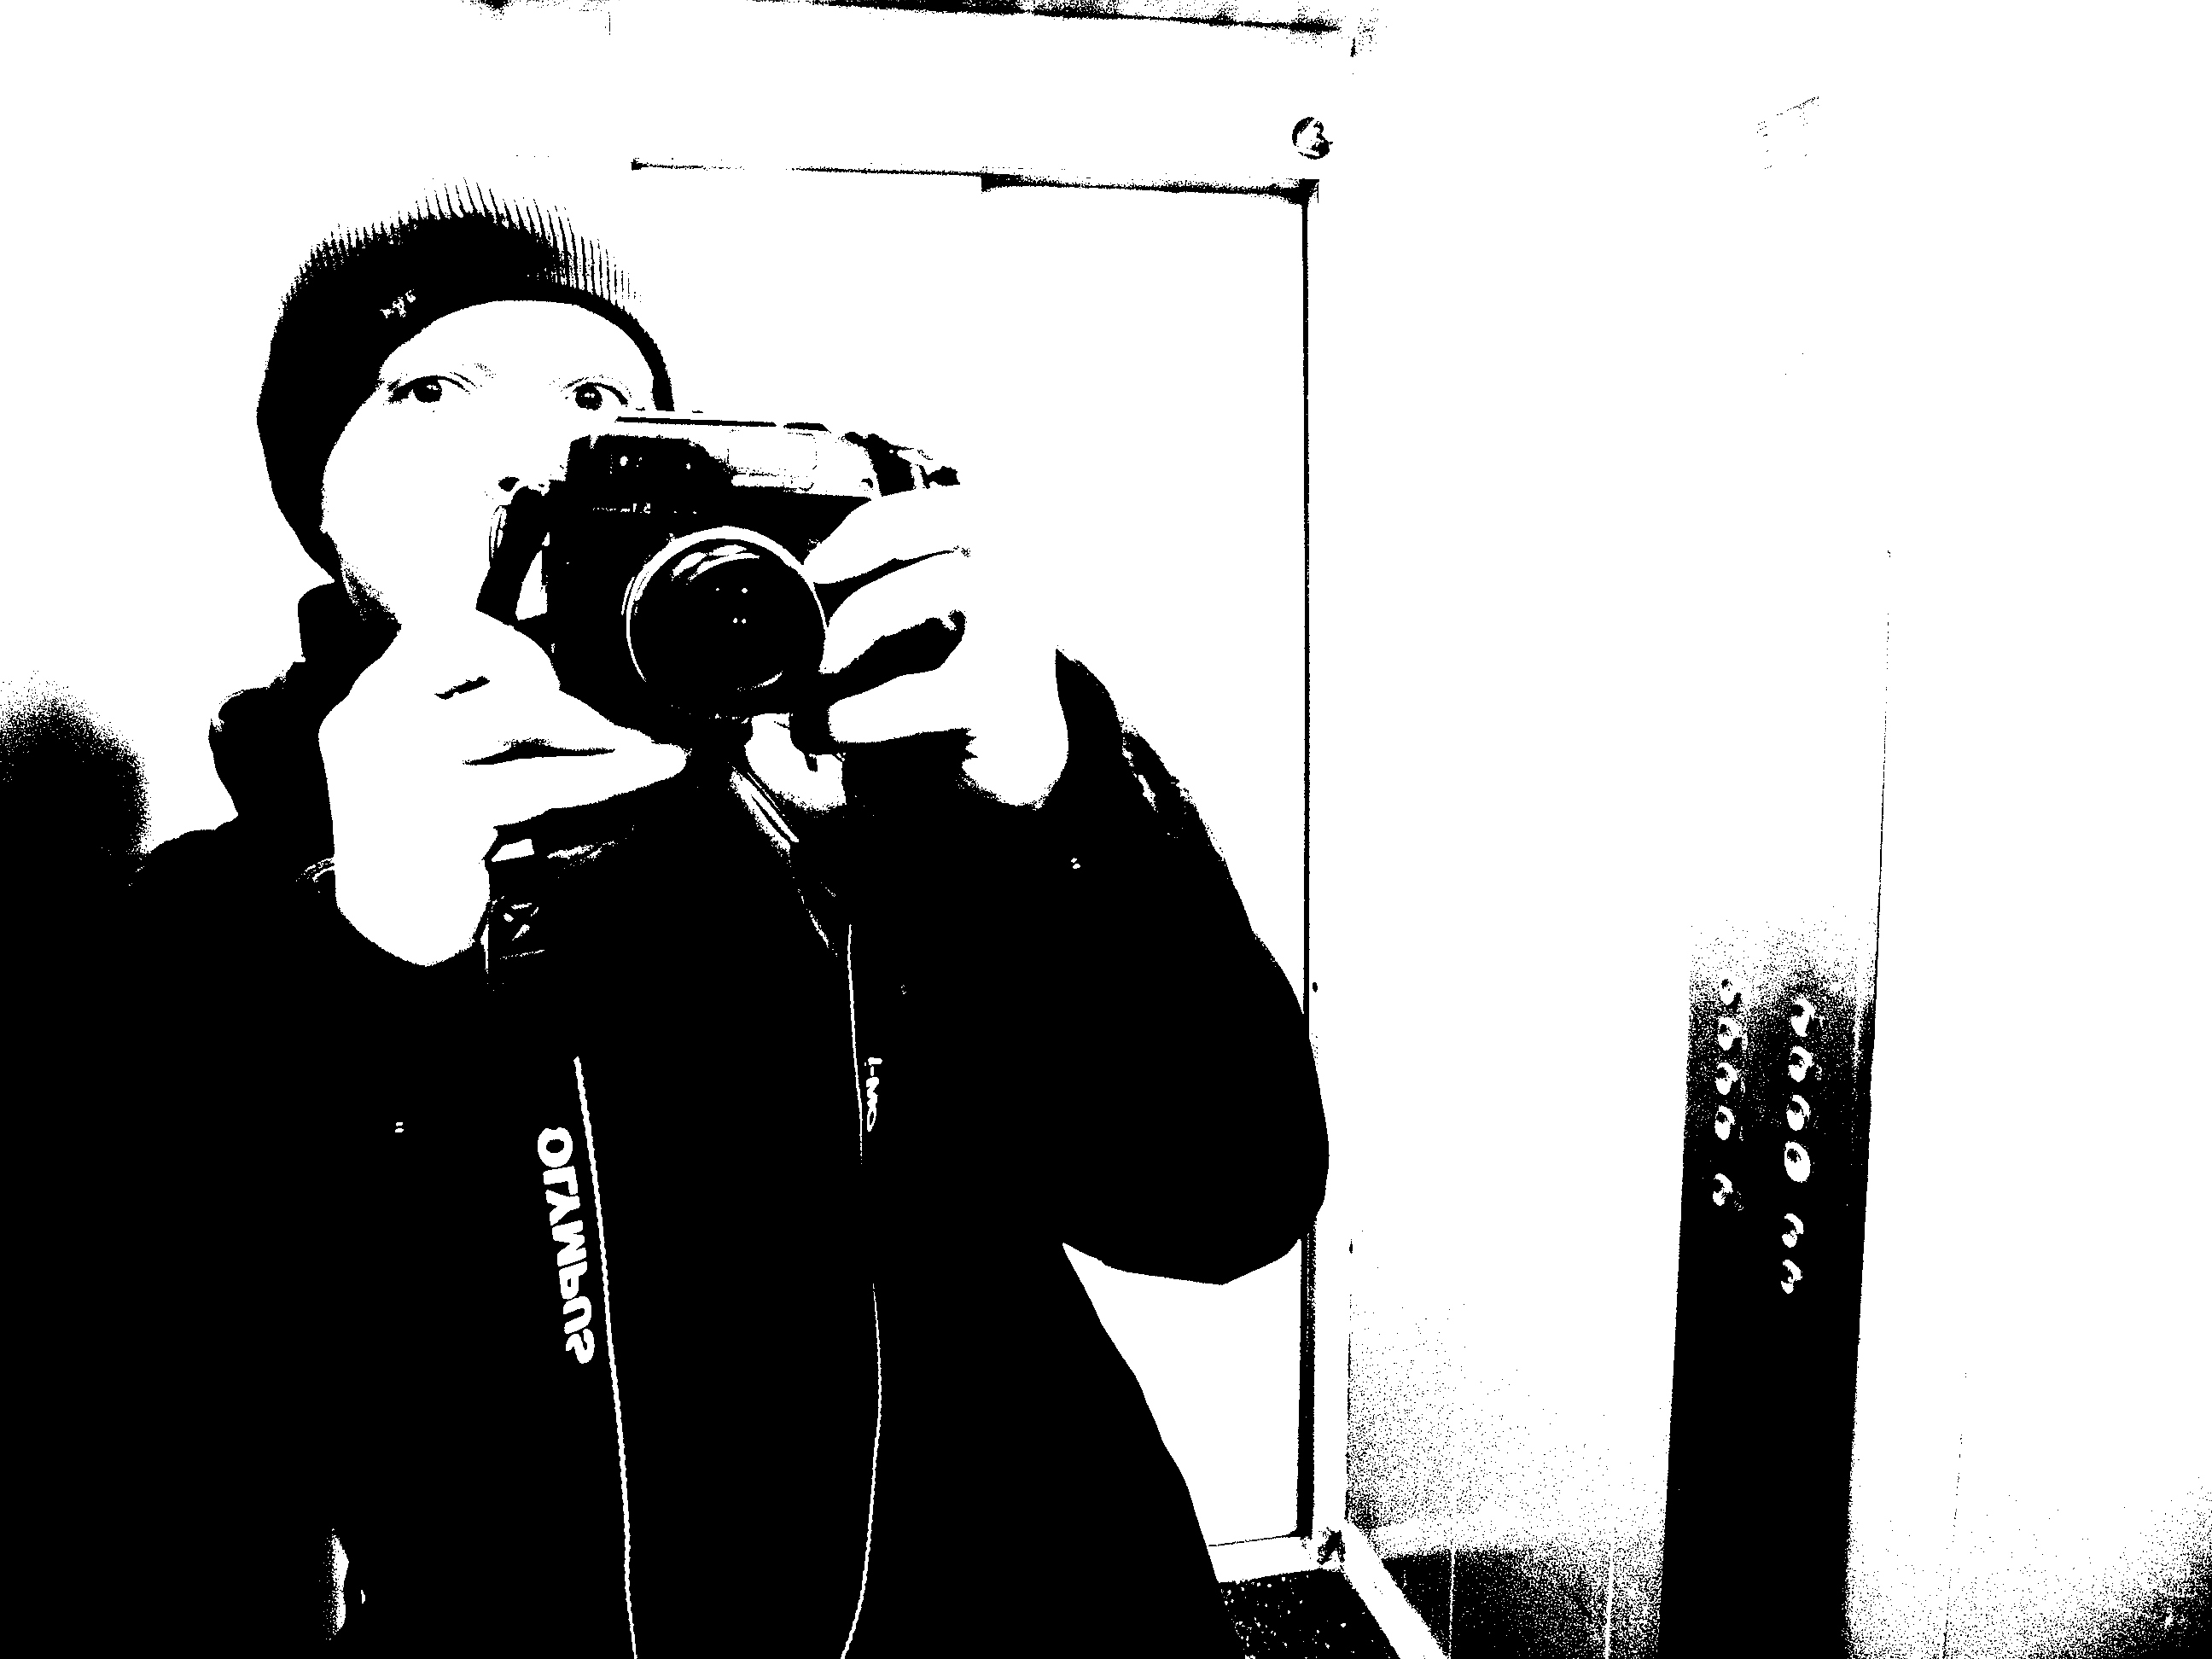
In the era of film photography, single-layer black-and-white film was the primary photographic material for enthusiasts. The reason was multifaceted: relative cheapness and availability of film, photo paper, and photo chemicals; a straightforward development process that forgave procedural violations and exposure errors. Black-and-white photography was truly the people's photography — accessible and widespread everywhere.
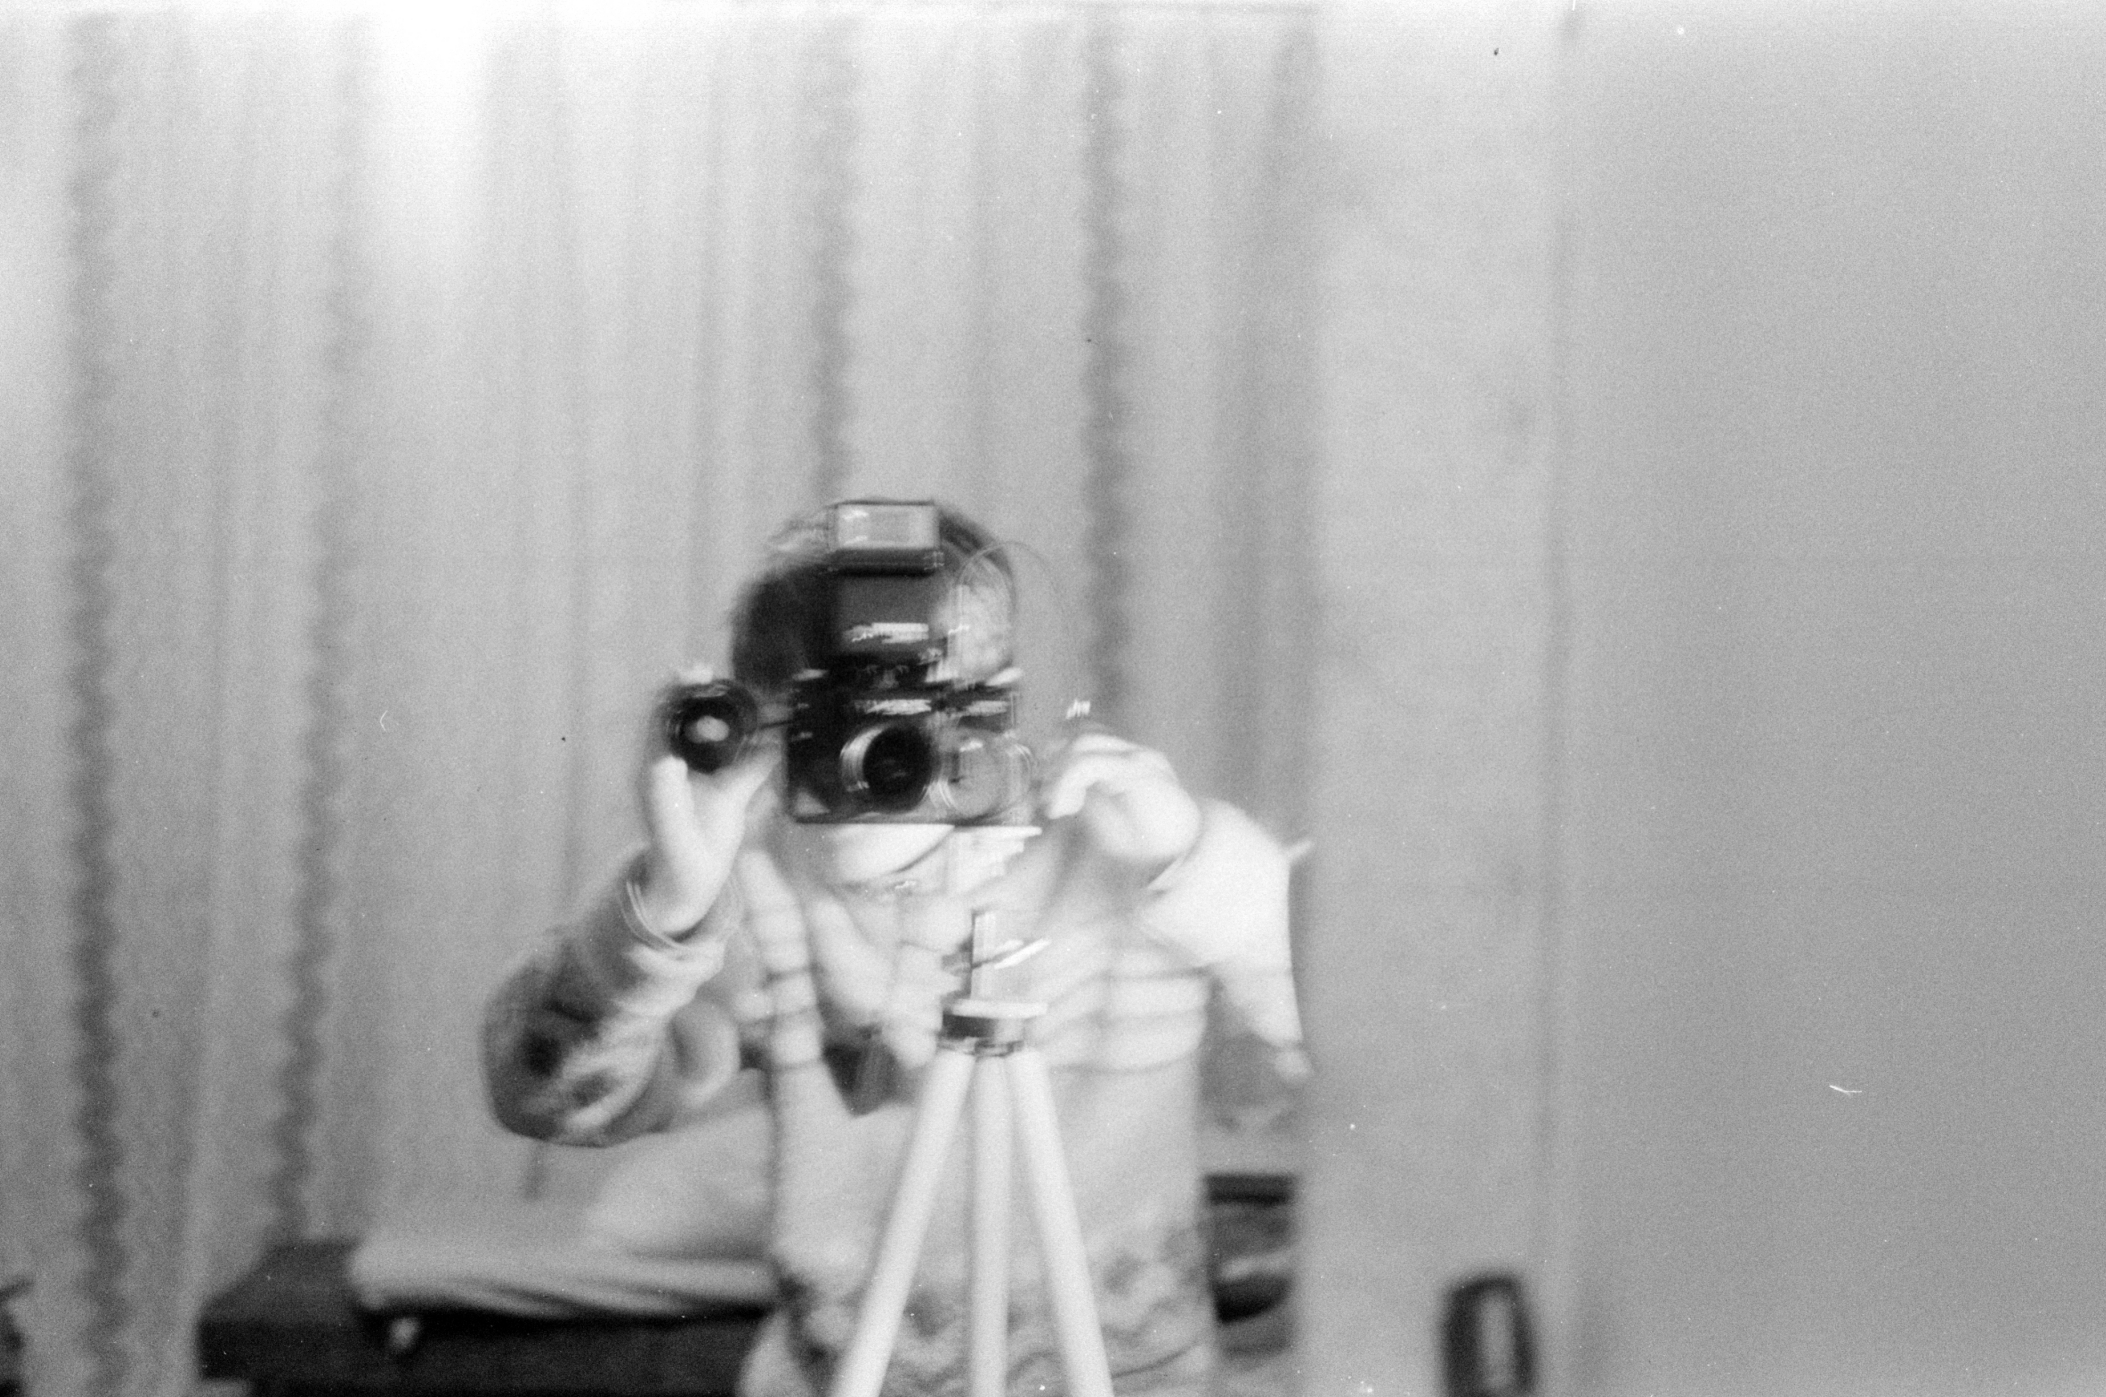
This is me trying to photograph myself in a mirror. Notably, the exposed film sat undeveloped in a refrigerator for about fifteen years.
In the arsenal of amateur photographers, you could often find colored filters that screwed onto the lens. You might think: it's the era of black-and-white photography, why colored filters if the photographic material can't convey color?
They were used to change the brightness of colored objects as perceived by the film. Colored filters pass light of their own color and block complementary (opposite on the color wheel) colors, changing the tonal relationships in the monochrome image.
A red filter significantly darkens blue skies, creating dramatic contrast with clouds. It also lightens red, orange, and yellow tones, making skin lighter and hiding imperfections (which are most often red or pink). Faces photographed with a saturated red filter can look unrealistically smooth.
This shot was taken on film through a red X8 filter.
A green filter darkens red and purple tones, emphasizing the texture of foliage and vegetation.
A blue filter lightens atmospheric haze and darkens warm tones (red, orange). It enhances the texture of wood and tanned skin, giving skin a darker tone and emphasizing fine details.
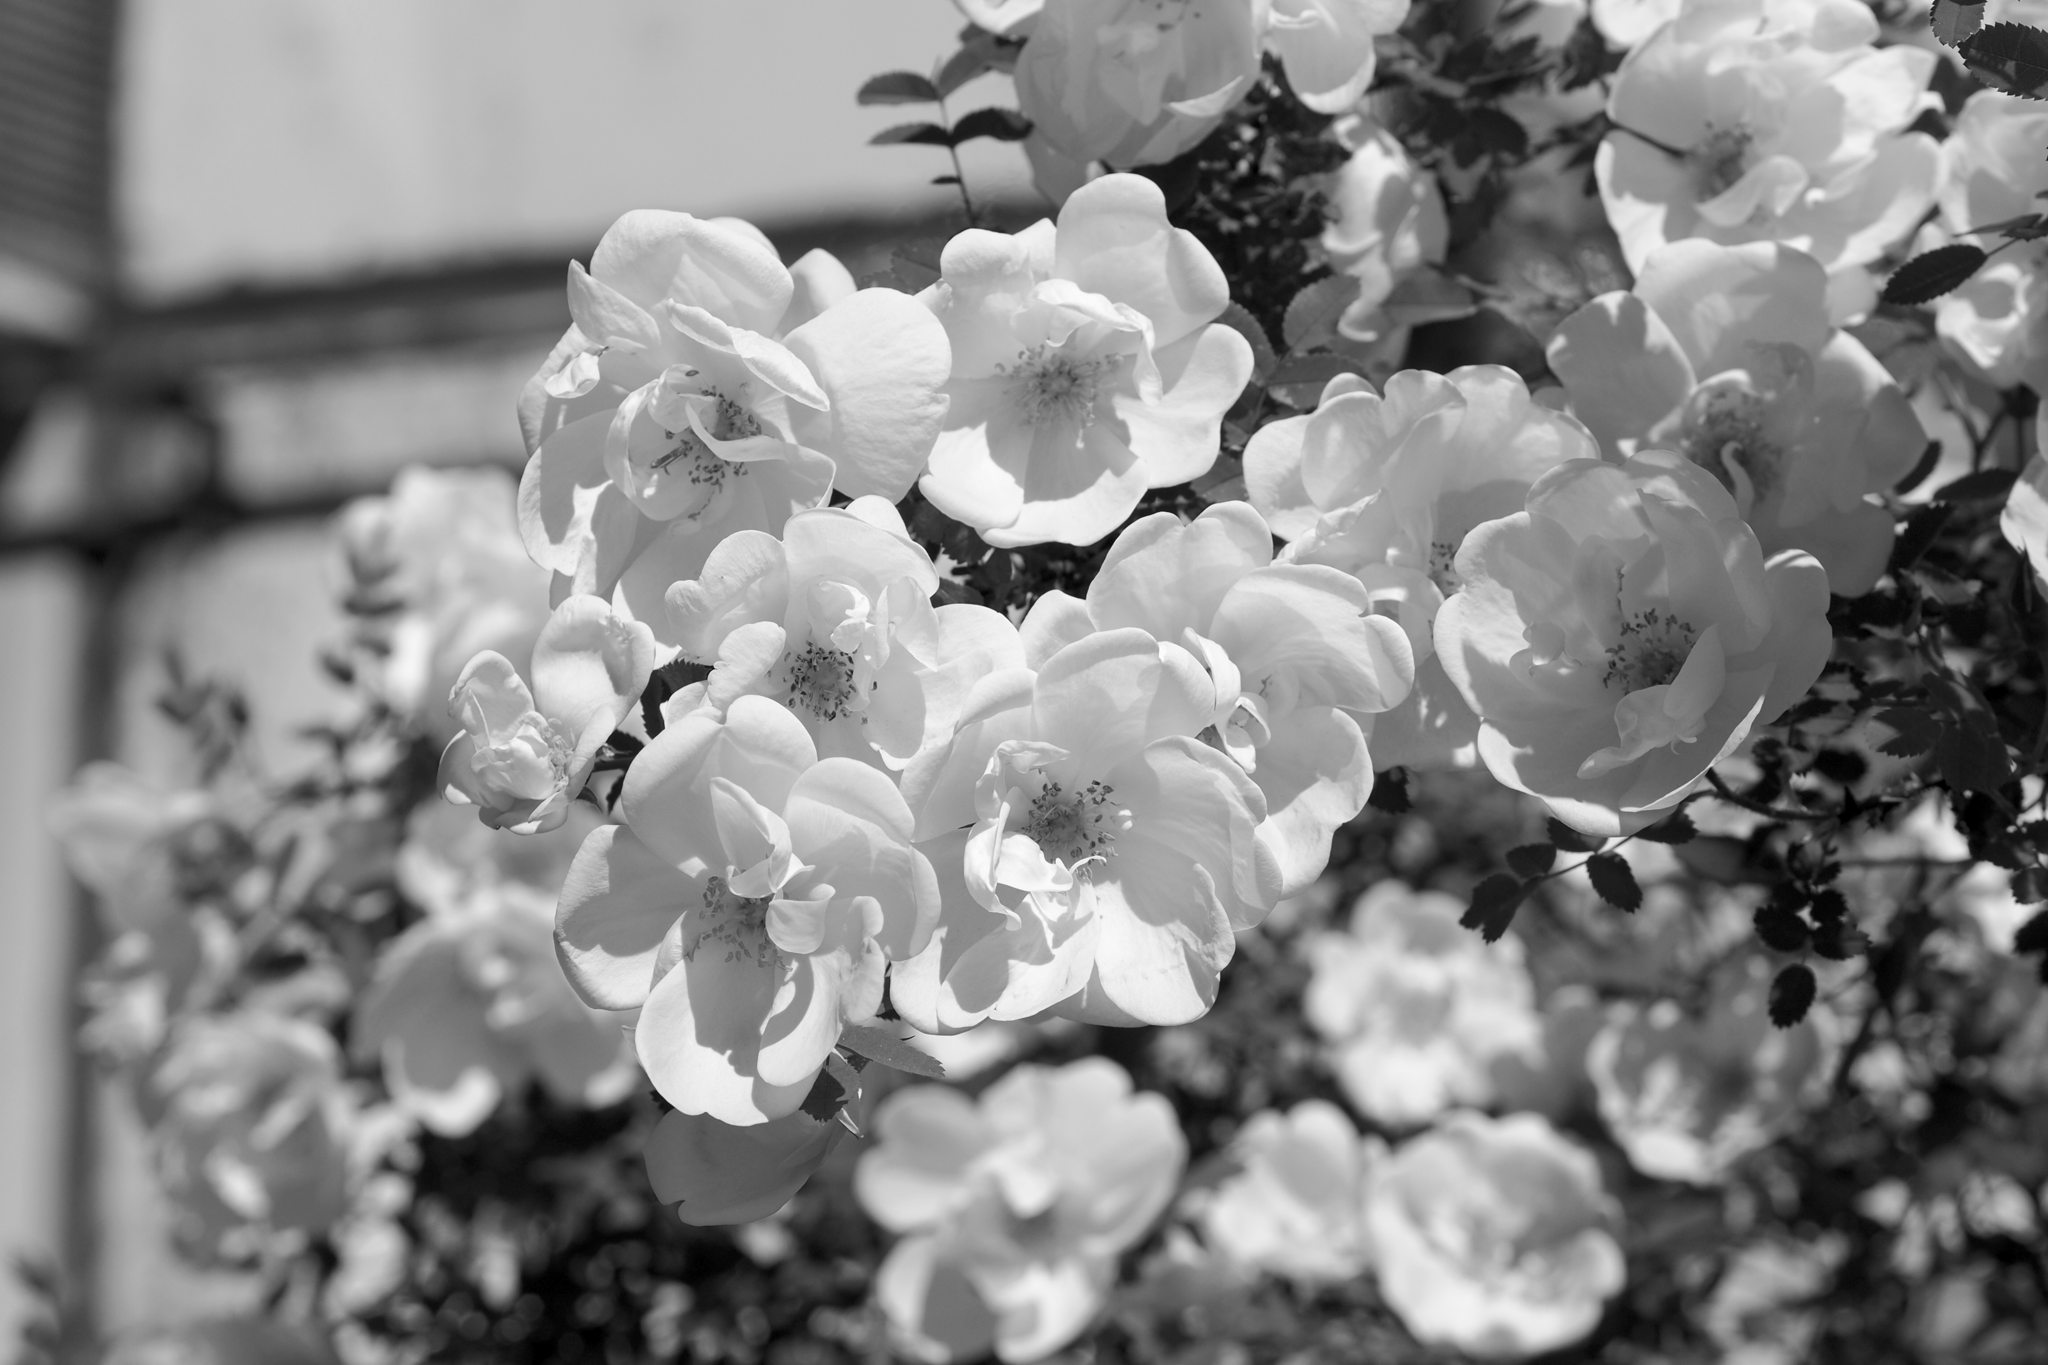
Interestingly, in digital conversion of a color image to black-and-white, you can reproduce the effect of colored filters — applying them after the fact to an already captured color image. Take a look at this image.
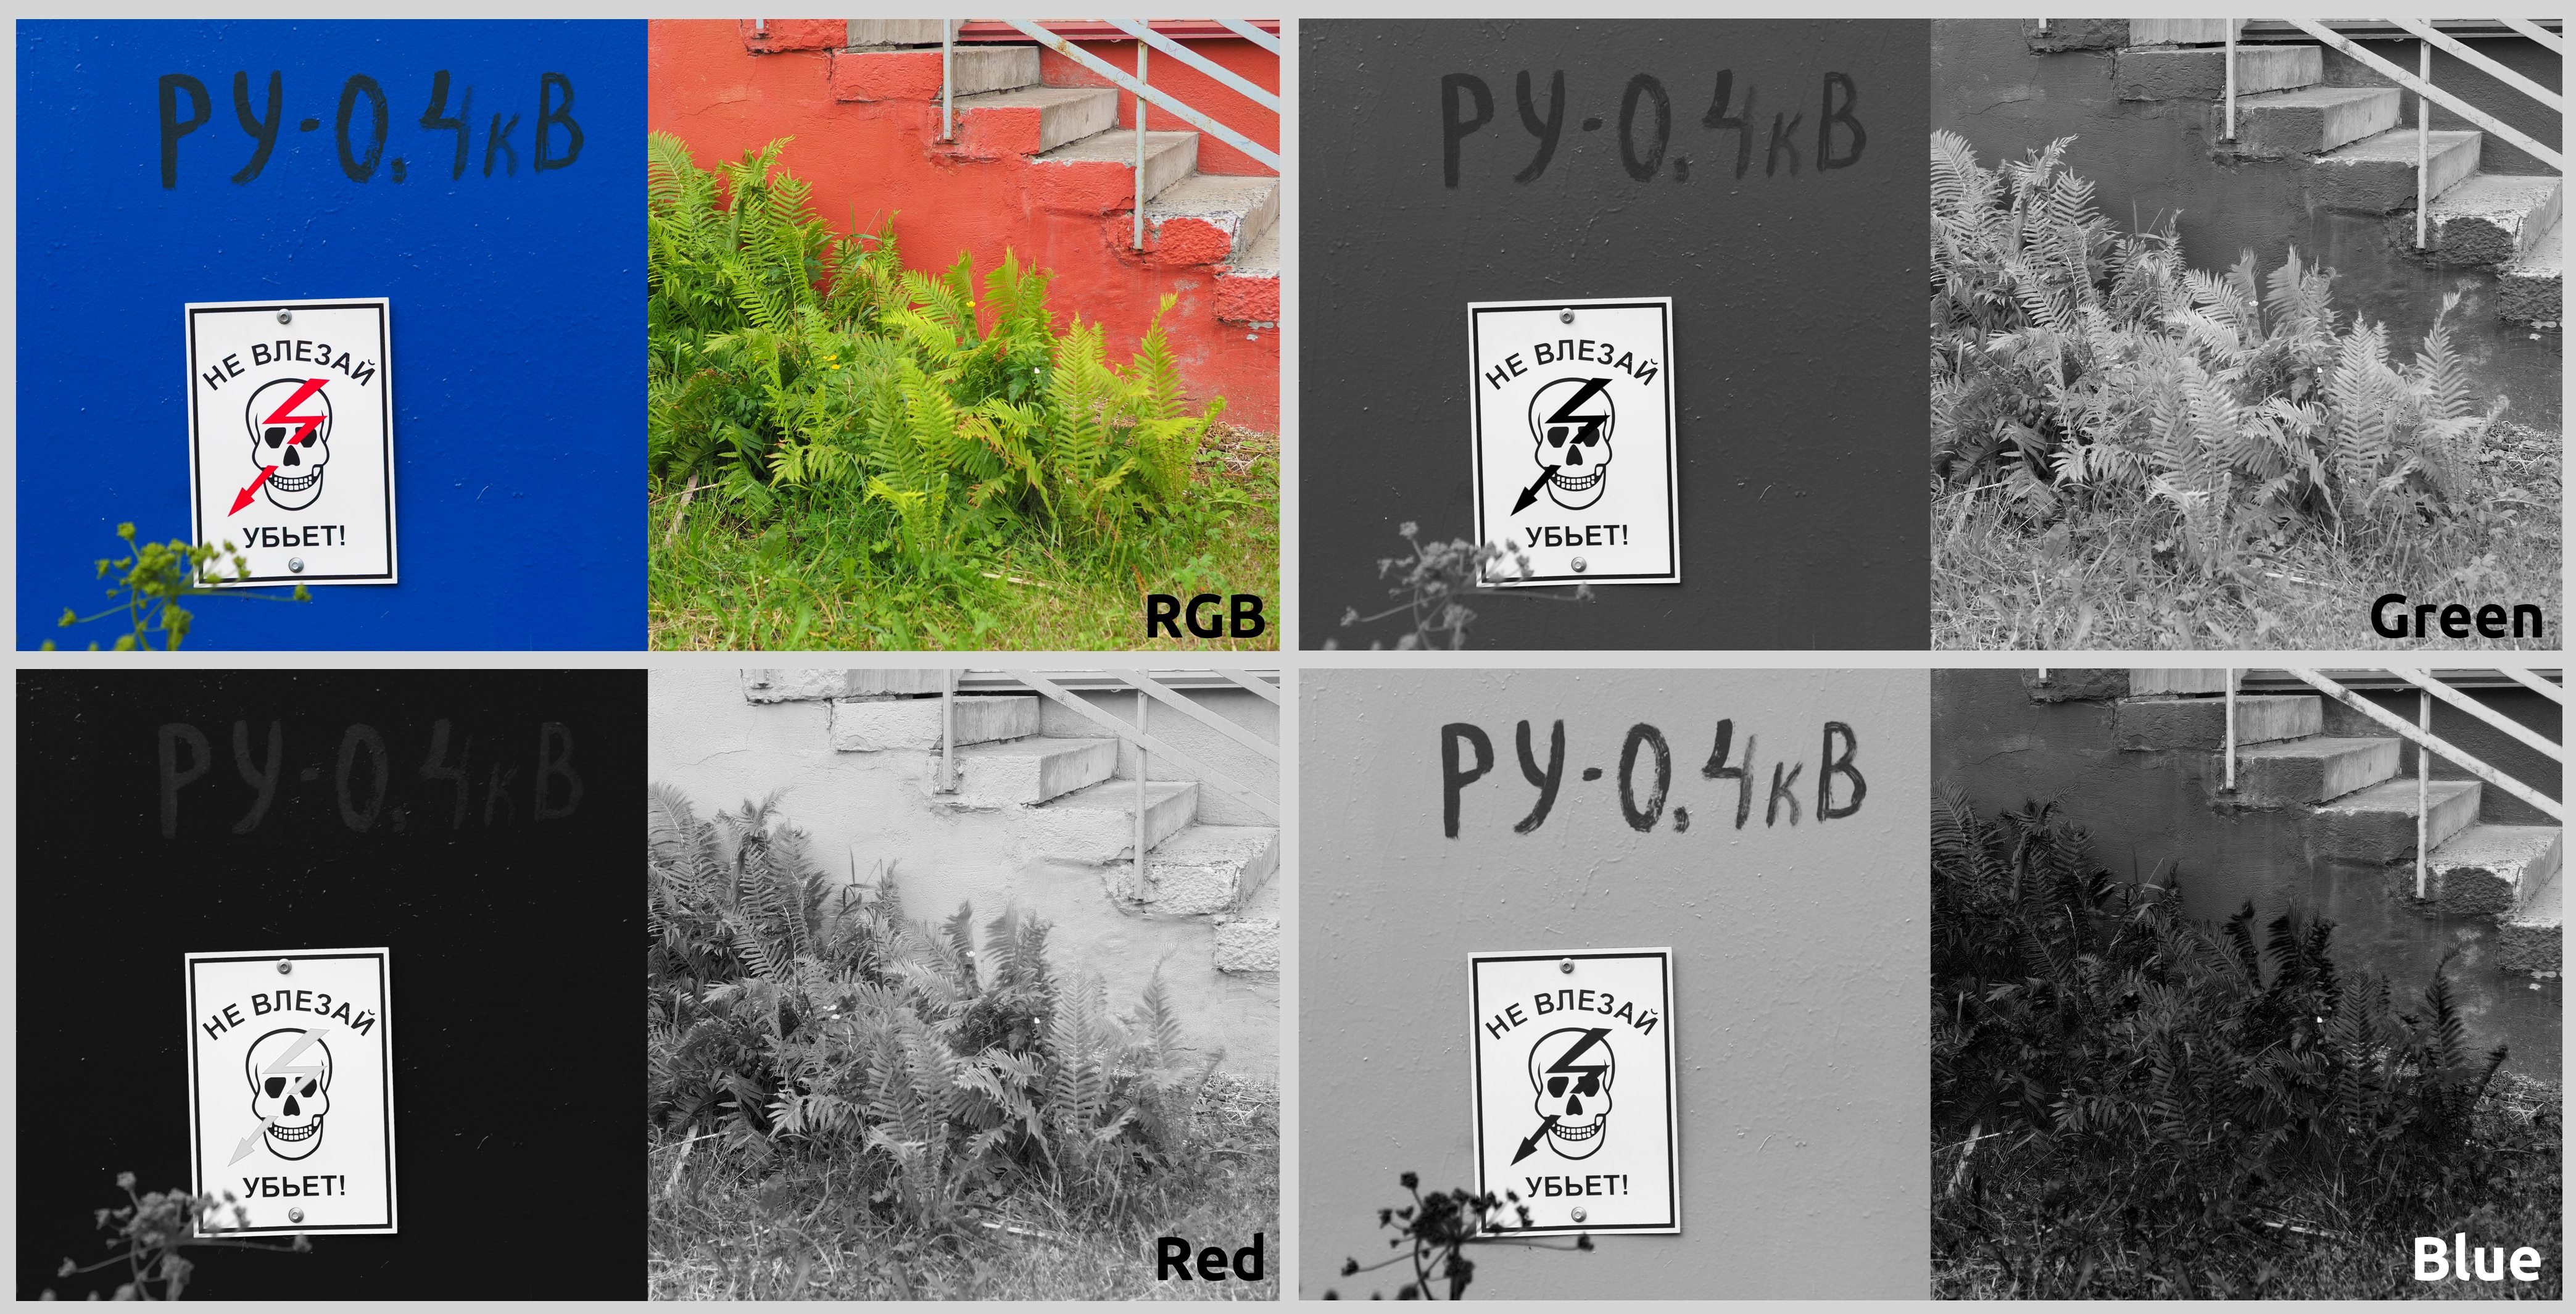
On the left you can see a pair of source images — I specifically chose such vivid objects for clarity. For the monochrome conversion, I used a digital plugin included in the G'MIC toolkit. (This isn't critical, as they're all roughly similar and Photoshop has an equivalent.) Look at how the brightness relationships of colored objects change.
The green filter lightens the fern, darkens the pink staircase, makes the blue wall a medium density, and turns the red lightning bolt almost black.
The red filter makes the blue wall almost black, darkens the fern against the nearly white wall, and lightens the lightning bolt almost to white.
The blue filter darkens both the fern and the red wall, but makes the blue wall nearly light, emphasizing the green inscription "RU-0.4 kV."
Notice that the gray steps in all processing examples barely change brightness, since they contain RGB components in equal measure.
RAW Processing Conversion
If you shoot in RAW, you're probably aware of this format's superior suitability for tonal compression. Due to the greater color depth, "raw" files allow you to manipulate tones across a significantly wider range than JPEG.
Over the years, I've developed a processing template that works for almost all images. I'll demonstrate using the free program RawTherapee, but these principles are universal.
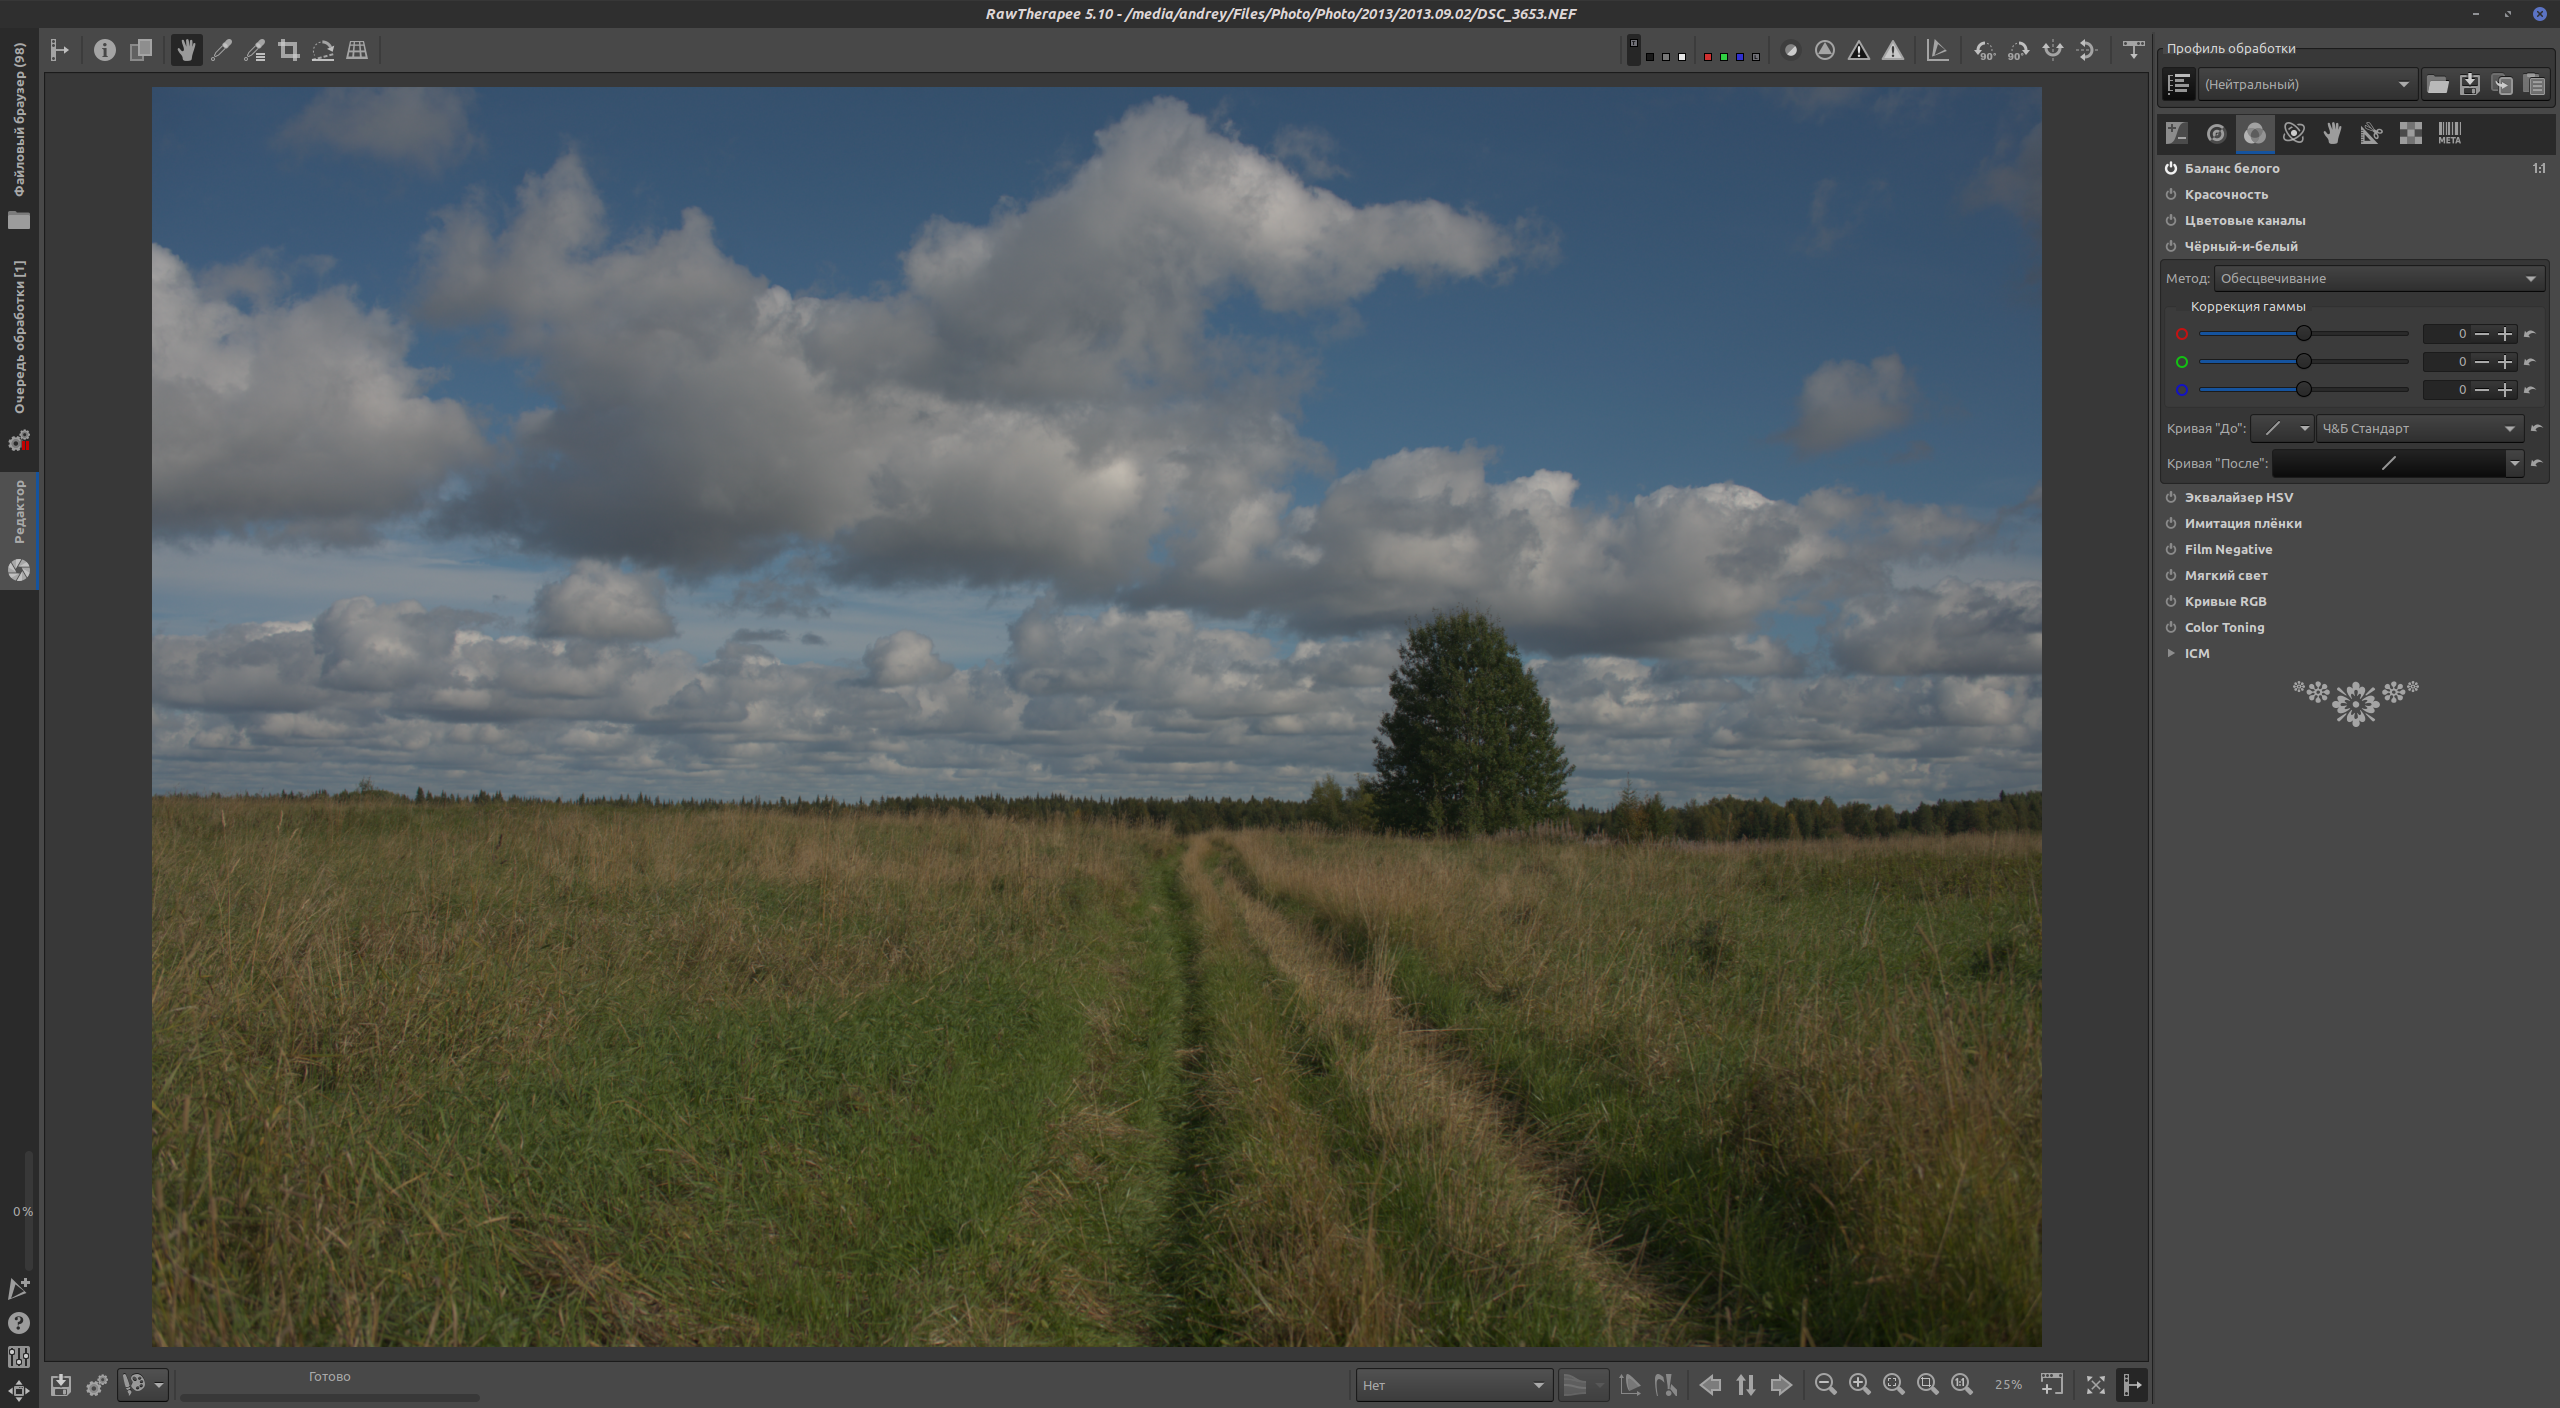
The original frame. Good exposure, no deep unrecoverable shadows and no hopelessly blown highlights.
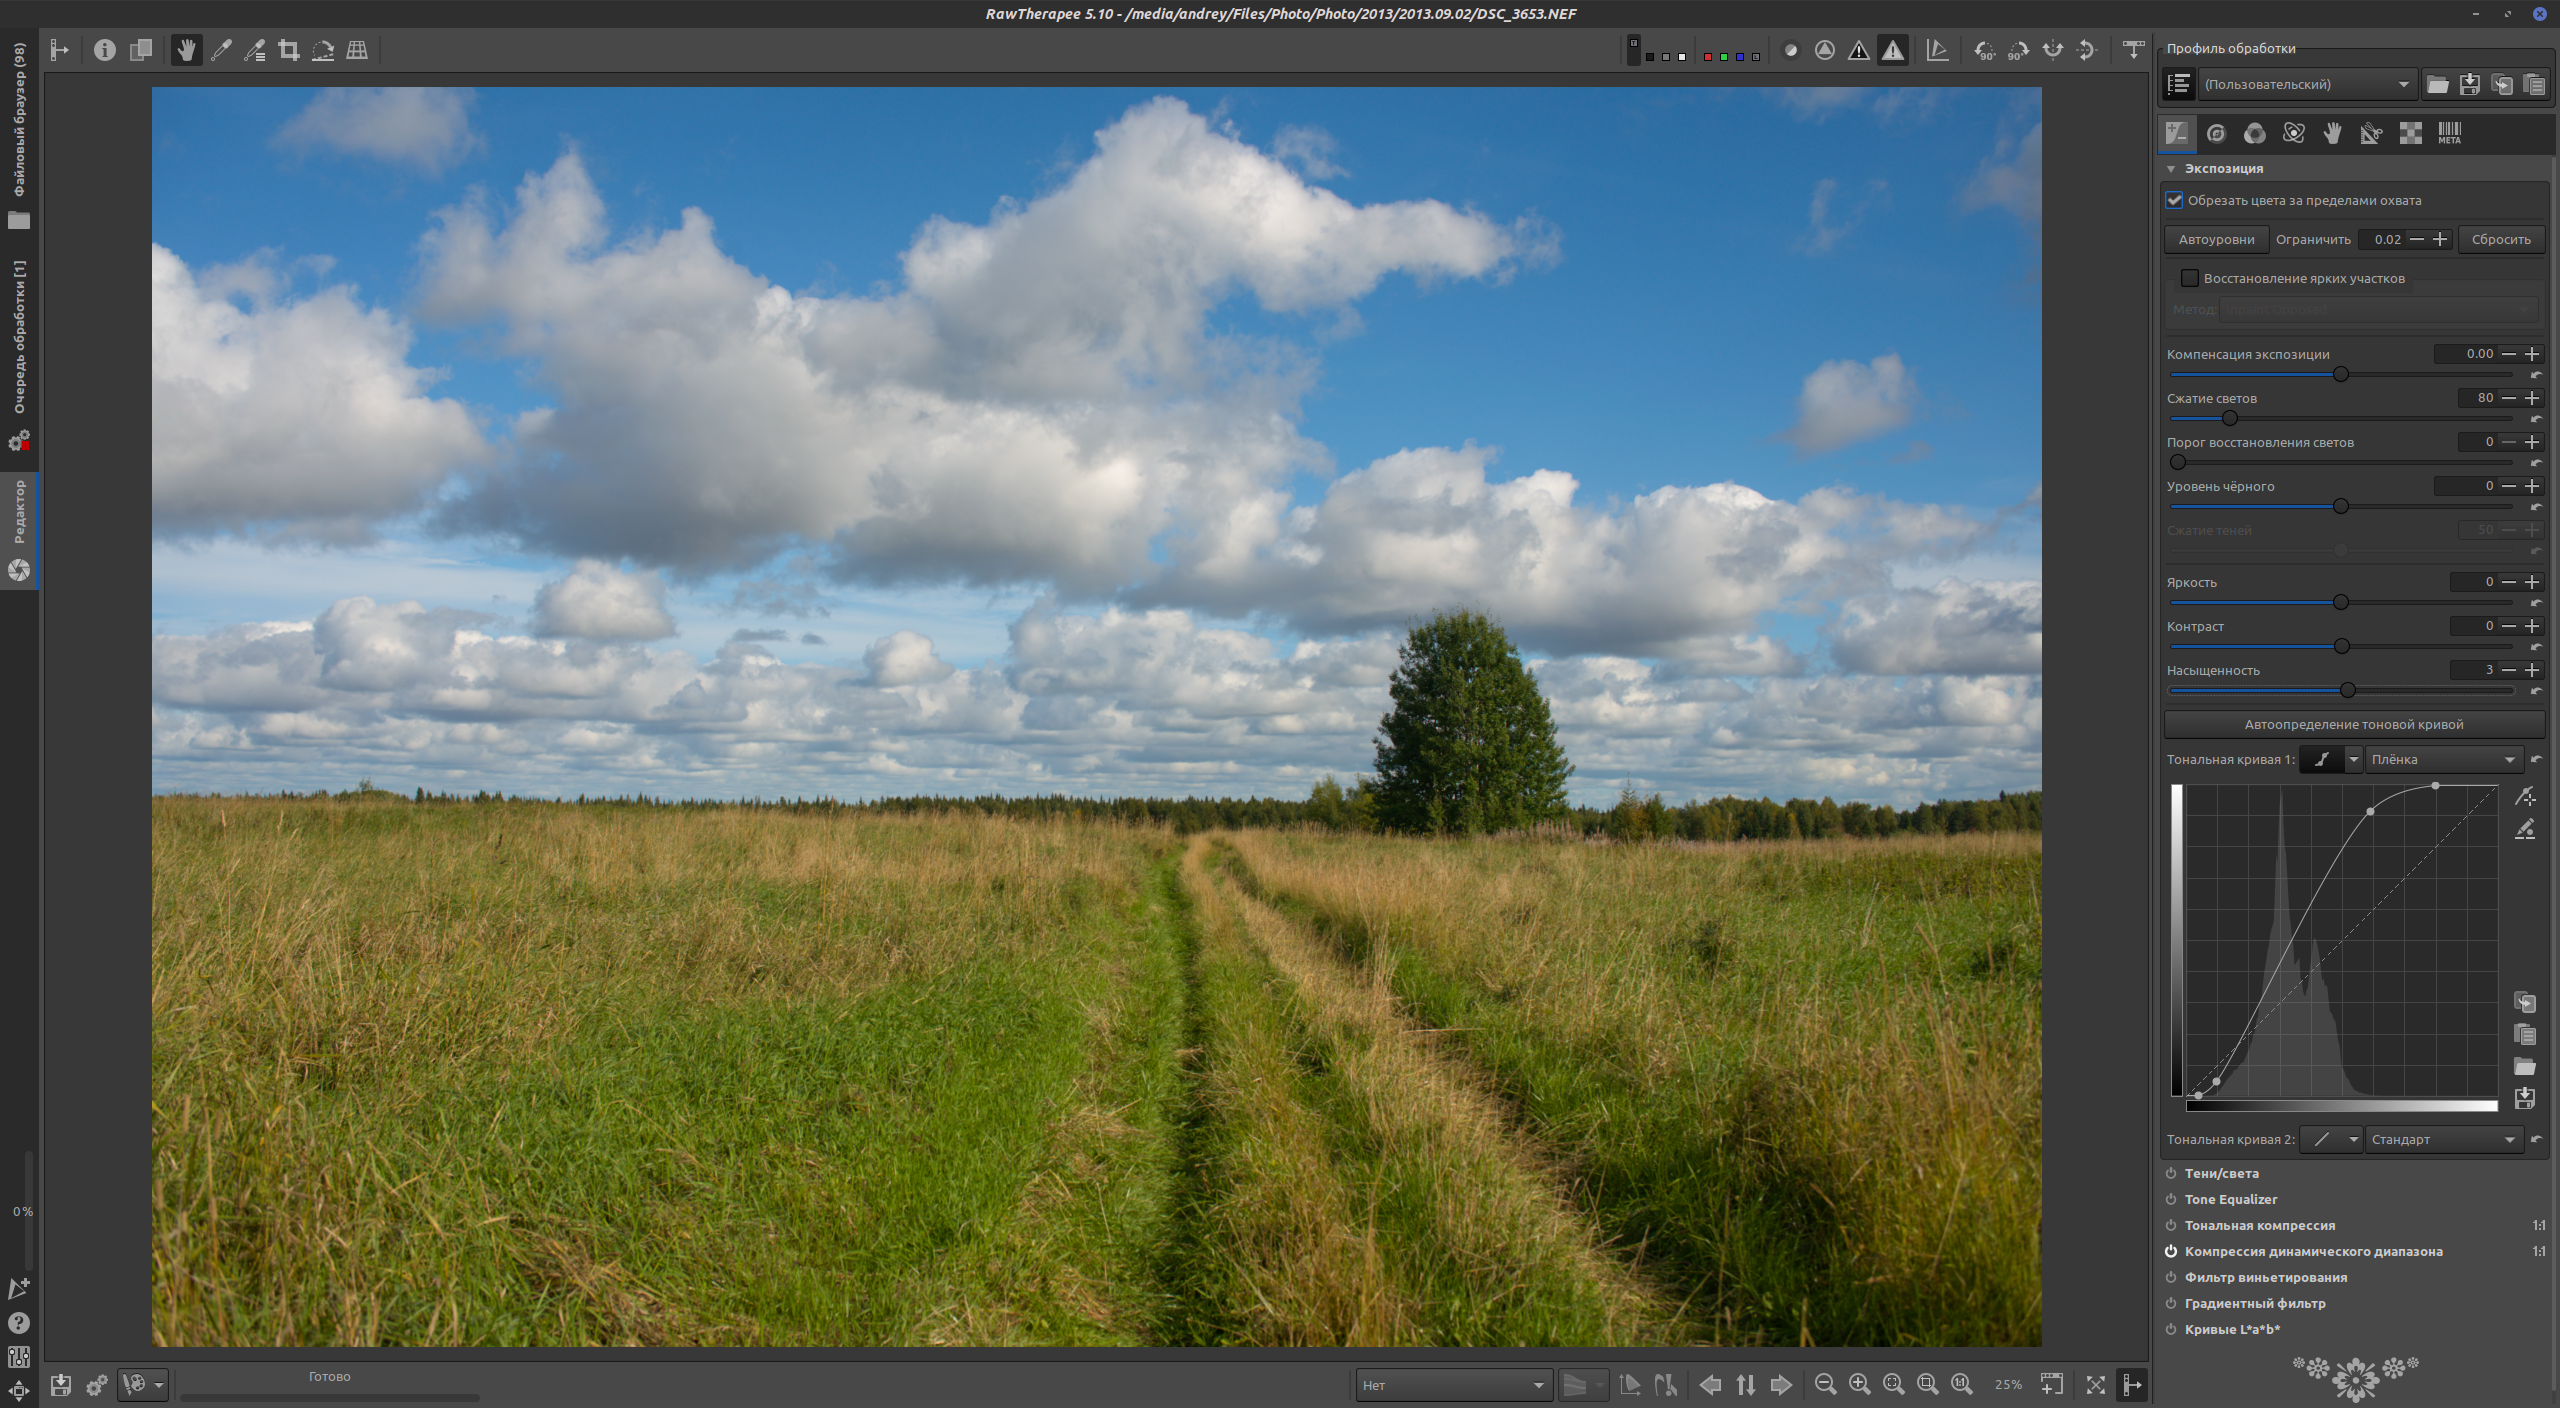
I'll slightly increase contrast by manipulating the tone curve.
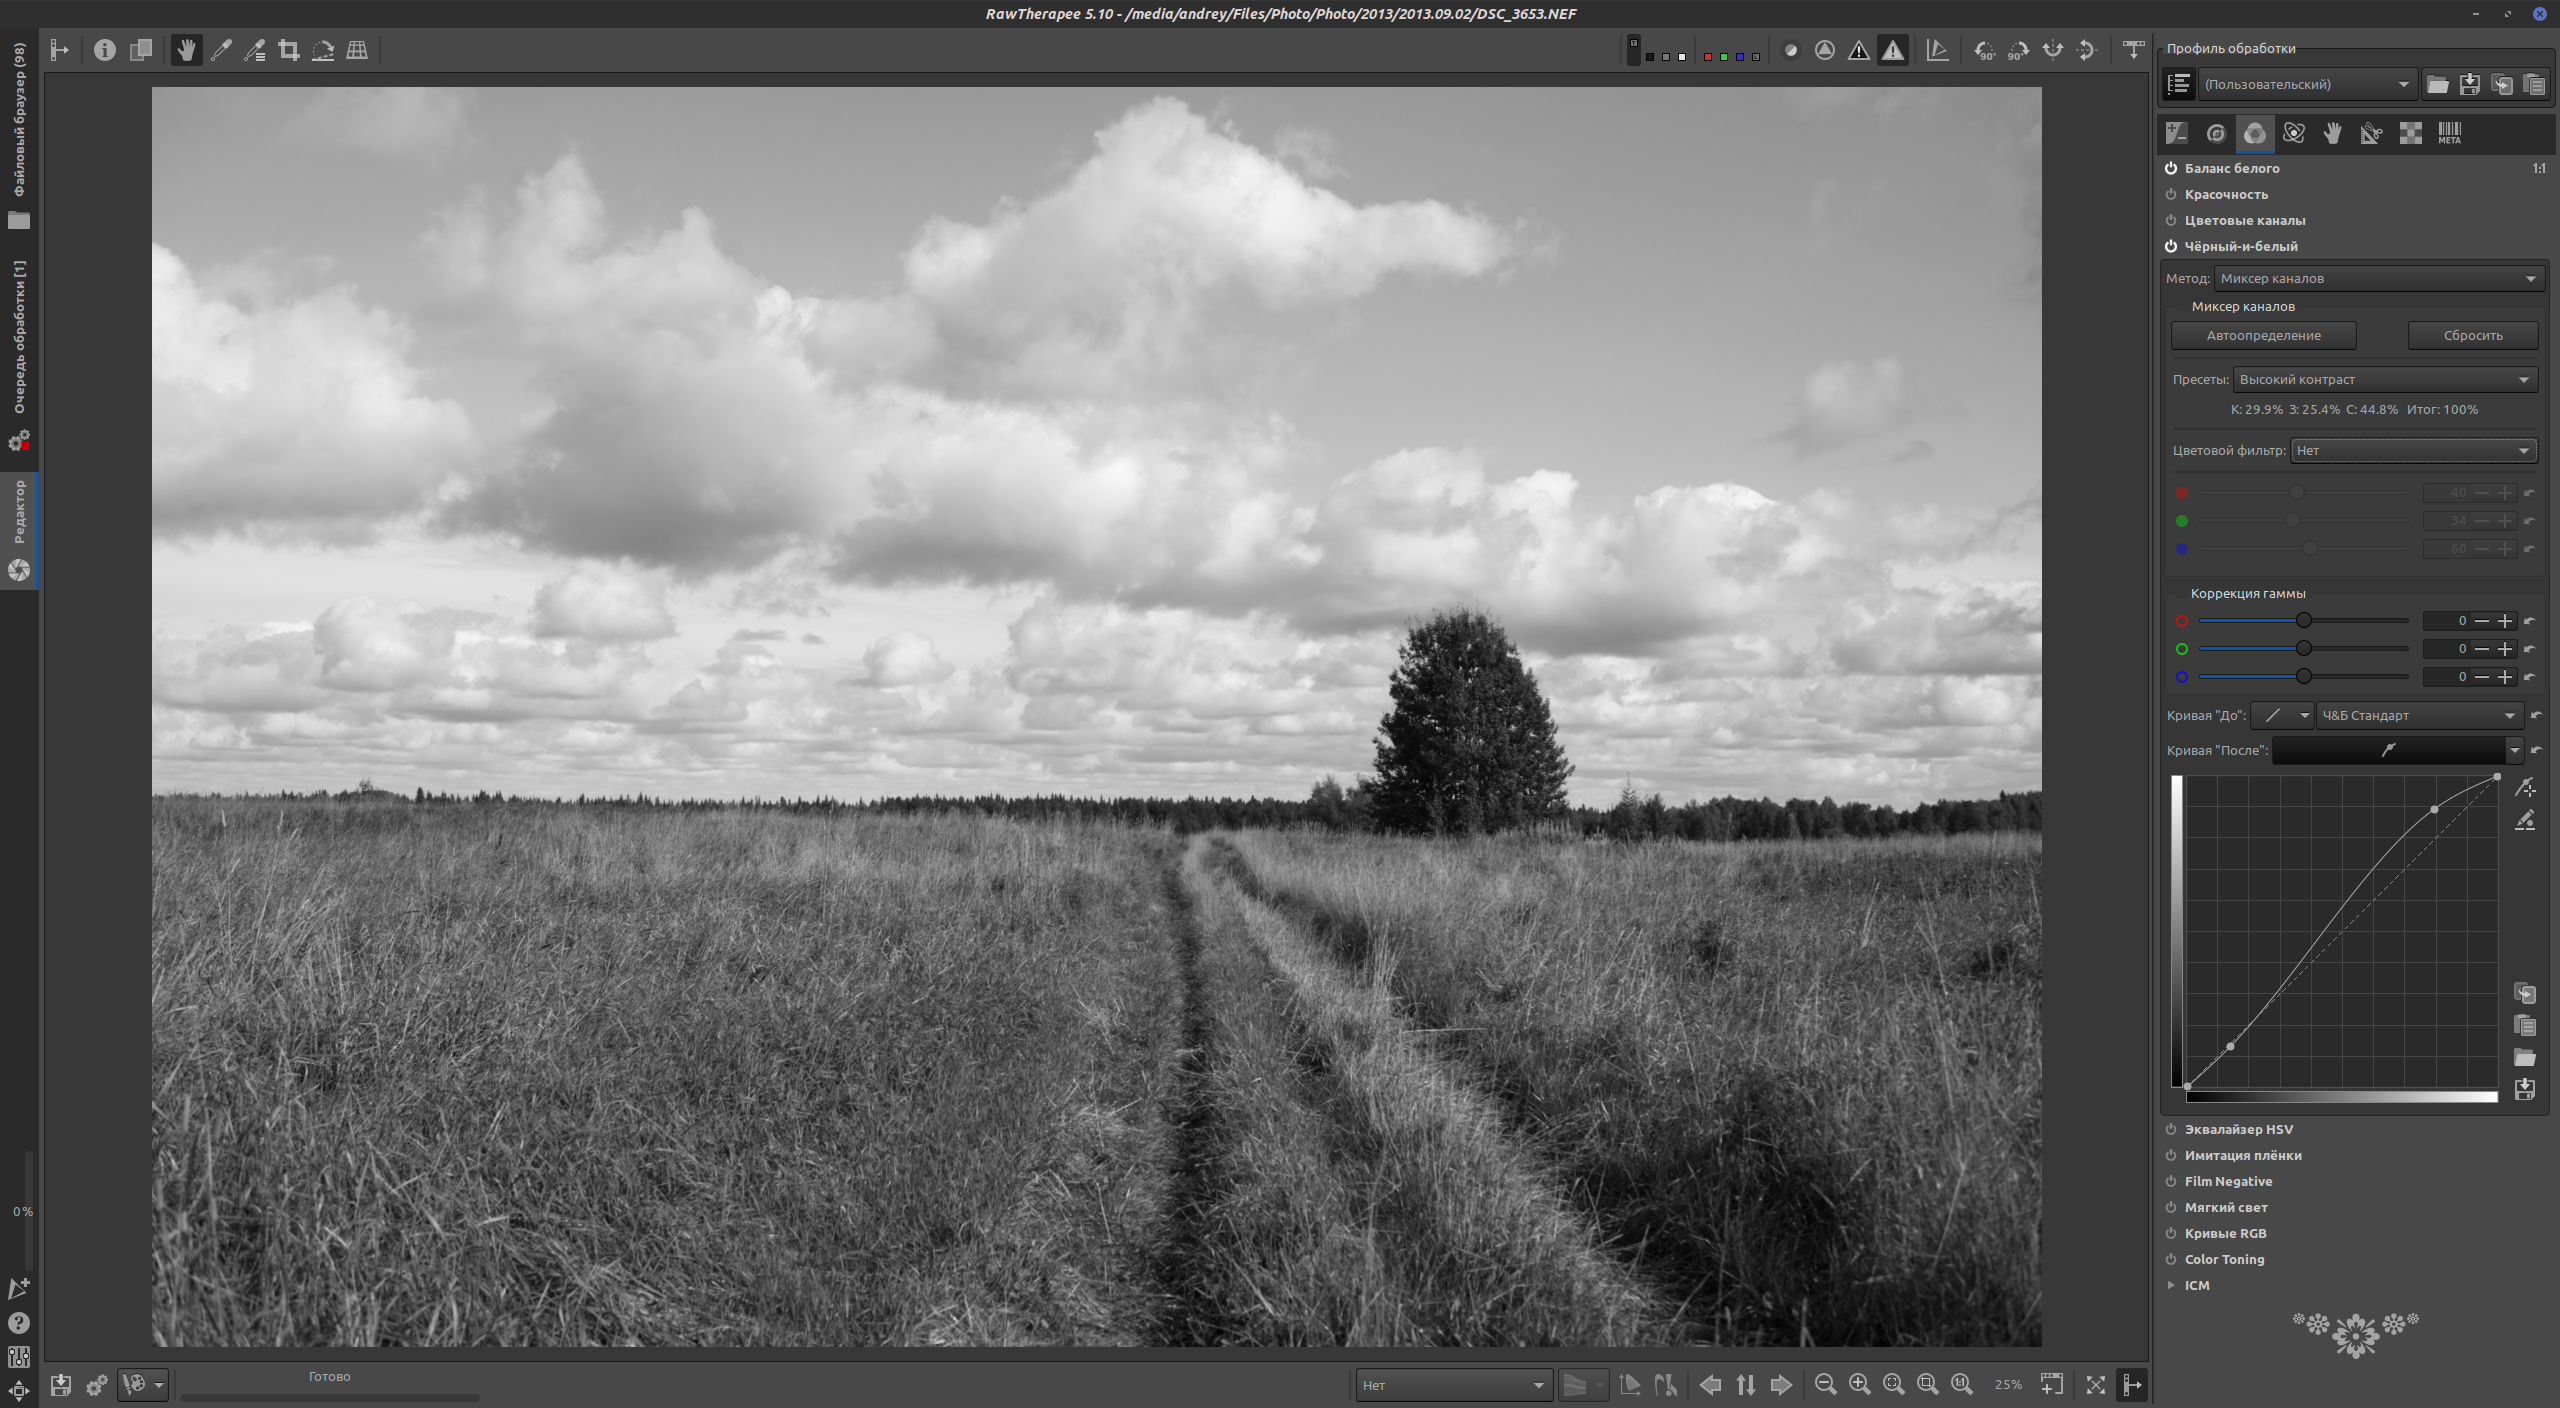
I'll use the tool called "Black-and-White," found on the third settings tab. (By the way, I covered the basics of working with this developer elsewhere.) At default values, the result is a bit dull.
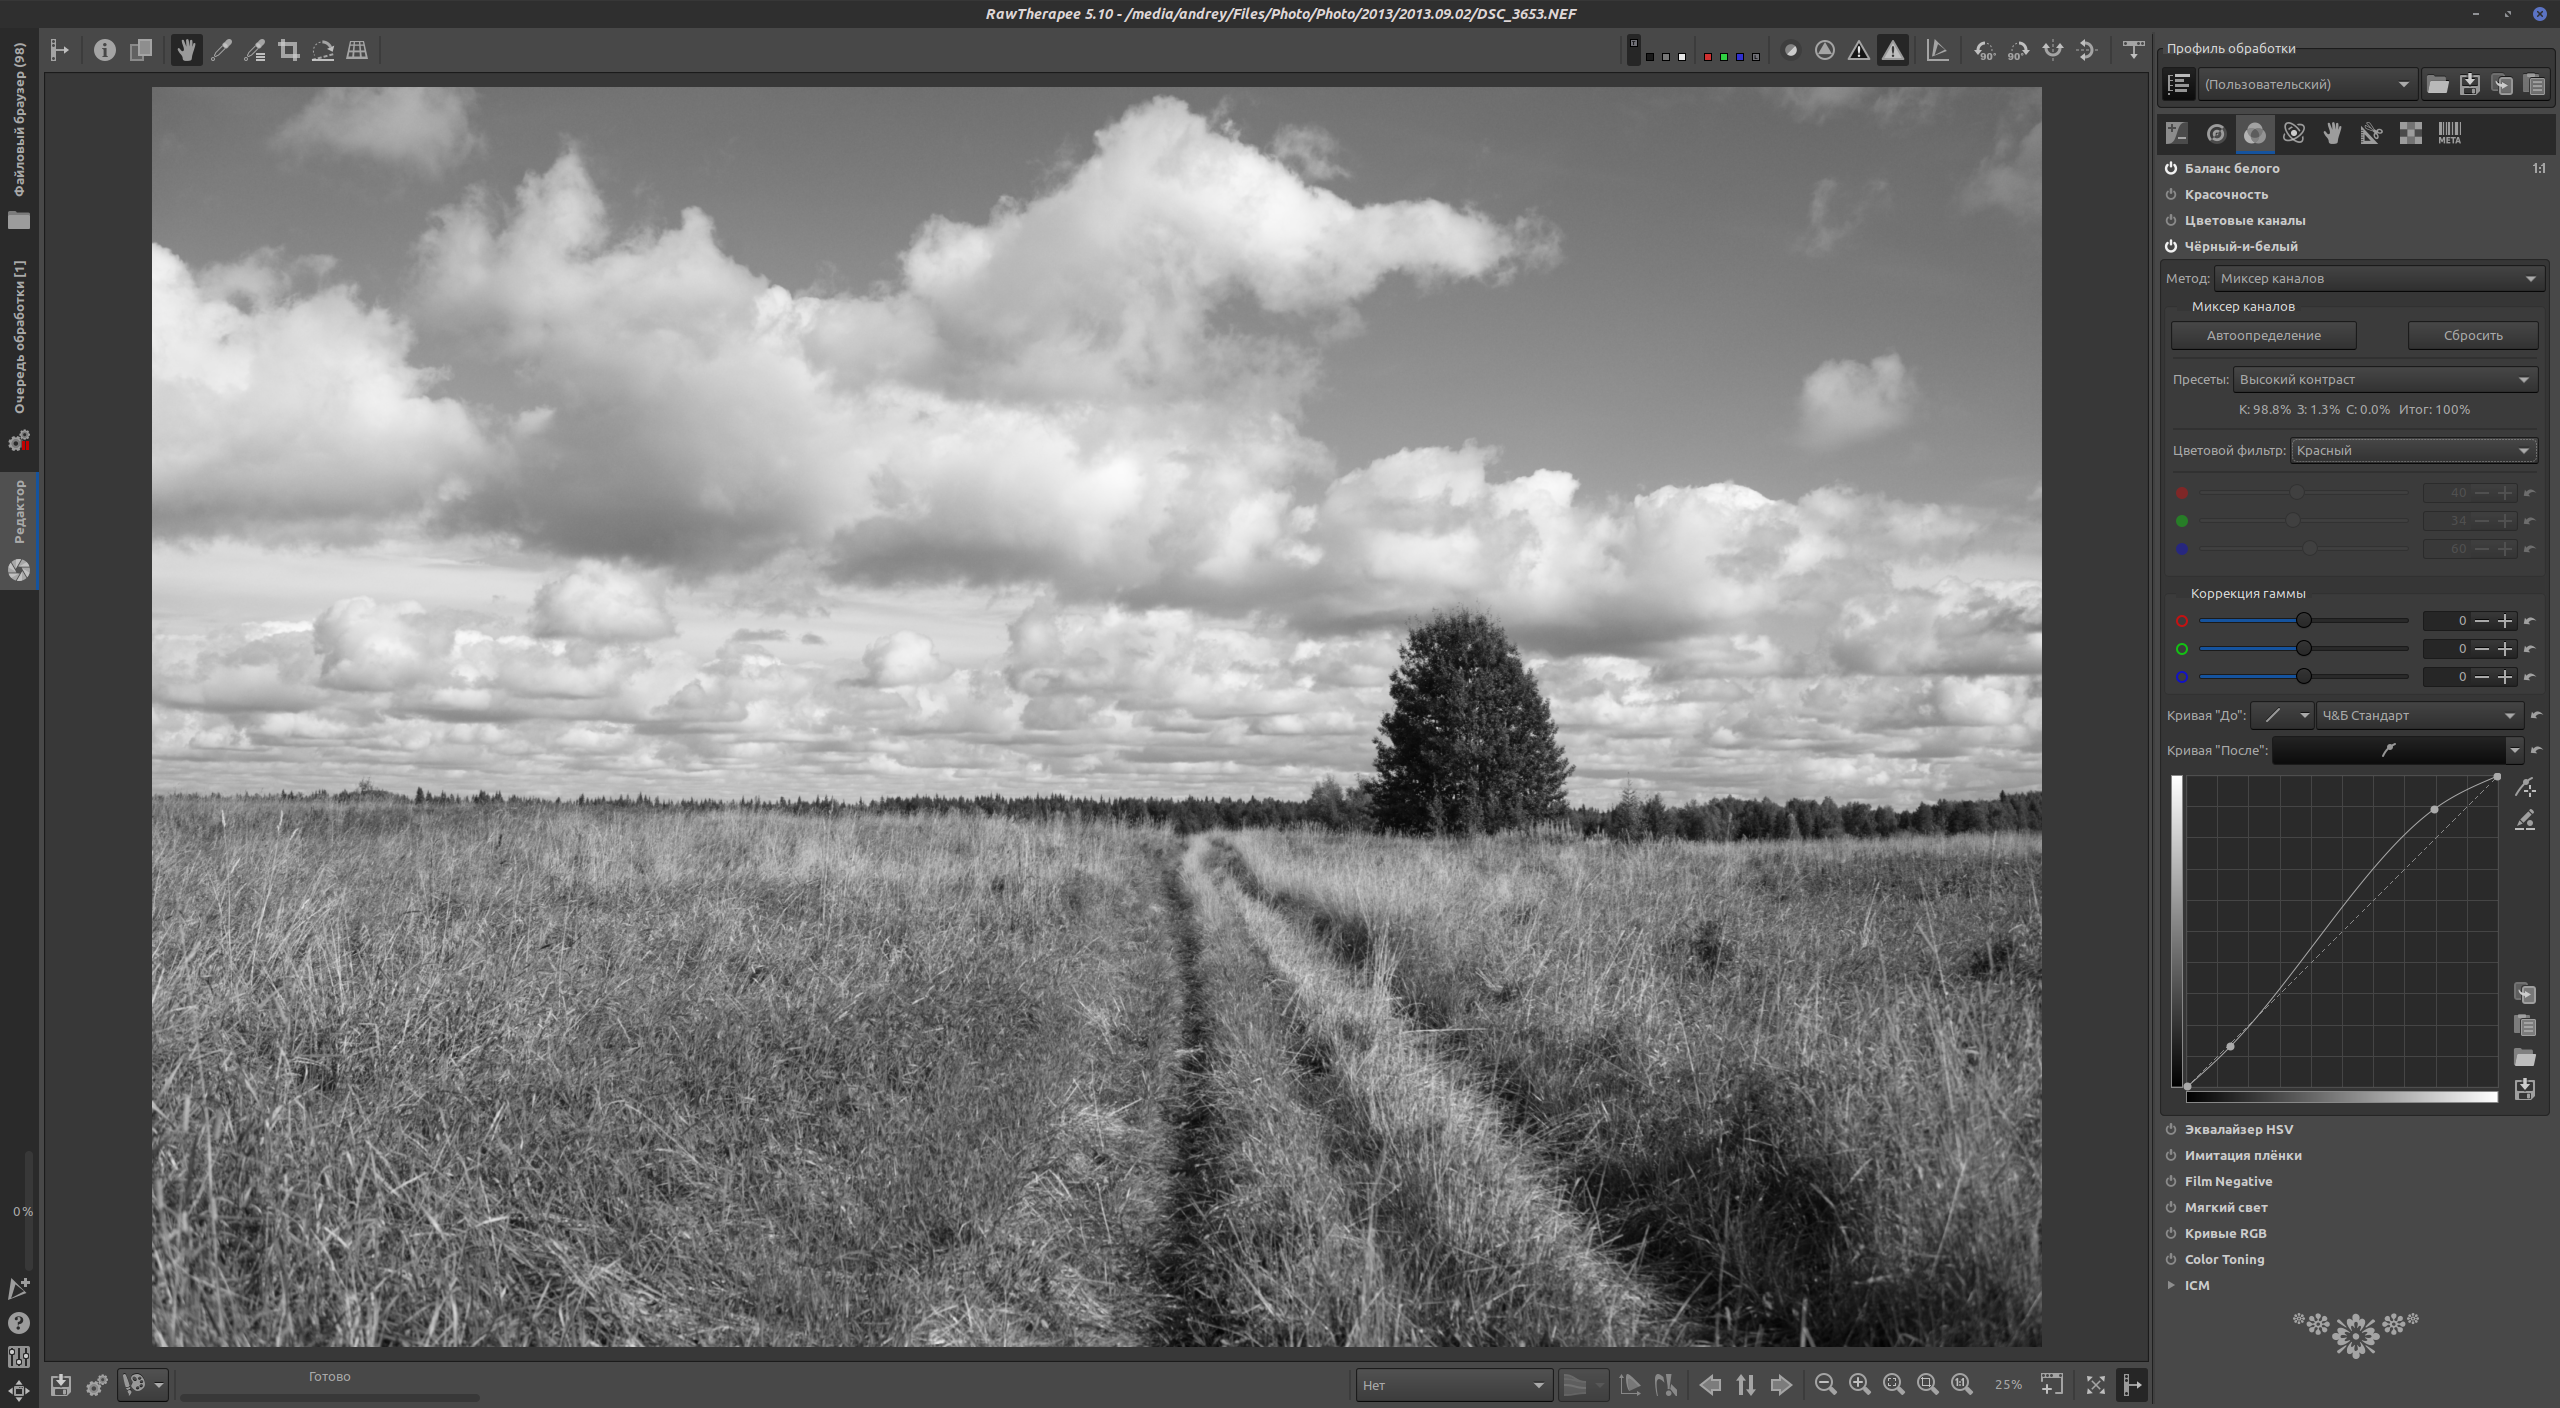
I'll activate the red filter preset. The blue patches of sky have become darker, while the dried parts of grass with a straw color have lightened. The same tool also offers the ability to edit the tone curve after desaturation.
JPEG Conversion
If your color originals are only in compressed format, that's not a problem. As I mentioned above, black-and-white photography can hide image imperfections, and this is simply an excellent and useful property.
This image, for experimental purity, was converted from JPEG using the method described.
The workflow is roughly the same. Load the image into an editor. If you use Photoshop, go to "Image - Adjustments - Black & White"; if Krita, I recommend the "Black and white" filter from the aforementioned G'MIC package.
Then achieve the artistic effect you need by adjusting the color balance. After that, you can additionally correct the contrast with the "Curves" tool, which works the same across many editors. You can also apply special effects on top.
Vignette
A simple and expressive tool to concentrate the viewer's gaze within the frame. Naturally, vignetting occurs due to lens imperfections and appears as a decrease in image brightness toward the edges of the frame.
If you've seen old black-and-white photographs printed optically, you'll probably recall that they often had a reverse vignette effect — the image gradually lightened toward the edges of the frame. This presumably happened due to underexposure at the frame edges caused by the enlarger lens's own vignetting.
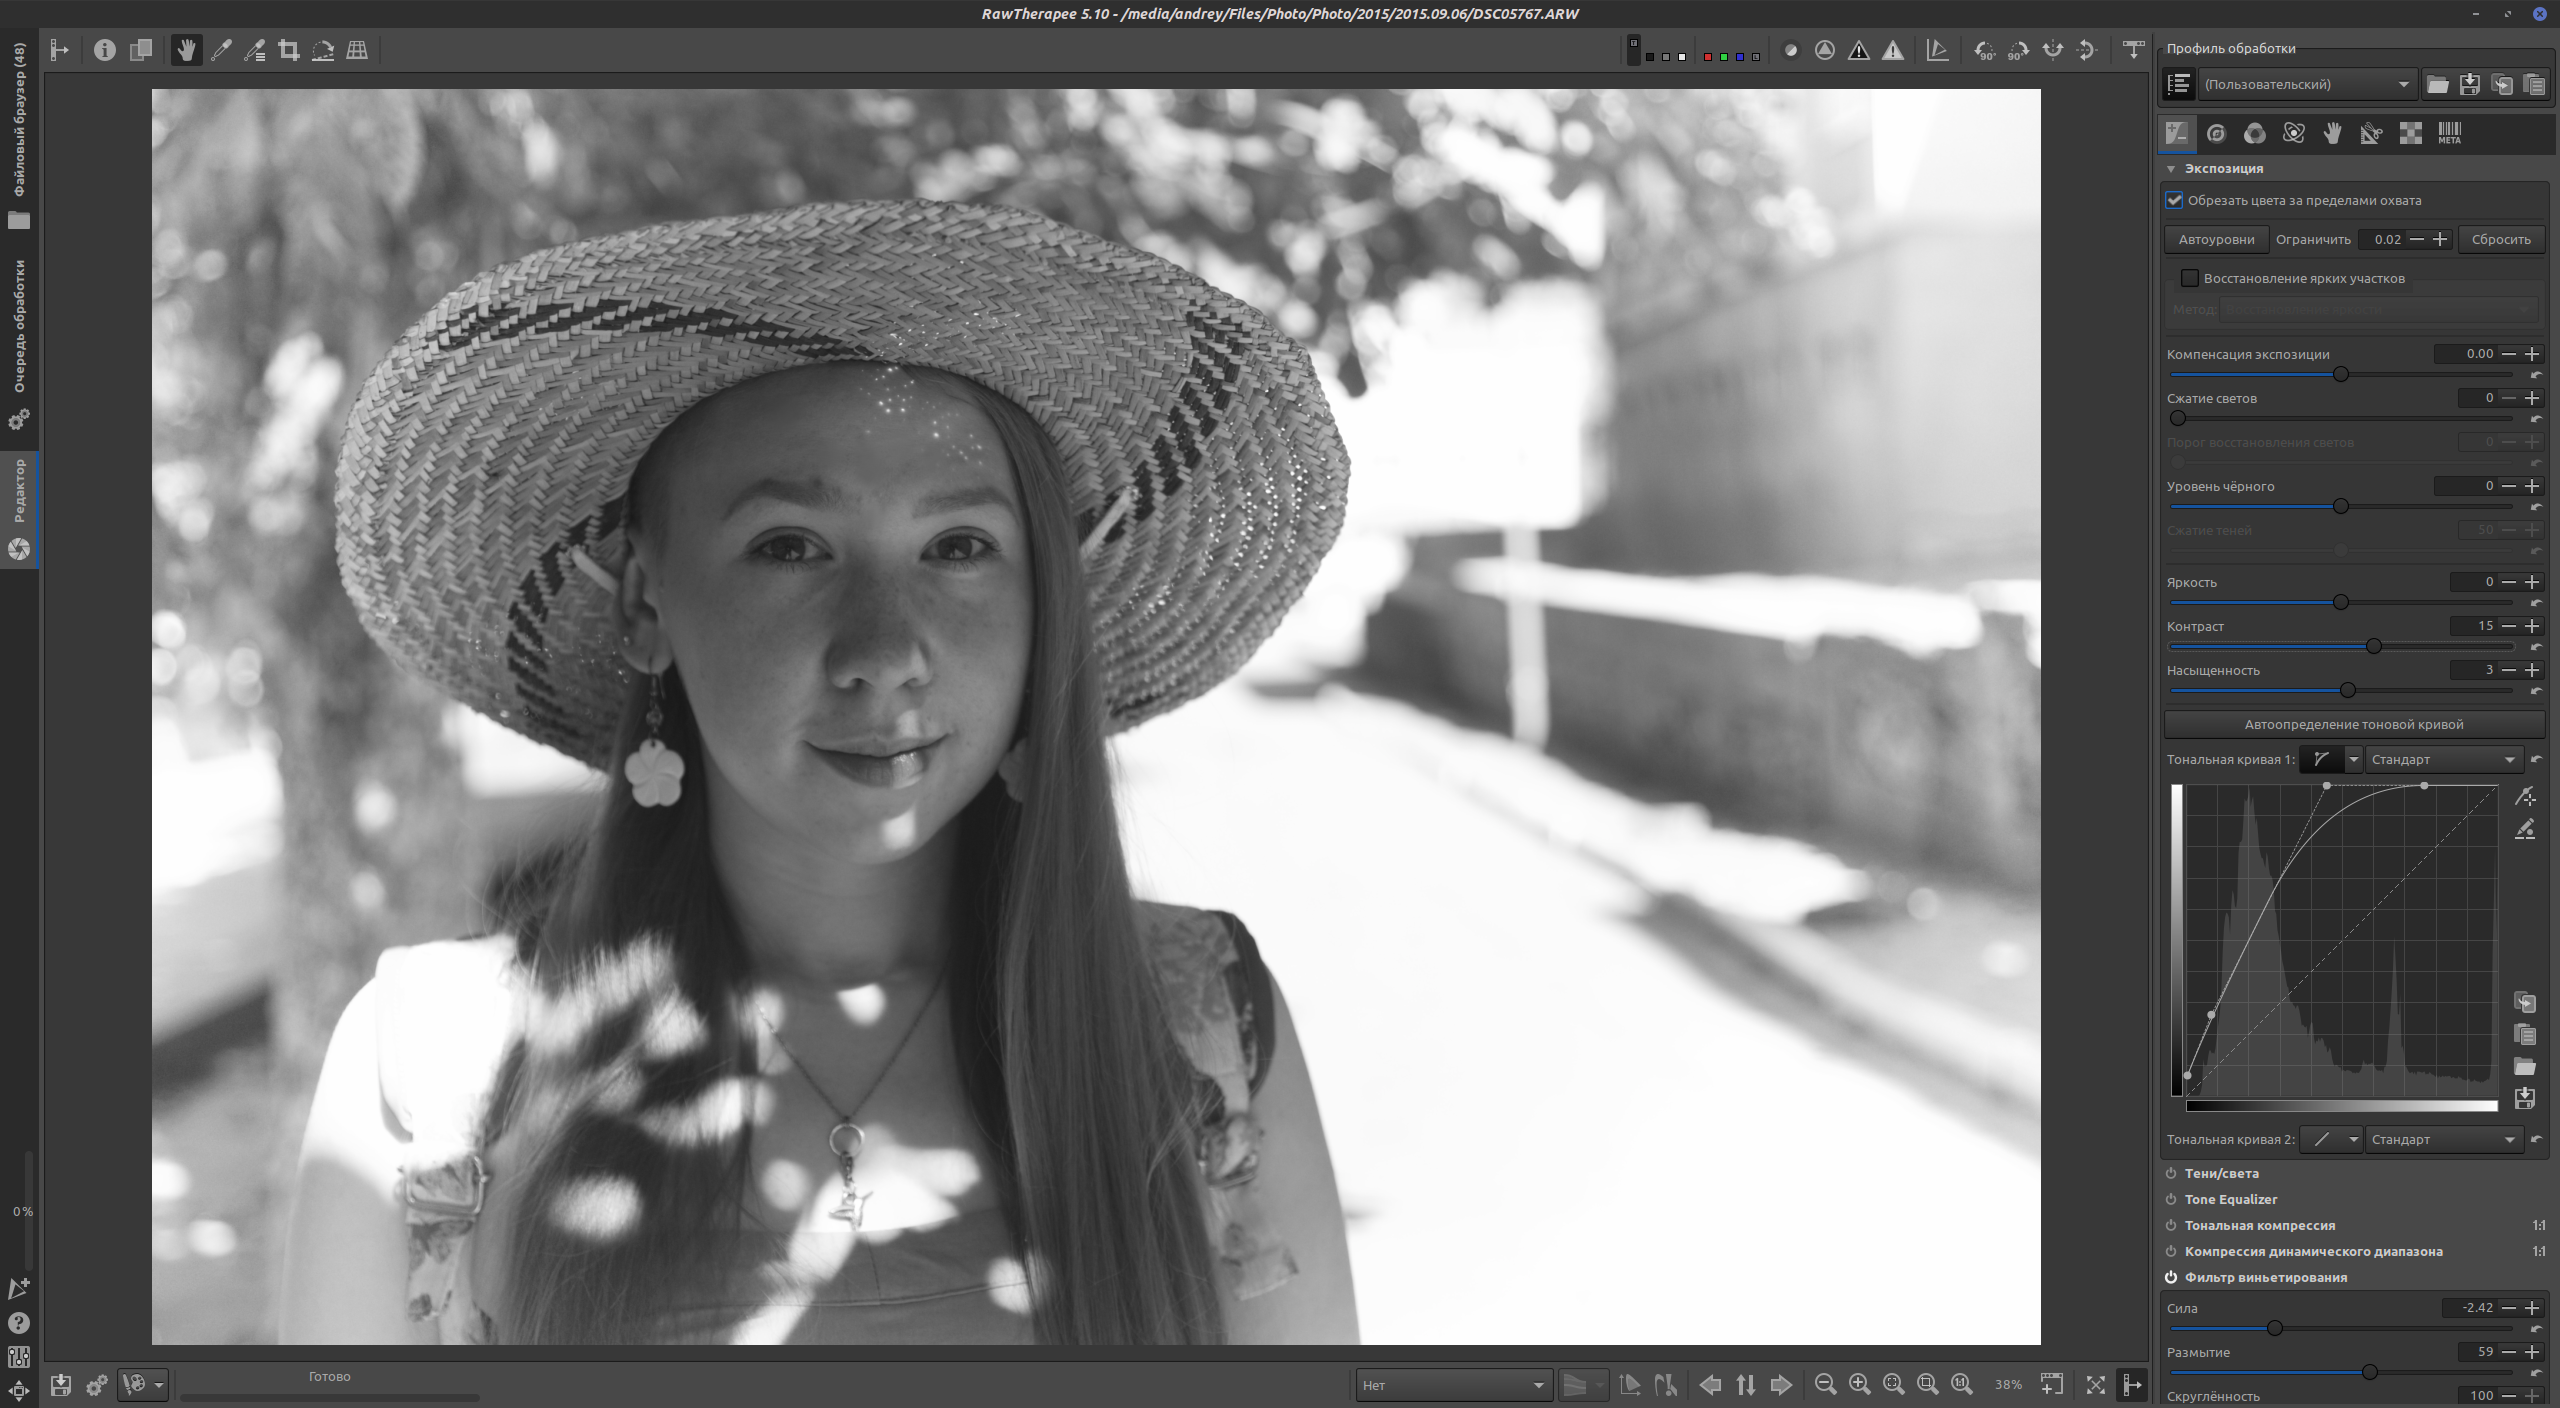
Both dark and light vignettes can be used for artistic purposes. They're fairly easy to create. If you're processing a "raw" frame in RawTherapee, there's a "Vignetting Filter" tool on the first settings tab with extensive capabilities. It can compensate for vignetting or enhance it — both toward shadows and highlights.
In the example above, desaturation with a yellow filter was applied, along with tone curve editing (notice how the shadows and midtones are raised — this was done to reduce overall contrast) and a vignetting filter.
Here, conversely, a darkening vignette was applied.
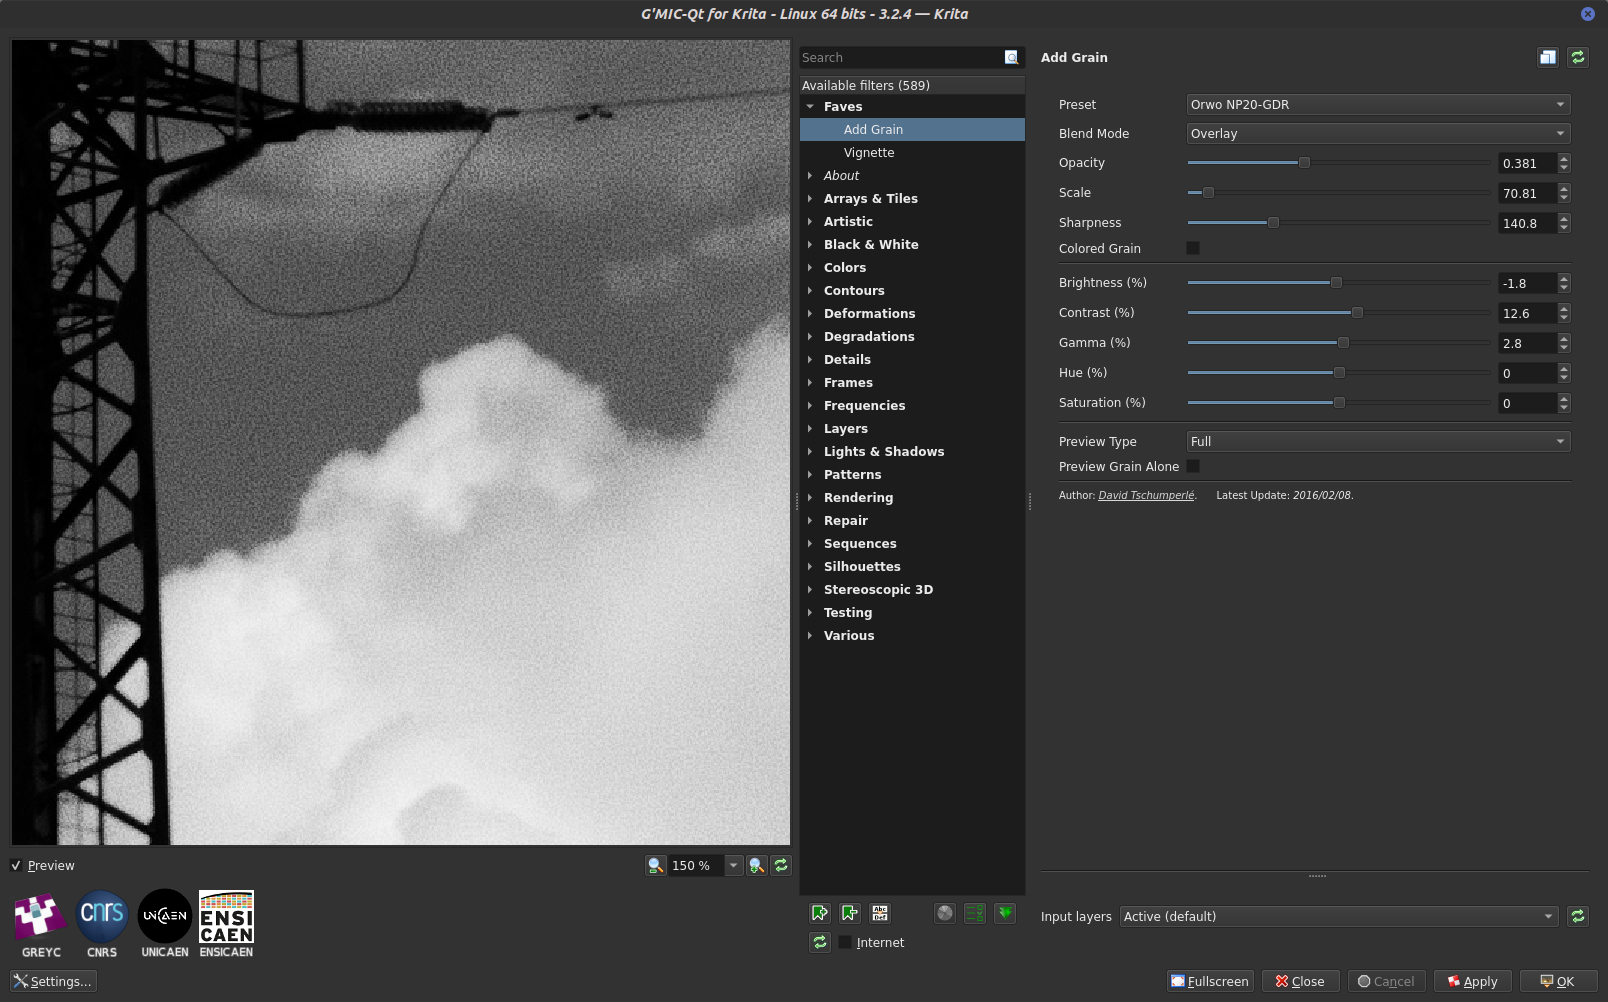
Grain
According to photographic aesthetes, it's impossible to create the effect of that distinctive microcrystalline silver grain by "sprinkling noise on digital." I think this opinion isn't unfounded and dates back to the days when plugins for raster editors worked with primitive technologies.
I've tried many plugins, and my current favorite is the "Add grain" effect from the free G'MIC plugin set. I like how the plugin realistically distributes the "grain" diameter, enlarging it in shadows and hardly adding noise in highlights.
Sfumato
This term from classical painting means "haziness," "airiness," softness of tonal transitions and contours. And it's very easily reproduced in any advanced graphics editor. The idea is very simple. You duplicate the image layer. Apply Gaussian blur to it — best to use a blur radius where the original image is only discernible by its outlines. Then set the blurred layer's opacity to 10-30%.

This effect works well for portraits — it gives skin softness, a feeling of coziness, and even a slight sense of unreality.
Afterword
The main thing is not to make effects overly pronounced — that looks contrived and worsens the impression. It's better if the effect is just barely suggested.
I hope my text inspires you to experiment on your own. I especially want to recommend shooting in black-and-white mode if your camera allows it. The change in feeling during the process is hard to describe — it's easier to try it yourself.
FAQ
What is this article about in one sentence?
This article explains the core idea in practical terms and focuses on what you can apply in real work.
Who is this article for?
It is written for engineers, technical leaders, and curious readers who want a clear, implementation-focused explanation.
What should I read next?
Use the related articles below to continue with closely connected topics and concrete examples.