About the Desktop CNC Milling Machine LUNYEE 3018 Pro Ultra
A hands-on review of the LUNYEE 3018 Pro Ultra desktop CNC milling machine for prototyping printed circuit boards, covering assembly modifications, cable management upgrades, and PCB milling test results.
For a long time, I wanted to try CNC milling of printed circuit boards. The LUT (laser-iron transfer) method works, the photoresist method works too, but I wanted to automate the process — have a machine route the traces, drill the holes, and cut out the board. So I acquired a LUNYEE 3018 Pro Ultra desktop CNC milling machine.
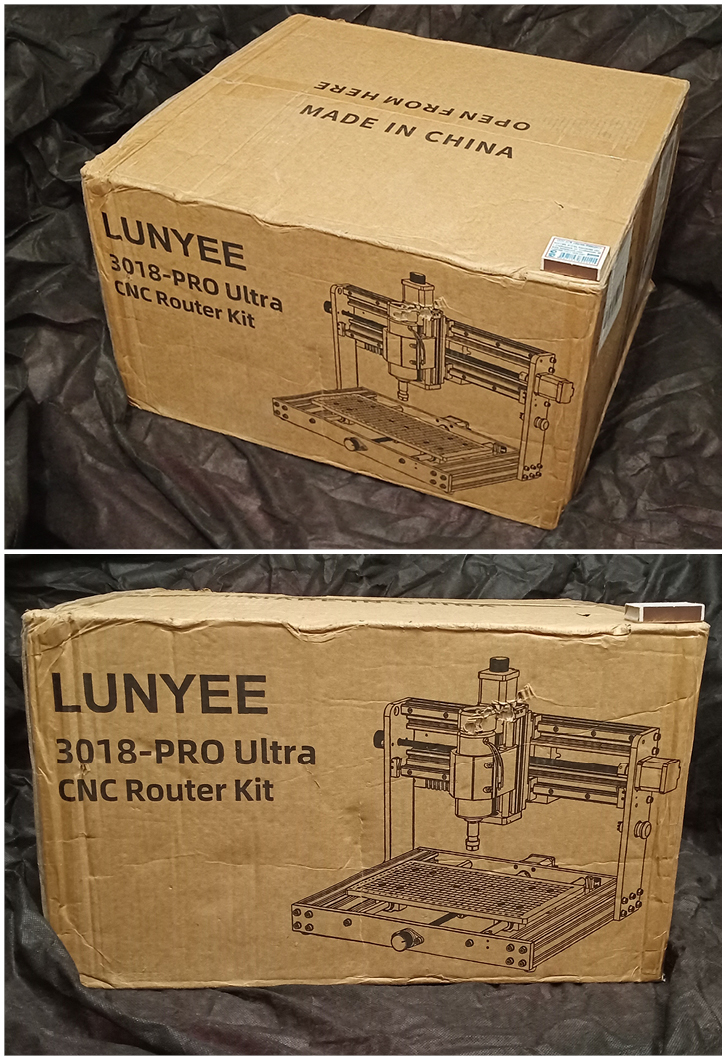
What's in the Box
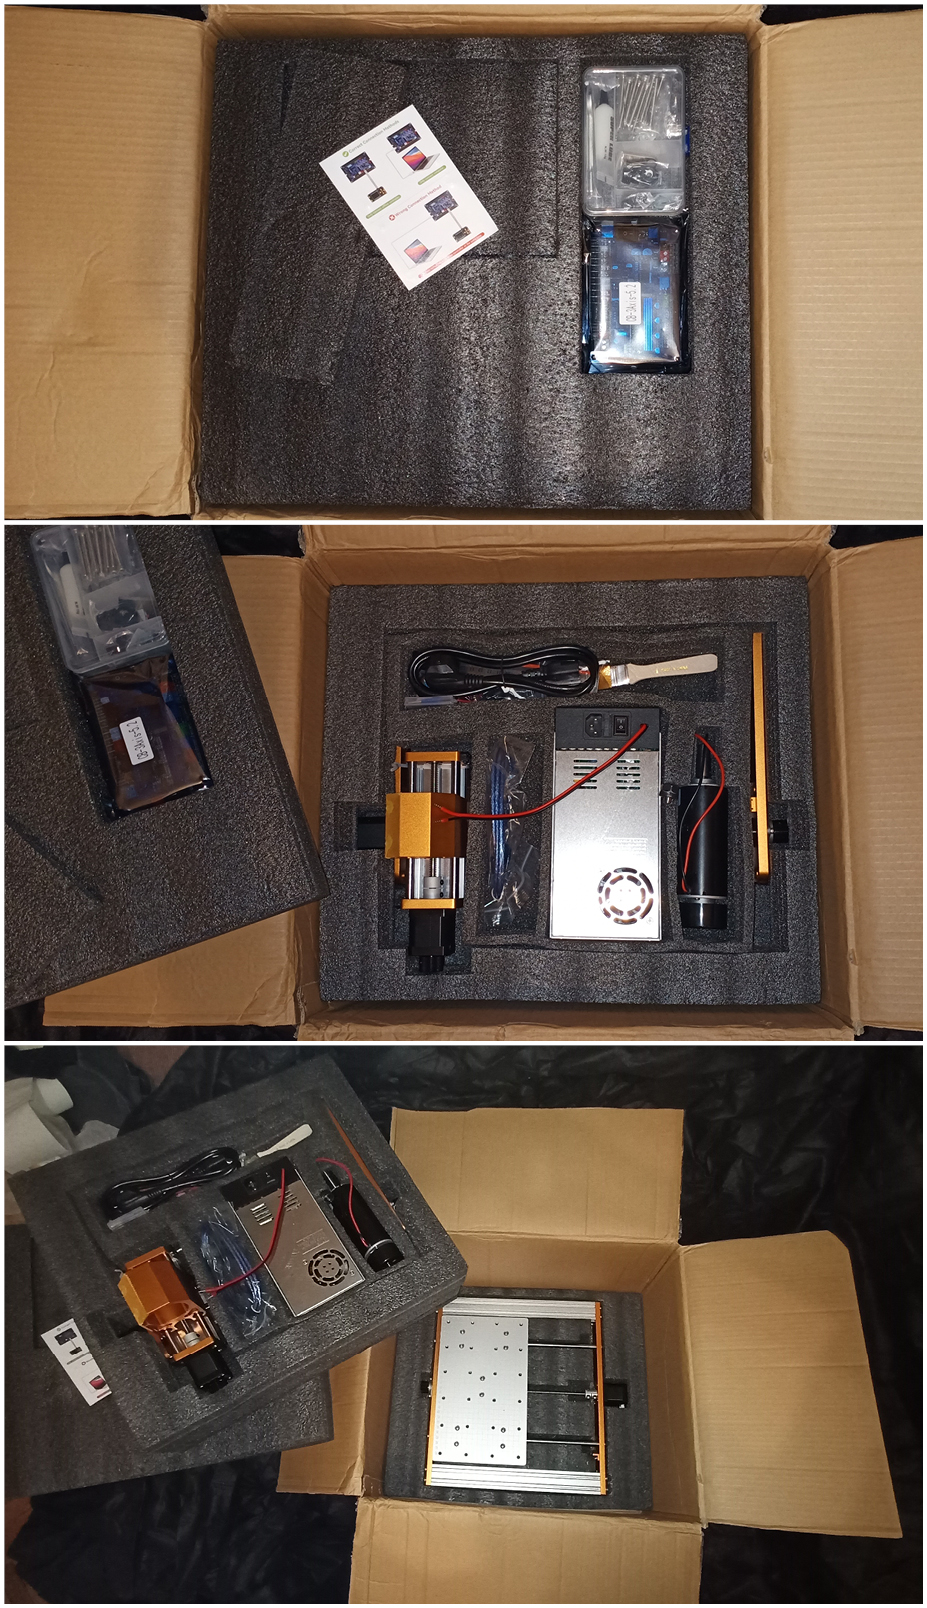
The machine arrived well-packaged. The kit includes:
- The CNC machine frame with stepper motors
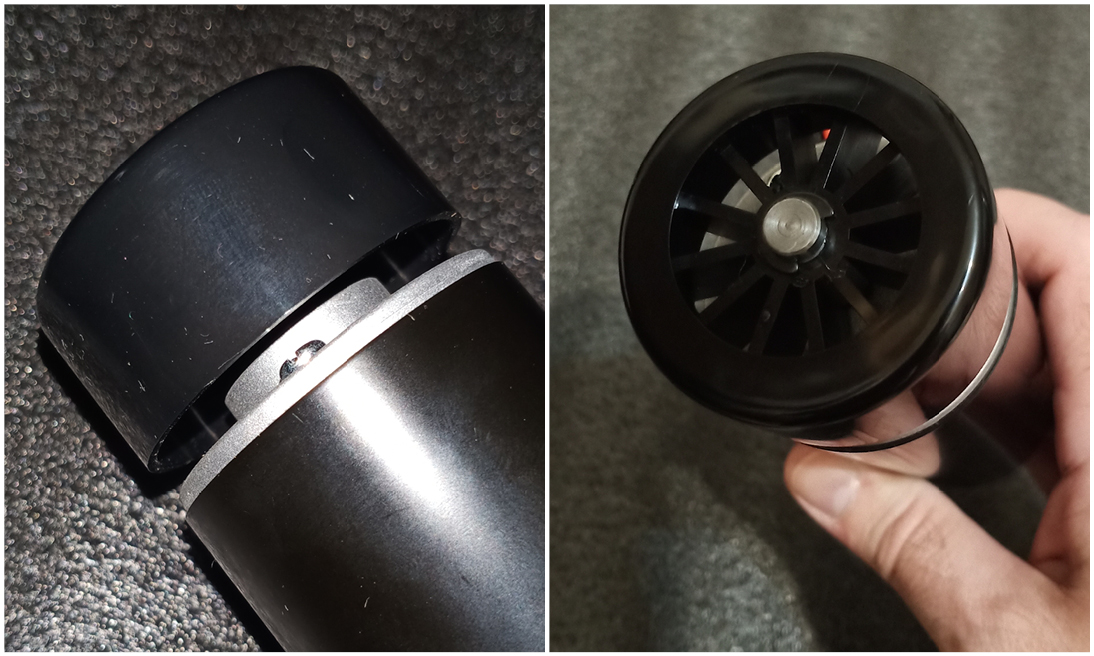
- A 500W spindle running at 48V and 12,000 RPM
- A steel collet chuck with included wrenches
- A 48V power supply
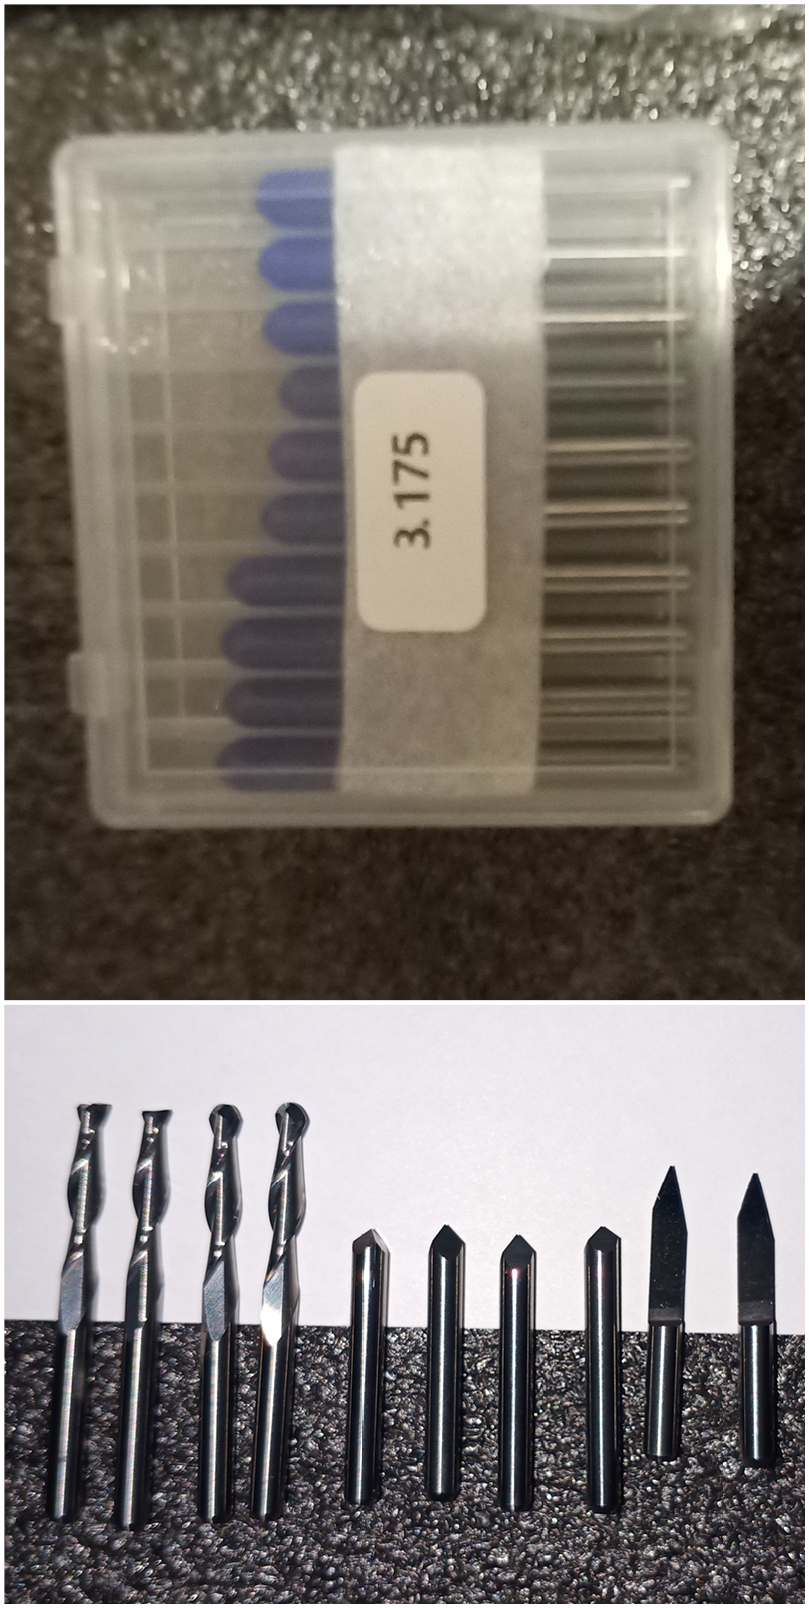
- 10 assorted end mills
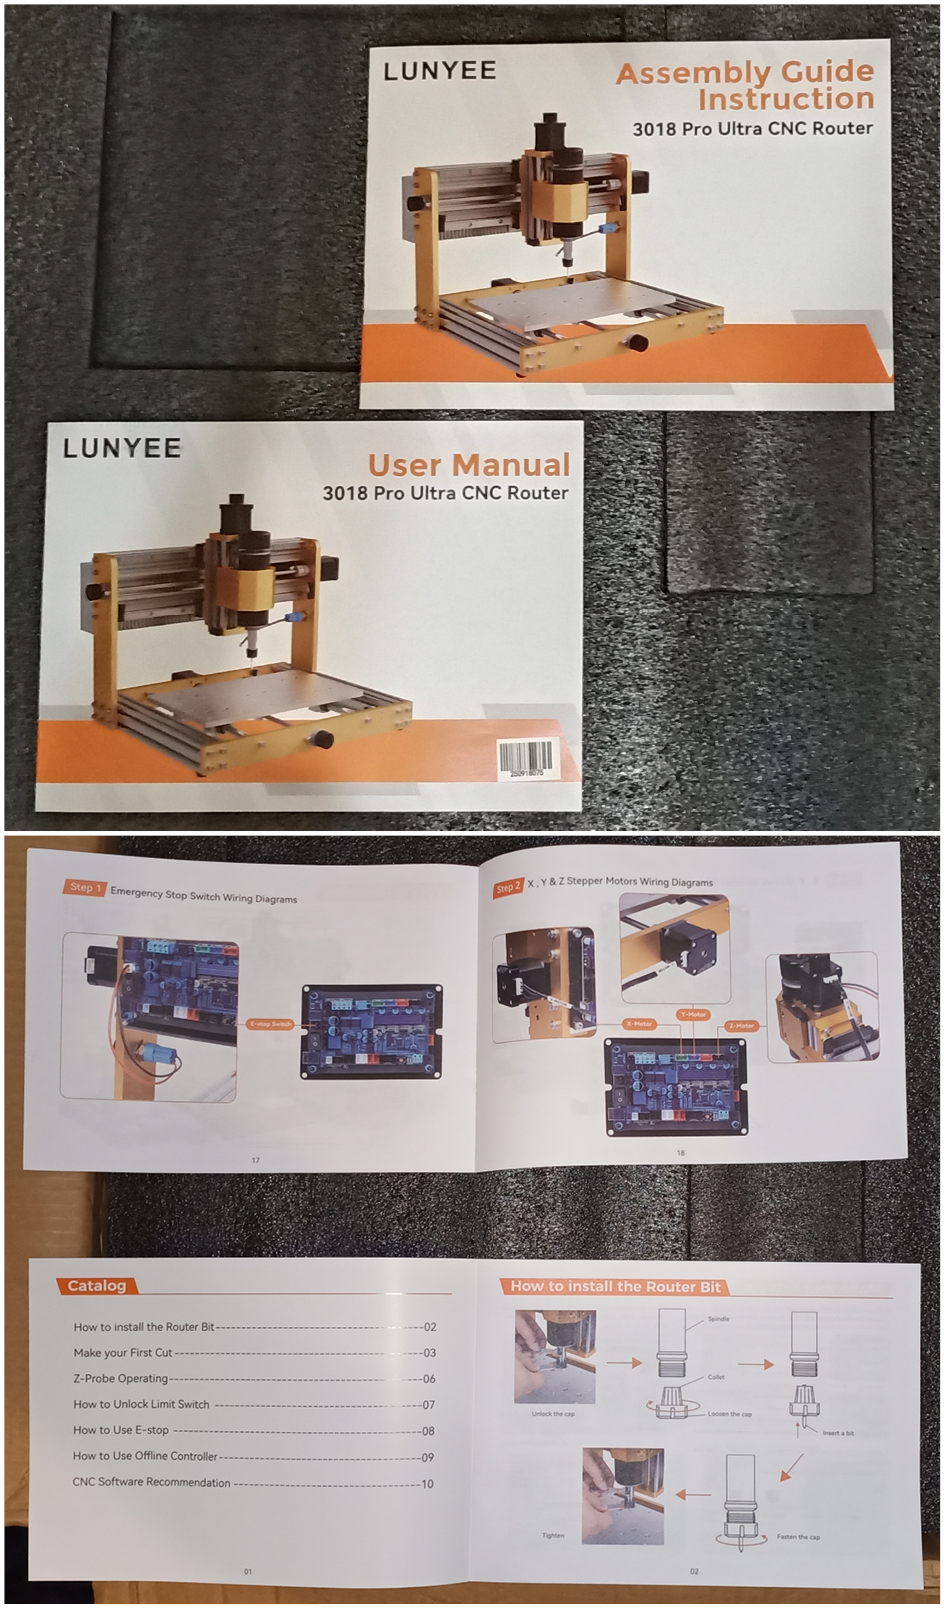
- A steel ruler, USB cable, and control manual
- Built-in fan for spindle cooling
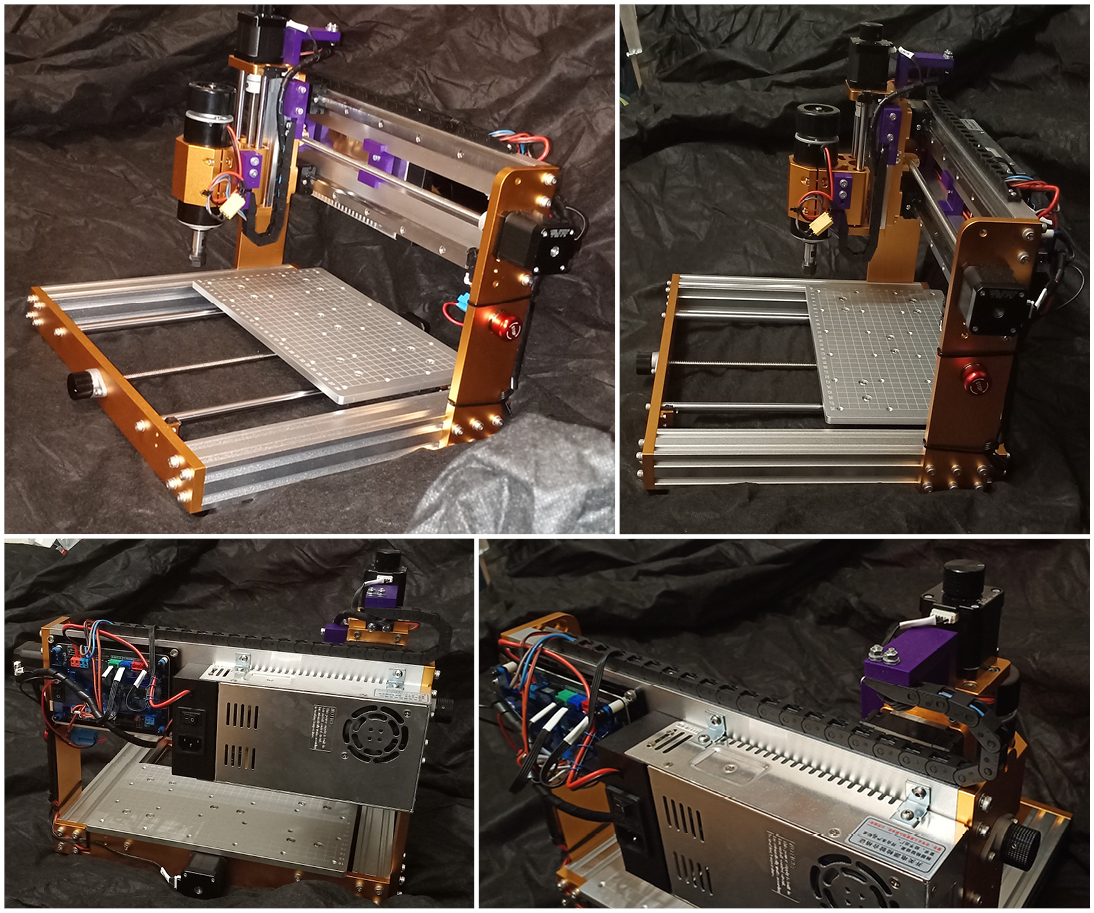
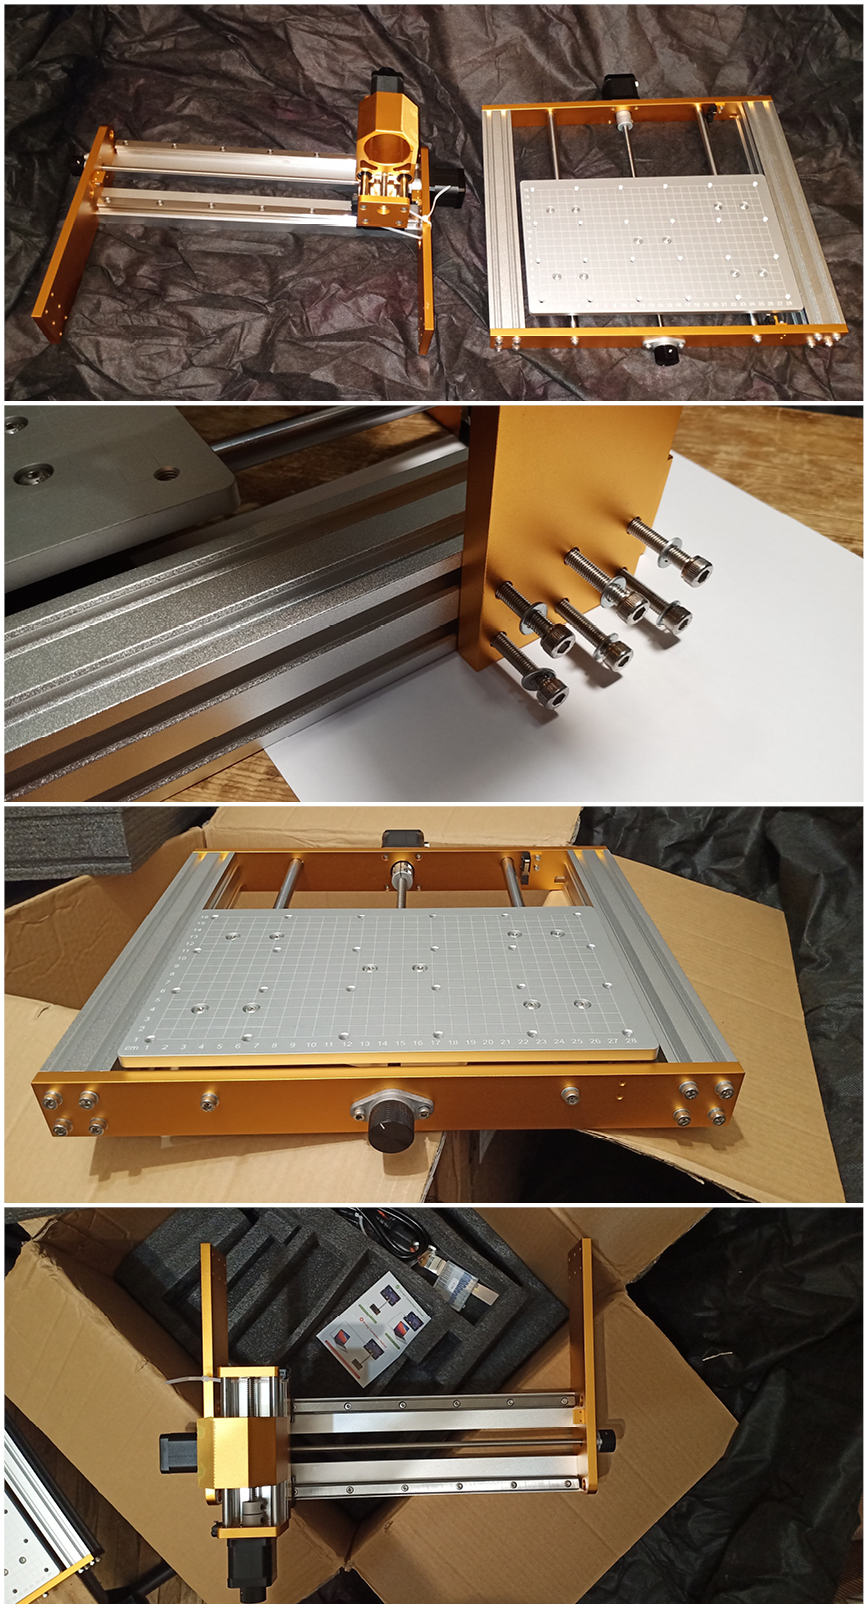
Assembly and Initial Impressions
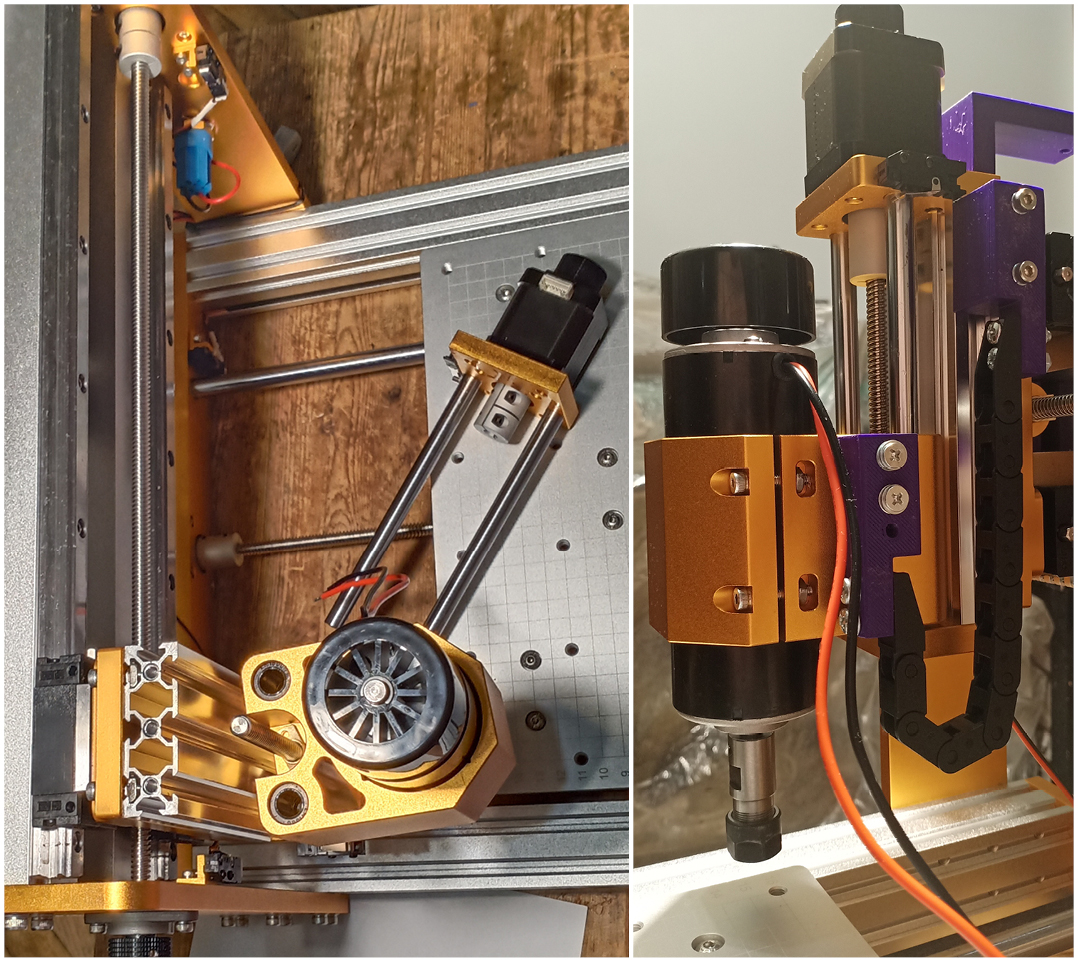
The machine comes mostly pre-assembled — the mechanical components are already put together, which minimizes assembly complexity. The portal is reinforced with steel rails, which adds rigidity. However, I immediately noticed several issues:
- The power supply was mounted on weak brackets, creating vibration concerns
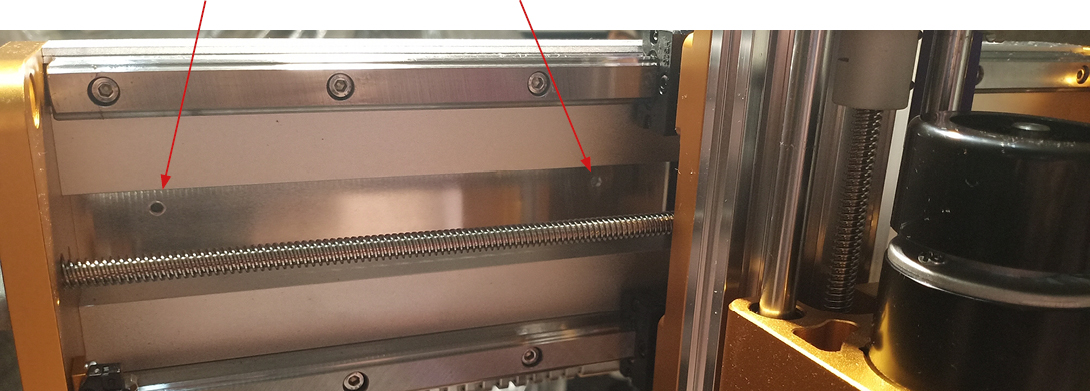
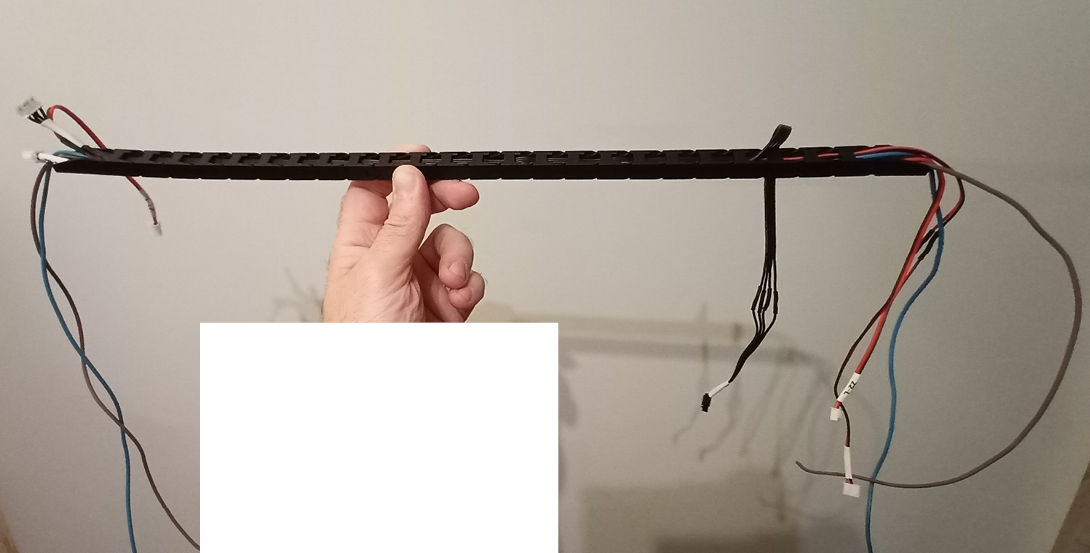
- Cables were routed haphazardly without any organization
- There was no cable management infrastructure at all

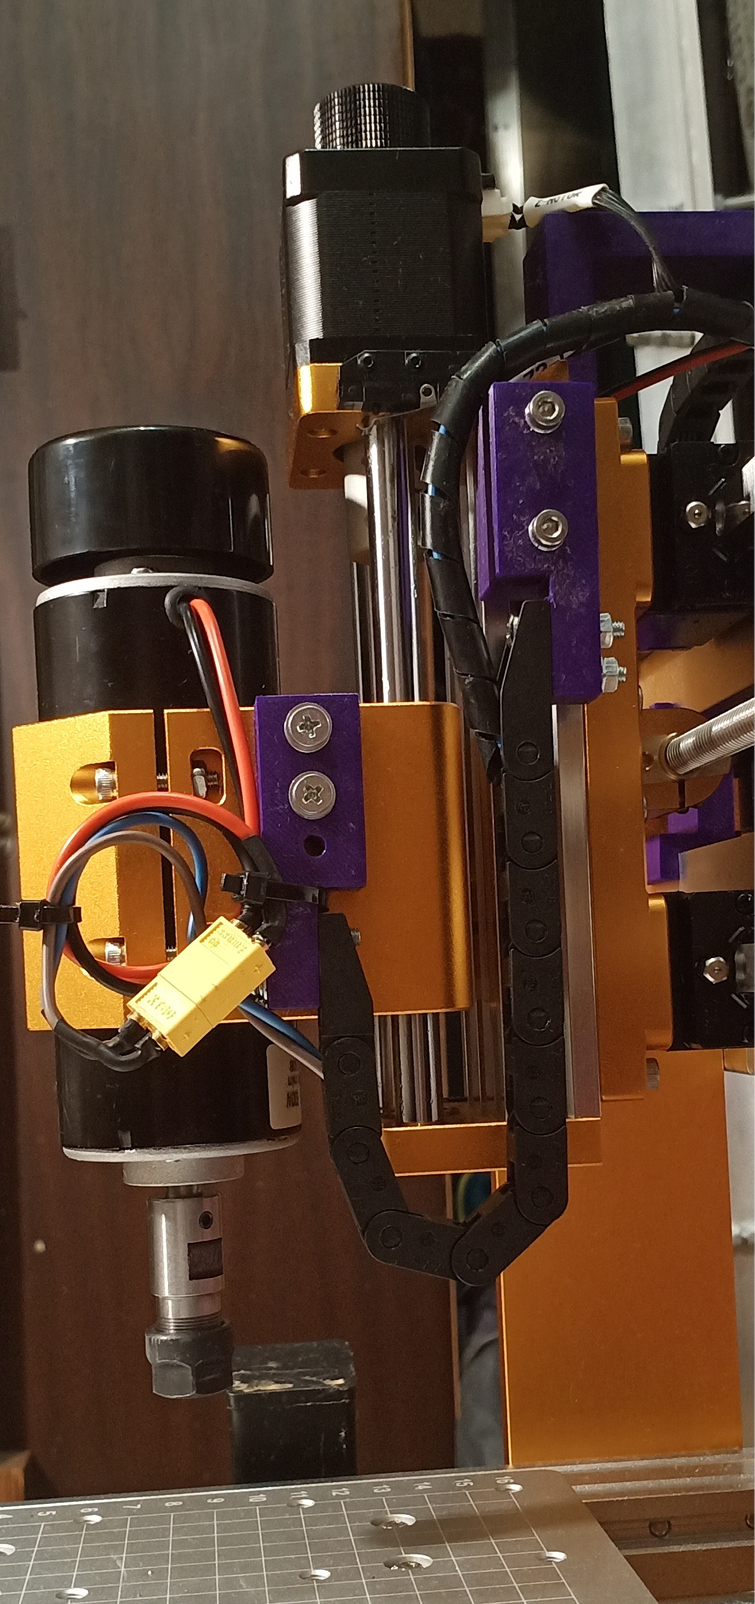
Modifications and Upgrades
I decided to bring order to the cable chaos and improve the overall build quality:
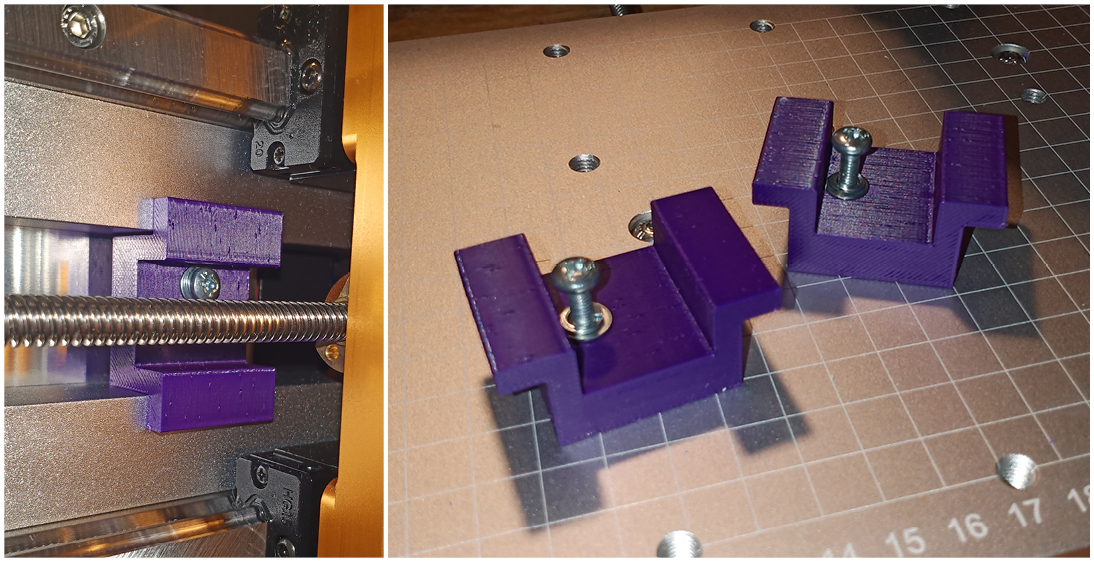
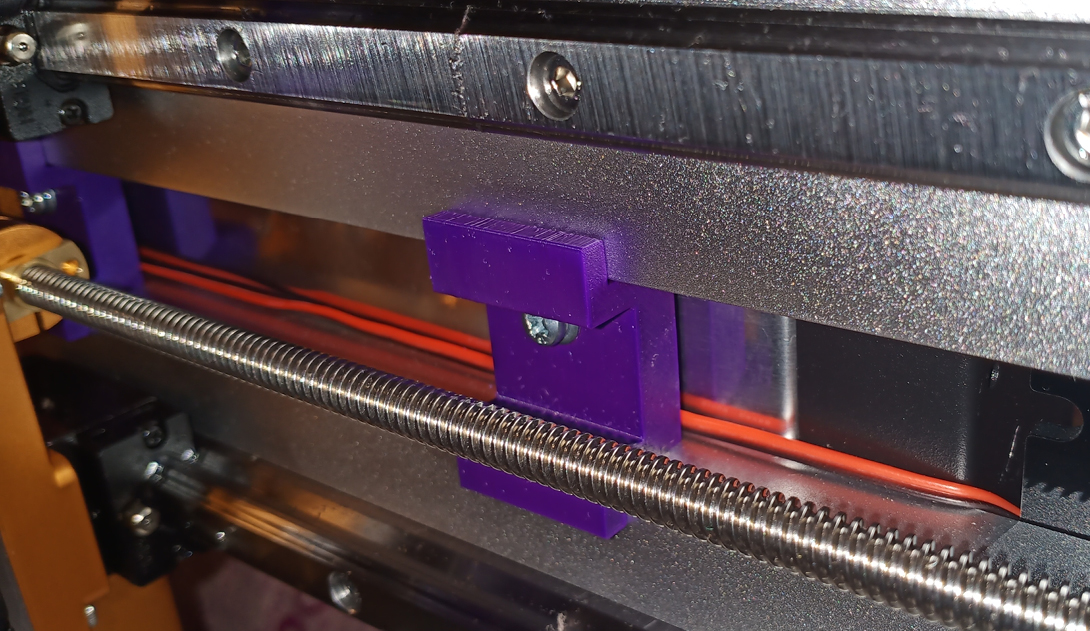
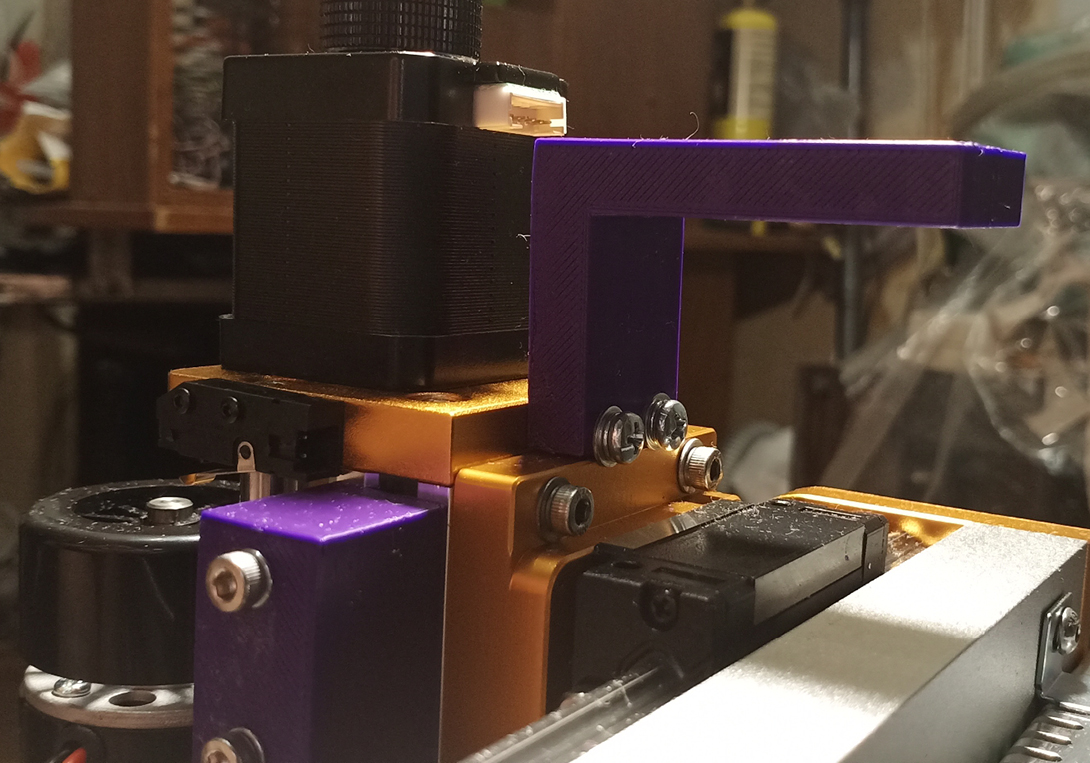
- 3D-printed brackets — I designed and printed rigid mounting brackets for the power supply to eliminate vibration
- Cable channels — Installed 7×7mm flexible cable channels both vertically and horizontally
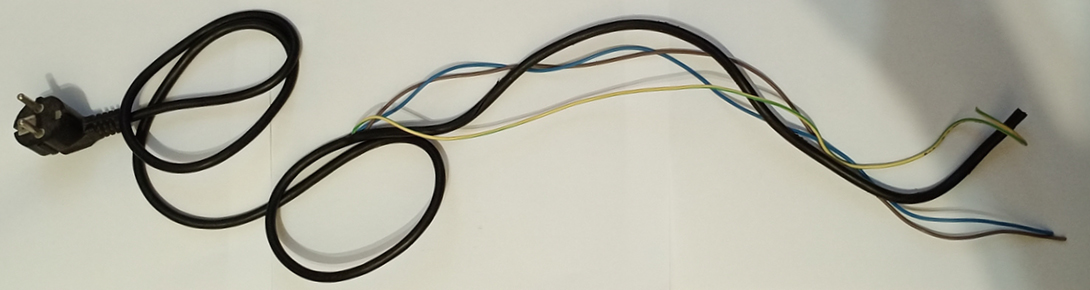
- Longer power cables — Replaced the short factory power cables with longer ones made from recycled computer cables (2×0.75mm² gauge)
- Spiral cable sheathing — Added for cleanliness and protection
- XT60 connectors — Installed for easy spindle disconnection capability
- Vertical channel routing — Deliberately routed the vertical cable channel downward to minimize the overall machine height

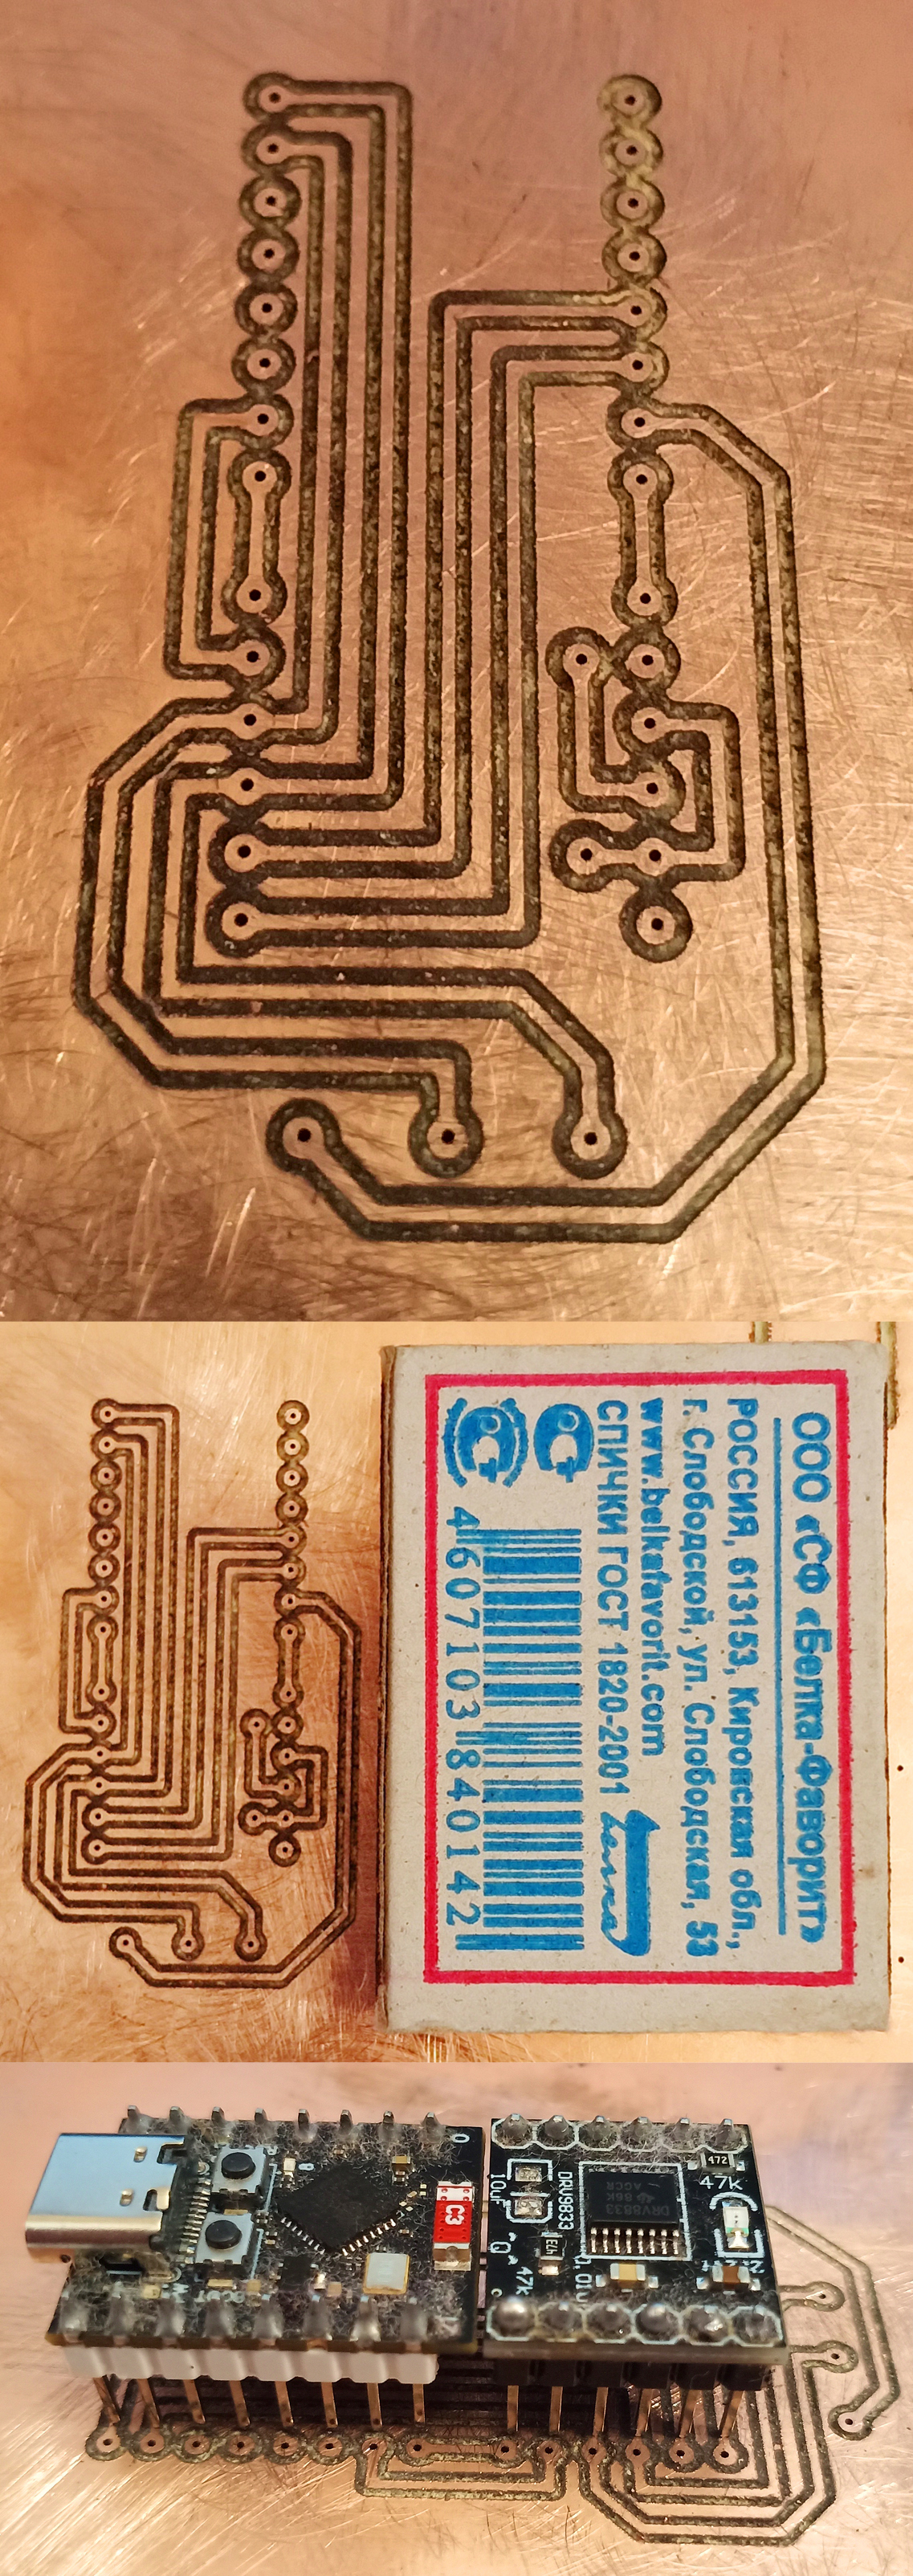
PCB Milling Test
For the first test, I chose getinax (paper-based laminate) rather than fiberglass. Getinax is less abrasive and doesn't produce hazardous glass dust — an important safety consideration for a home workshop without proper extraction.
Test parameters:
- Material: Getinax (laminated paper board)
- Trace width: 1mm
- Milling depth: 0.1mm
- Single-pass milling operation
- Drill diameter: 0.5mm (though 0.8mm would be more optimal)
The results were encouraging — clean traces and well-centered drill holes with minimal manual intervention required. The rigid construction proved suitable for this kind of work.
Observations and Future Plans
The machine demonstrated adequate rigidity and satisfactory positioning accuracy for circuit board prototyping. Some observations for future optimization:
- Reduce rapid-traverse height — currently set at 5mm, but 1–1.5mm is feasible, which would significantly speed up operations
- Increase milling speed — there's room to push faster
- Try 0.9–1.0mm end mills — these may produce superior edge quality compared to conical bits
- Explore water-cooled processing — essential for fiberglass substrates due to safety concerns with glass dust
Conclusion
The machine proved sufficiently rigid and well-manufactured for small-batch PCB production. Some minor hand-finishing is required for optimal results, but overall, this is a capable tool for hobbyists and small makers who want to move beyond manual PCB fabrication methods. The 500W spindle provides enough power, and the steel-reinforced portal ensures acceptable precision for circuit board work.