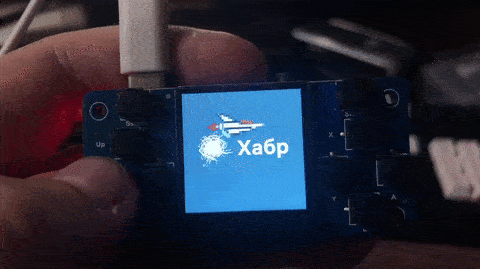
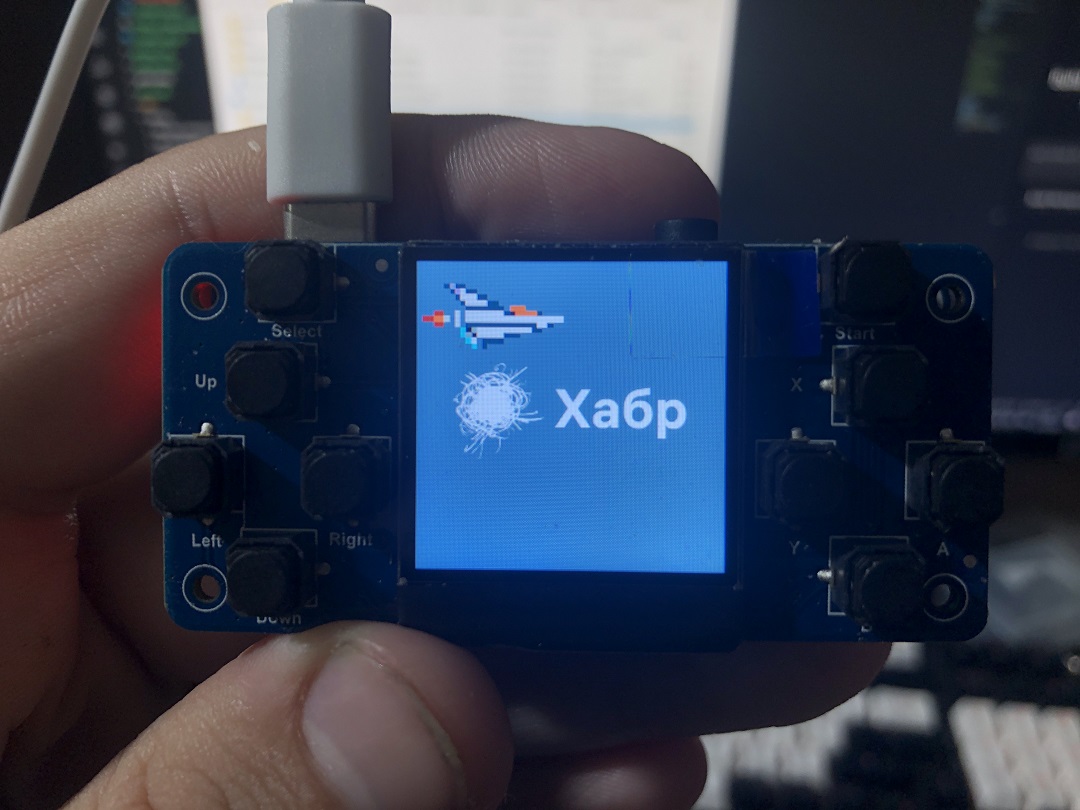
I Bought a Game Console and Wrote a BIOS for It
After buying a cheap Waveshare GamePi13 console based on the RP2040 microcontroller and discovering its examples ran at 1-5 FPS, the author wrote a custom BIOS from scratch with an optimized graphics subsystem, input handling, and program loading.
I've always been interested in DIY game consoles. Projects like Playdate, Arduboy, and MikBoy have shown that you don't need cutting-edge hardware to create a fun gaming experience. Since I was 14, I've dreamed of building my own device. Recently, I decided to start with something simpler — buy an existing budget console and write proper system software for it.
The Hardware: Waveshare GamePi13
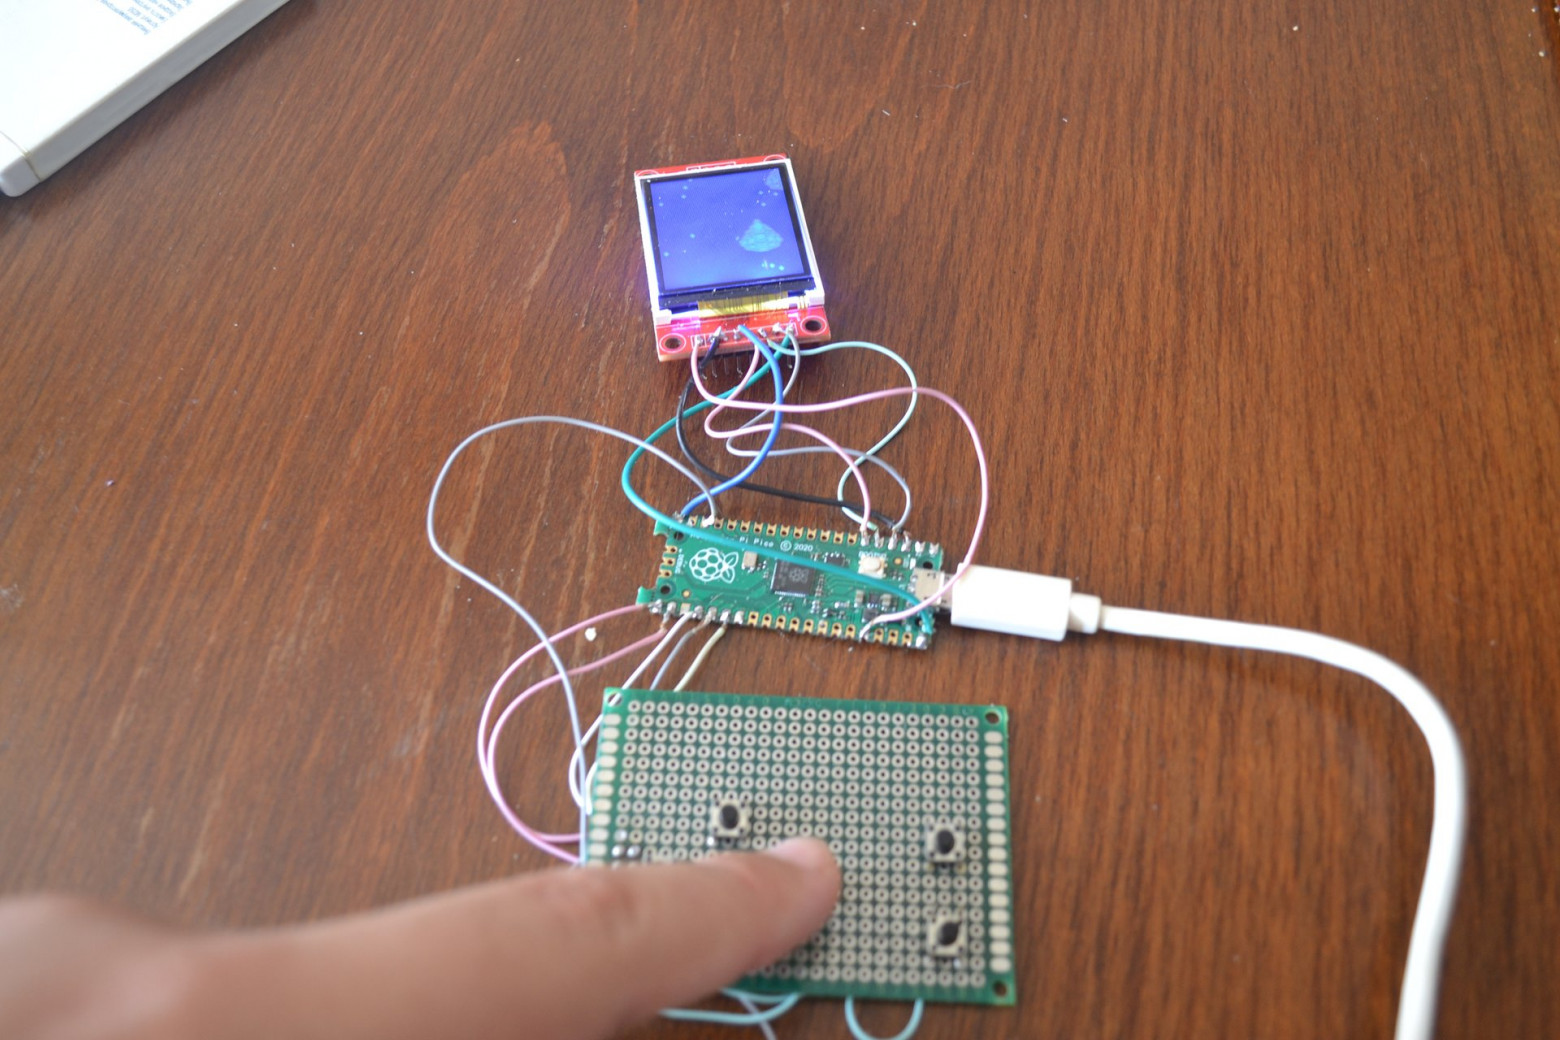
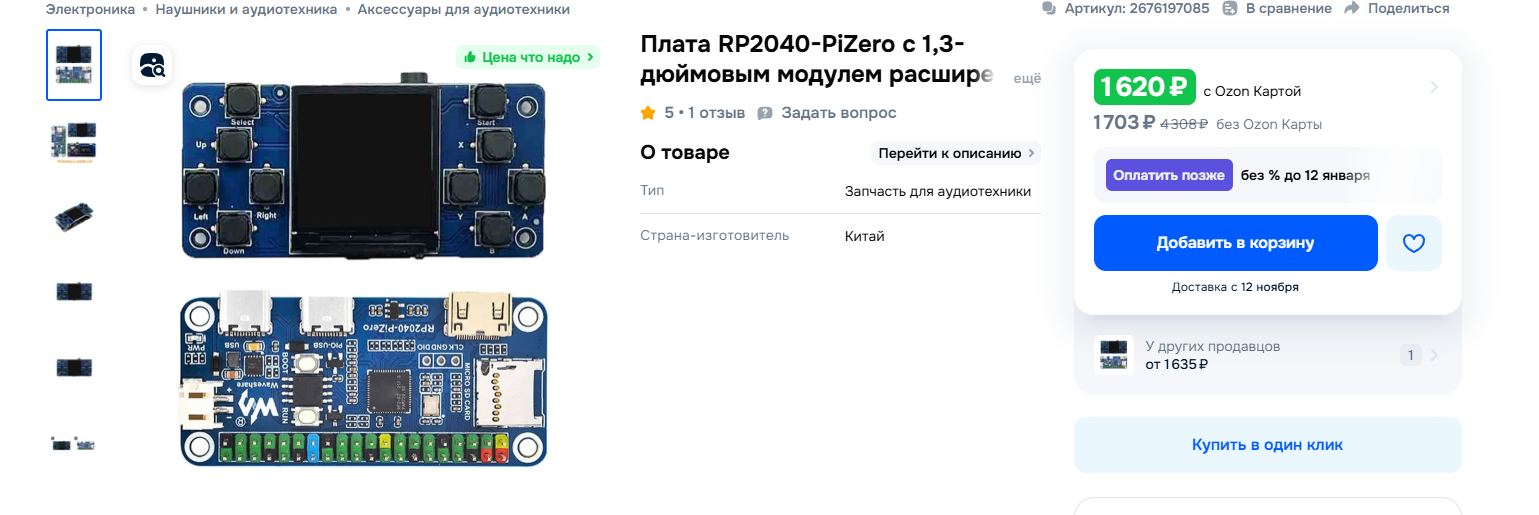
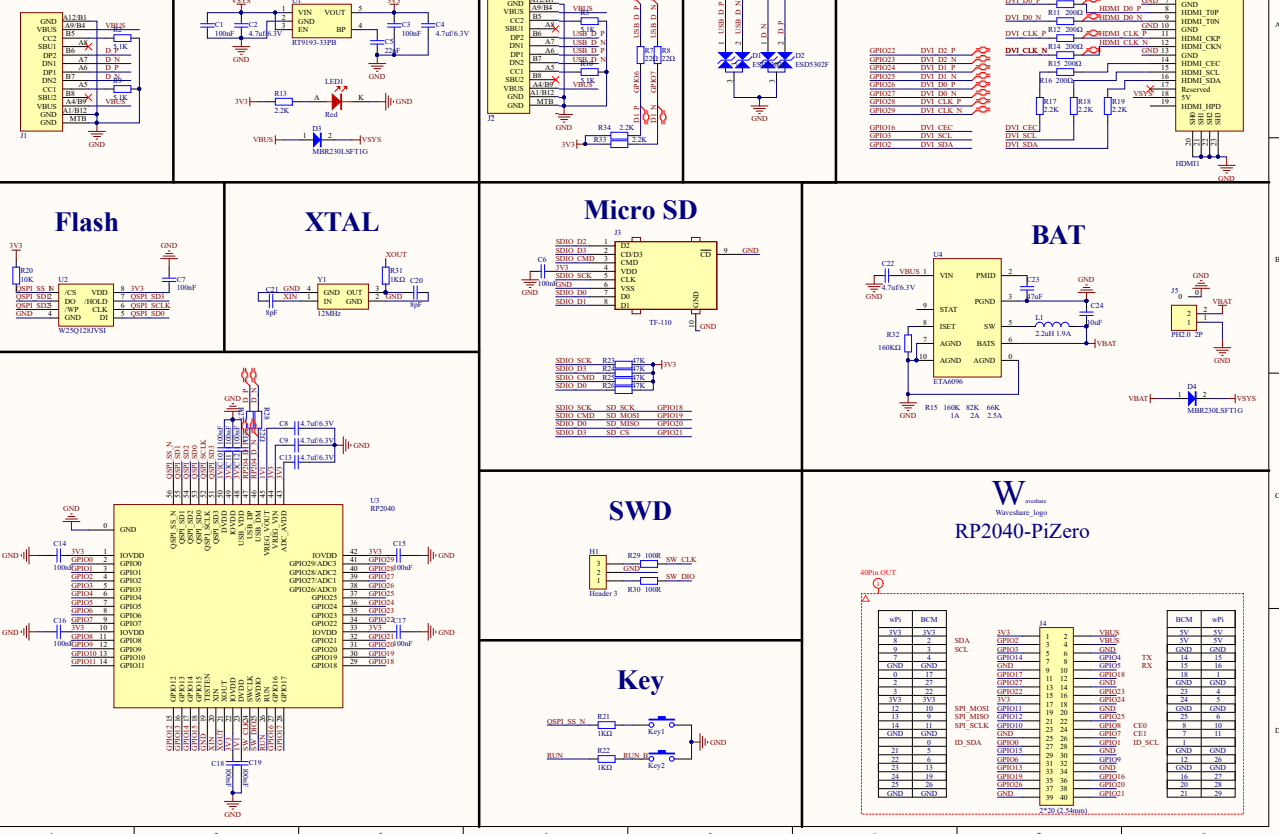
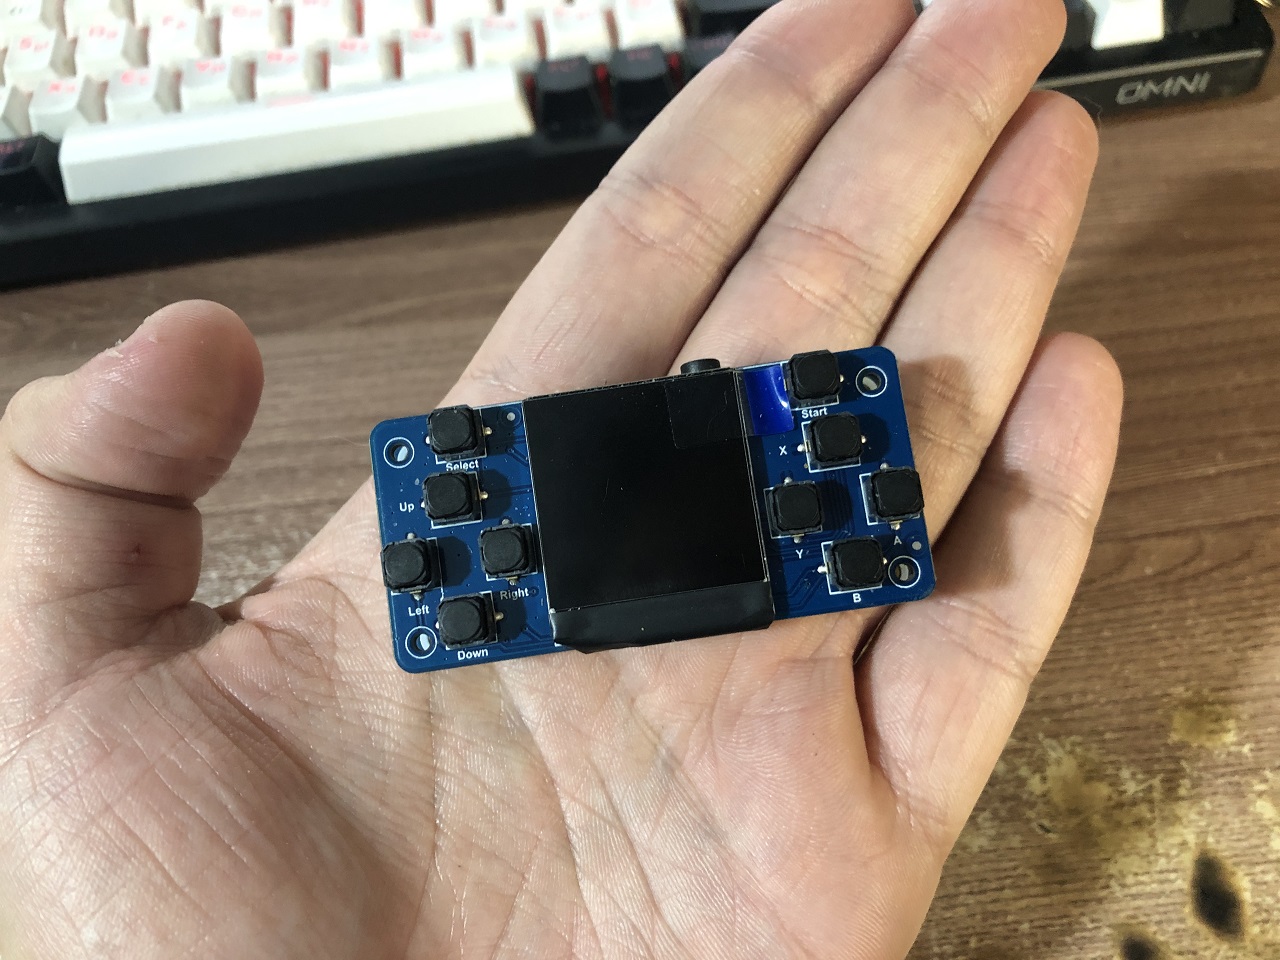
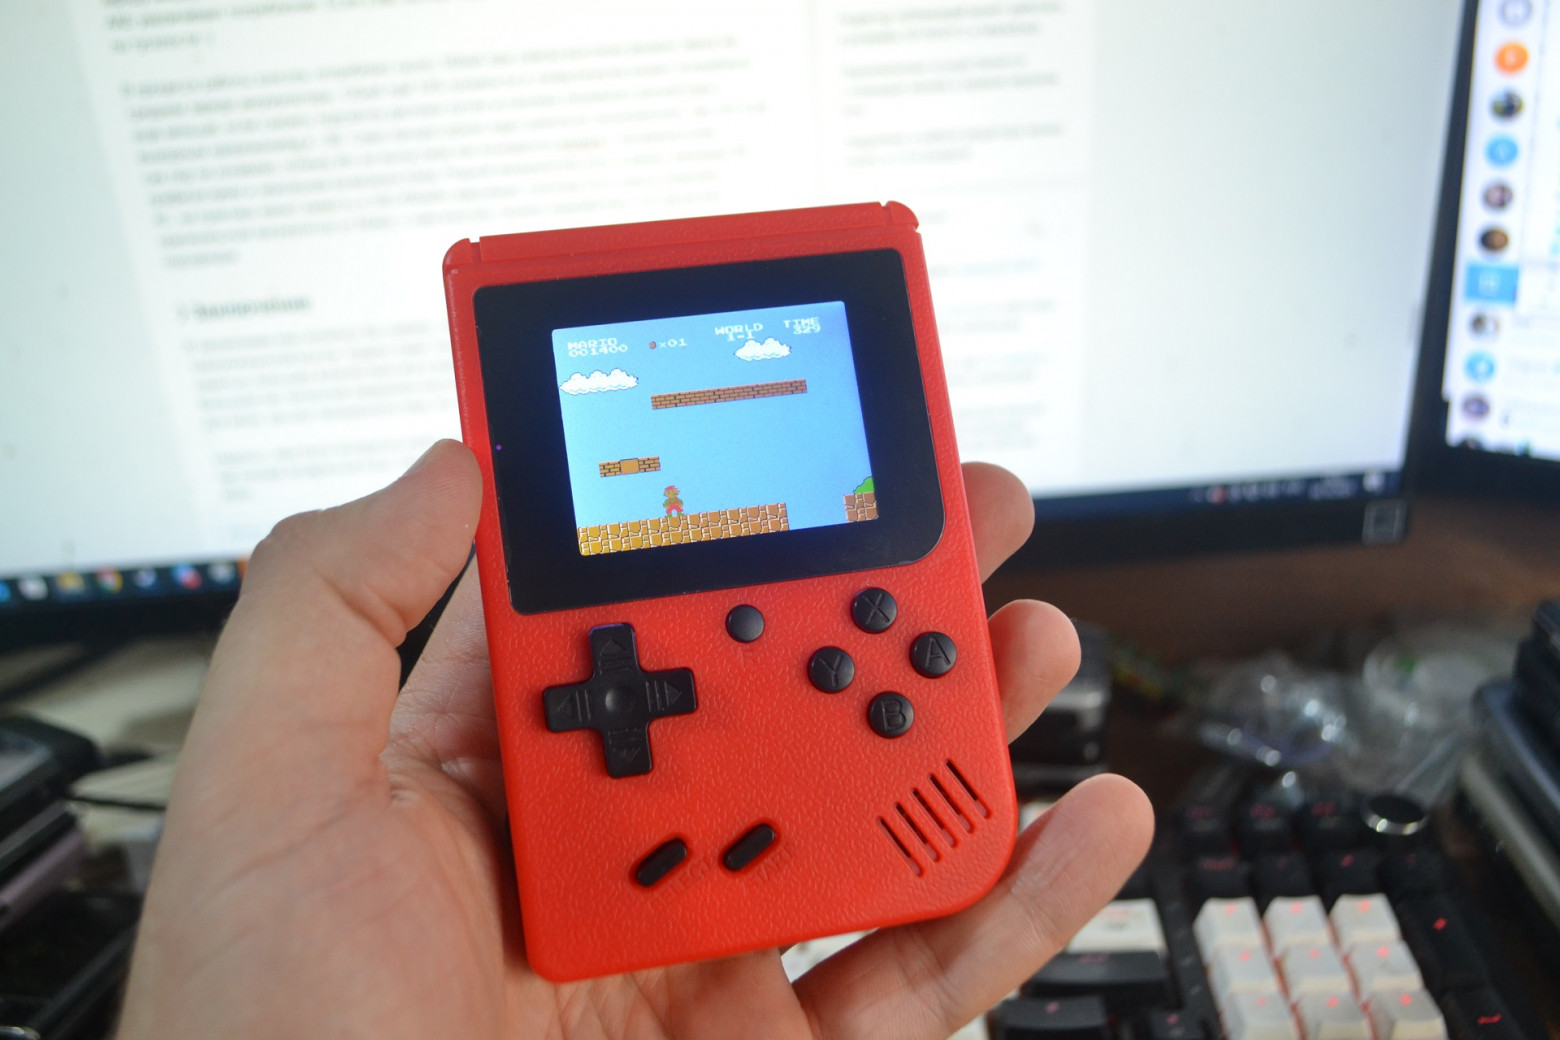
I bought a Waveshare GamePi13 for about 1,500 rubles (~$15). It's a small handheld device built around the RP2040 microcontroller running at 150 MHz (ARM Cortex-M0+ dual-core). The specs are modest but interesting:
- RP2040-PiZero board with 16 MB SPI flash memory (the maximum the XIP controller supports)
- 1.3" IPS display, 240x240 pixels, ST7789 controller
- 10 buttons (D-pad, A/B/X/Y, Start, Select, plus shoulder buttons)
- Speaker with NS8002 amplifier
- USB Type-C for power and programming
- RT9193 voltage regulator (less efficient than the DC-DC converter in the original Pico)
- ETA6096 battery charger at 1A
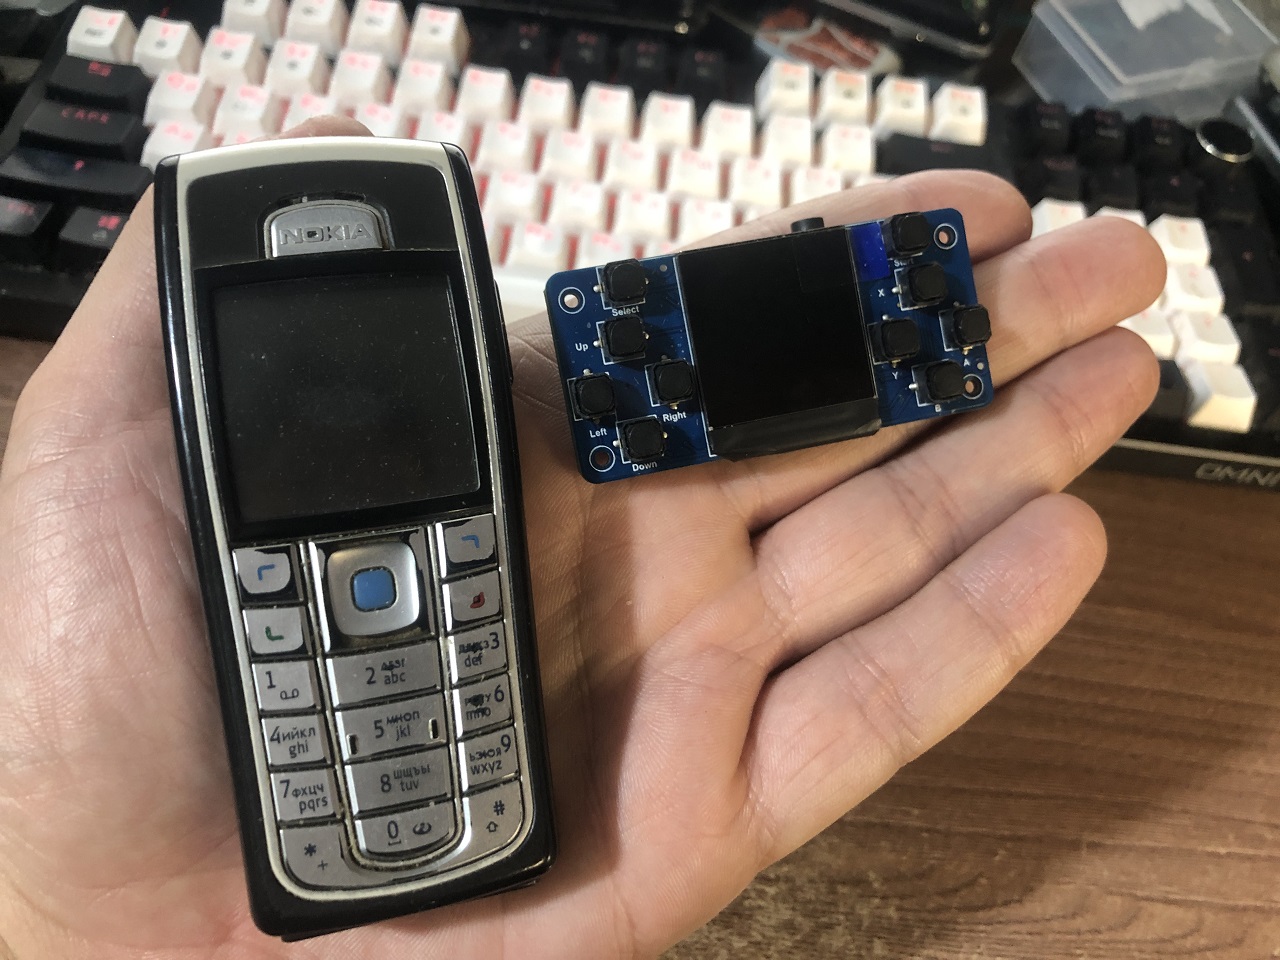
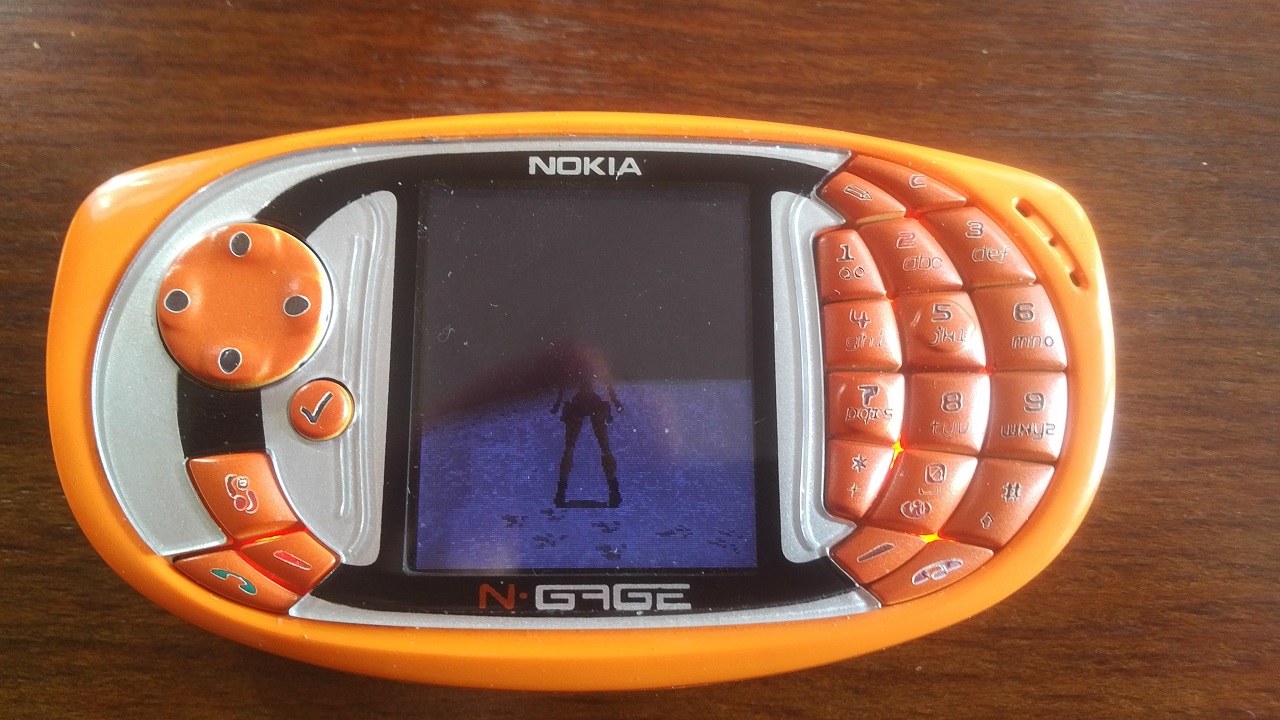
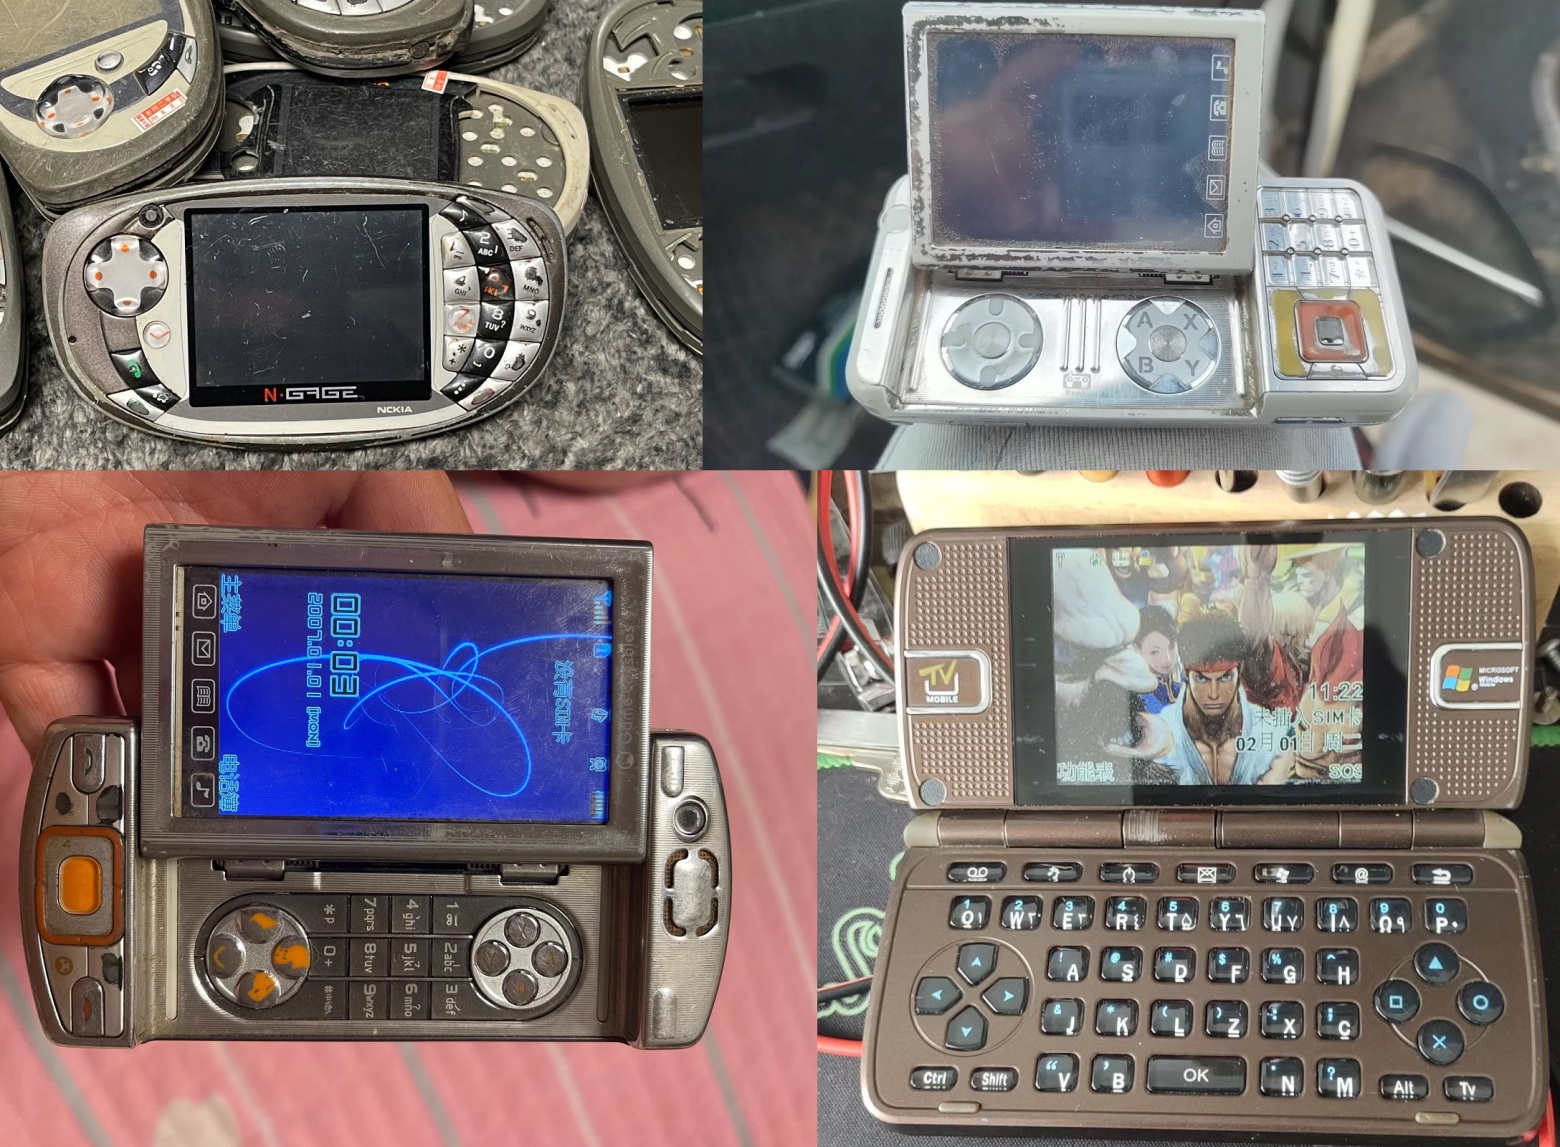
For size comparison, it's roughly the same dimensions as a Nokia 6230i — genuinely pocket-sized.
The Problem with Stock Software
The manufacturer's examples are, to put it mildly, terrible. Everything is written in Python with hardcoded GPIO pin numbers, zero abstraction, and no use of DMA. The display driver is blocking — it sends pixel data byte by byte, waiting for each transfer to complete before sending the next.
The result? Even Pong runs at about 5 FPS. Tetris manages roughly 1 FPS. This is on a 150 MHz dual-core processor with hardware DMA controllers sitting completely idle.
The sound implementation is equally bad — silence is represented as a value of 0 instead of PWM_MAX/2, causing an audible click every time audio starts or stops. There's no SDK, no libraries, no abstraction layer. Just raw GPIO manipulation in Python scripts that look like they were written as a proof of concept and never improved.
BIOS Architecture
I decided to write a proper system layer in C++. The architecture uses interfaces and virtual method tables (VMT) to abstract hardware details while keeping the code modular and portable between platforms. The main subsystems are:
- Graphics — display driver, sprite blitting, text rendering
- Input — button debouncing, state tracking, virtual axes
- Audio — PWM-based sound output
- Storage — flash memory access
- Program Loader — executing user programs from SRAM
Graphics Subsystem
The framebuffer lives in SRAM and takes up 115 KB (240 x 240 pixels x 2 bytes per pixel in RGB565 format). The key optimization is using the DMA controller to transfer the framebuffer to the display. While the DMA is sending the current frame, the CPU is free to compute the next one — a classic double-buffering approach adapted for a microcontroller.
For sprites, I implemented ColorKey transparency — a technique similar to chromakey (green screen) in video production. One specific color value is designated as "transparent," and pixels matching that color are simply skipped during blitting. It's computationally cheap and works perfectly for 2D games.

Text rendering uses simple 8x8 bitmap fonts. Each character is stored as 8 bytes, with each bit representing a pixel. It's not pretty, but it's fast and uses minimal memory.
Input Subsystem
Button handling needed more sophistication than simple GPIO reads. I implemented a state machine with three states: idle, pressed, and released. A debounce filter prevents false triggers from electrical noise — the button must maintain its state for several consecutive reads before the system acknowledges a state change.
Virtual axes combine D-pad buttons into analog-like horizontal and vertical inputs, making it easier to write game logic that handles movement.
Program Loading
The most interesting part is the ability to load and run programs from SRAM. Each program implements an IApplication interface and is loaded at a fixed address: 0x200000c0. The BIOS reserves 128 KB of SRAM for user programs.
The loading process reads an ELF file from flash storage, copies the relevant sections to SRAM, and transfers execution to the entry point. A custom header at the beginning of each program specifies the required BIOS version, ensuring compatibility.
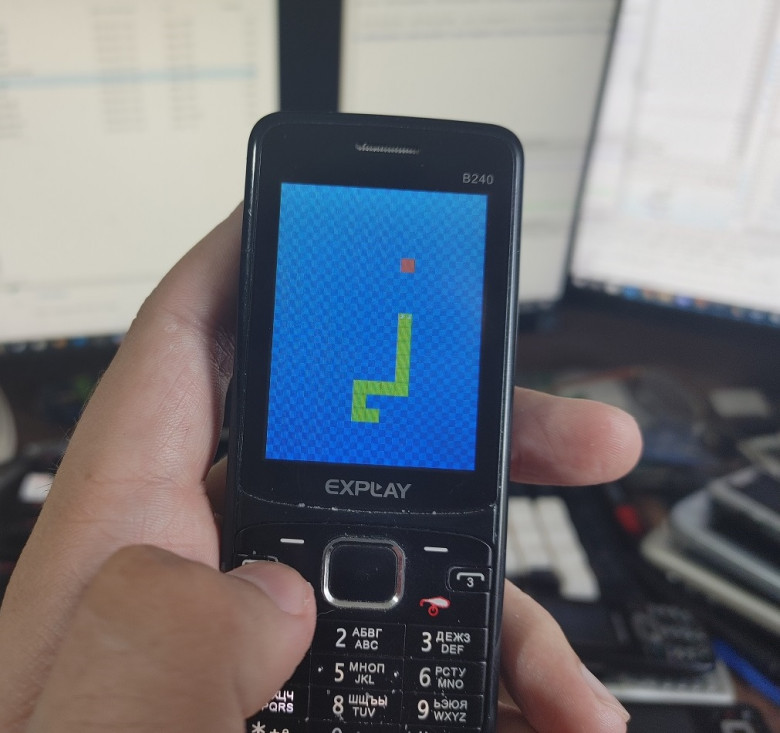
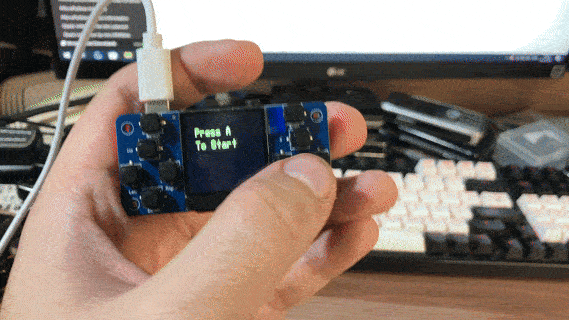
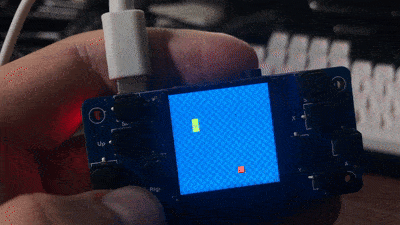
Demo Game: Snake
To demonstrate the BIOS capabilities, I implemented a classic Snake game. The implementation is straightforward — segmented movement, apple collection, and growing body length. Thanks to the clean API provided by the BIOS, the game logic fits in just a few dozen lines of code.
The snake segments and apple are rendered as bitmap sprites with ColorKey transparency. Frame timing is controlled with a simple 100ms delay, giving the game a classic feel.
Performance Comparison
The difference between the stock Python implementation and the BIOS-based approach is dramatic. Where the stock code struggled to render a simple Pong game at 5 FPS, the BIOS achieves smooth rendering with CPU cycles to spare. The DMA-based display transfer alone accounts for most of the improvement — the CPU simply isn't waiting around anymore.
What's Next
This BIOS is the foundation for a larger project. I'm exploring the possibility of small-batch manufacturing — 20 to 50 consoles of my own design with a complete SDK and documentation. The goal is to create a platform that's accessible to hobbyist game developers while providing the kind of clean, well-documented API that the Waveshare conspicuously lacks.
The RP2040 has proven to be a capable chip for this kind of project. With proper software — using DMA, taking advantage of the dual cores, and writing in C++ instead of Python — it can deliver a gaming experience that punches well above its price point.

If you're interested in following the project, you can find me on VK (vk.com/monobogdan), Telegram (@monobogdan), Boosty (boosty.to/monobogdan), or YouTube (@monobogdan).